# myCloudPBX Softphone Guides
Description:
These guides will walk you through activating the myCloudPBX Softphone for a user. Once activated, you will be able to use the following guides to install and use the Softphone on your devices.
# Activating / Deactivating the myCloudPBX Softphone
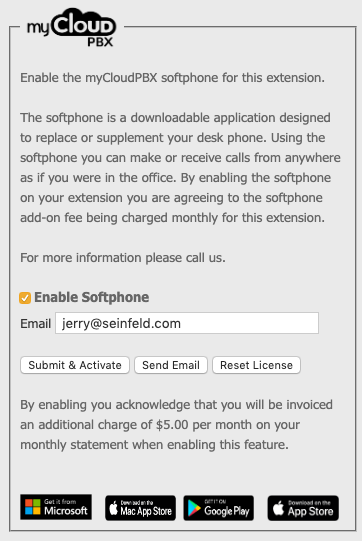
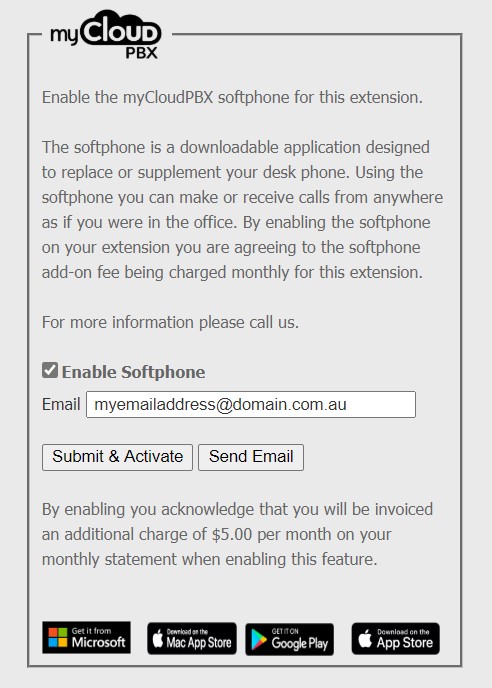
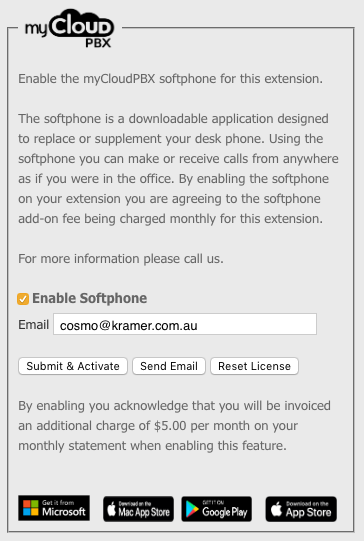
From the Extension configuration page, On the right hand side of your screen you will see a section labelled 'myCloudPBX' as shown below.
To activate:
- Tick 'Enable Softphone'.
- Enter your 'email address'.
- Click 'Submit & Activate'.
You will now receive an email containing the download links for the Softphone. (The Softphone supports Mac, iPhone, Windows, & Android).
The email will also contain the username you will use to login to the Softphone.
TIP
NOTE: The password is never sent via email and is listed on the left hand side of the page when you activate the Softphone.
TIP
HINT! The Softphone allows for a maximum of two separate devices to be activated at a time. If you replace a device you will need to press the 'Reset License' button.
To deactivate the Softphone, simply untick 'Enable Softphone' and click 'Submit & Activate'.
# Updating Softphone Name
WARNING
Note: If you need to change the extension name for the softphone you will need to disable the softphone, and re-enable it.
To do this, simply untick 'Enable Softphone' and click 'Submit & Activate'.
Then tick 'Enable Softphone' and click 'Submit & Activate'.
You will then need to sign out of the softphone, and back in.
The name will now be updated.
# Windows Guides
These guides will aim to demonstrate how to install and operate the MyCloudPBX softphone using a Windows PC.
You will need a MyCloudPBX Softphone account in order to follow this guide, if you do not already have one you will need to contact your administrator.
# Installation
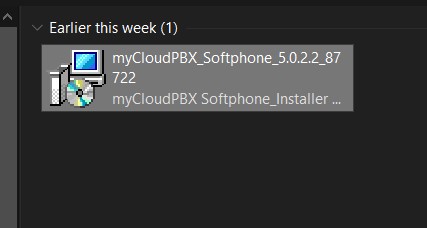
Step 1. From the Portal under your user settings or in your activation email, click the link 'Get it from Microsoft' to download the install '.exe' file.
Step 2. Navigate to the file on your Windows PC and double click to open and begin the installation process.
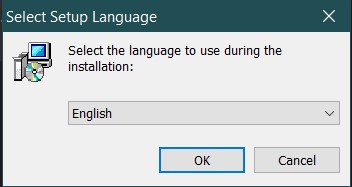
Step 3. Select your language from the drop down menu and then click on 'OK'.
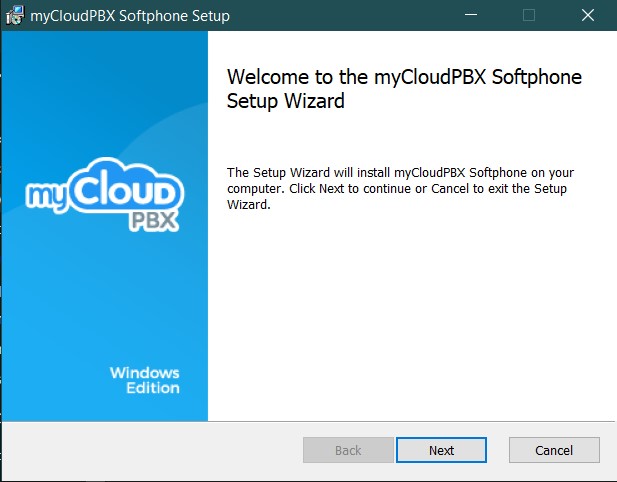
Step 4. Click 'Next'
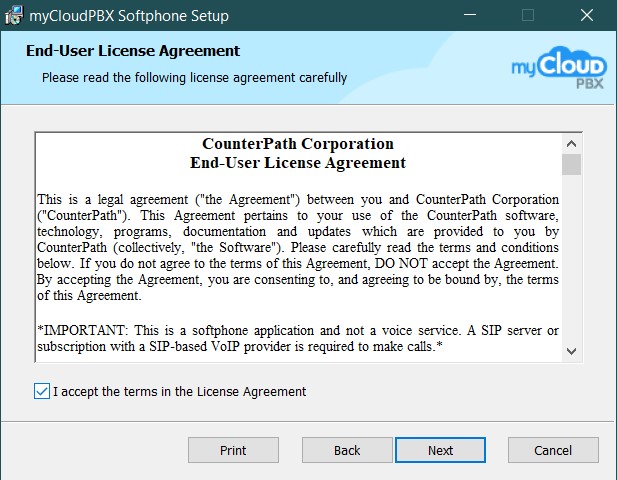
Step 5. Tick the box for 'I accept the terms in the License Agreement' and then click 'Next'
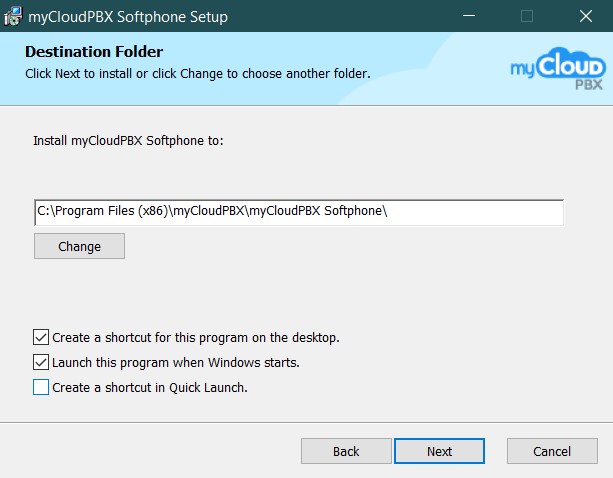
Step 6. Use the 'Change' button to select your installation location and then click 'Next'
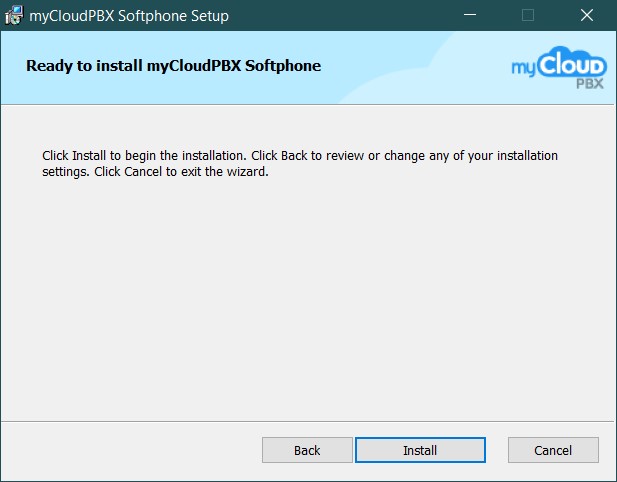
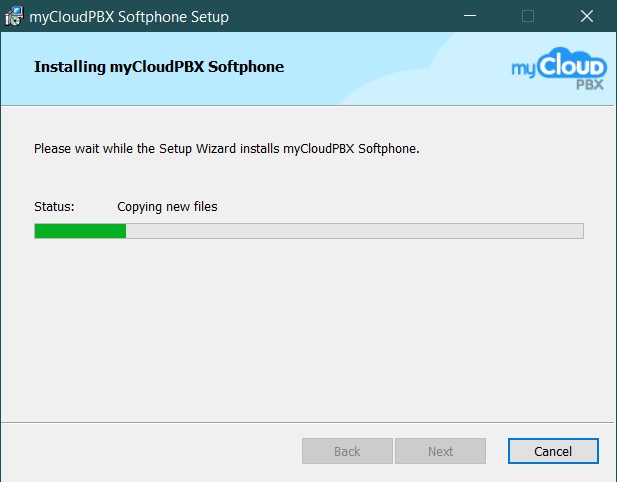
Step 7. Click 'Install'
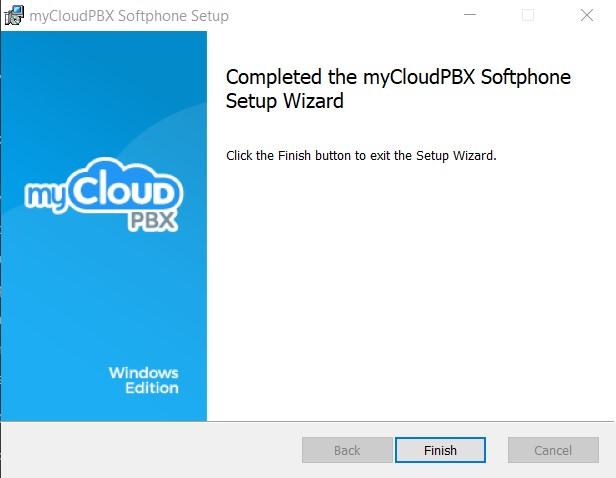
Step 8. Wait for the installation process to complete.
Step 9. Click 'Finish'.
Step 10. Open the program from your start menu or by double clicking the desktop icon.
Enter the following information and click 'Sign In':
- Your Username: (You will have received this in the welcome email when you activated the softphone.)
- Your Password: (You can find this in the myCloudPBX Management Portal. If you are not sure, contact your Administrator).
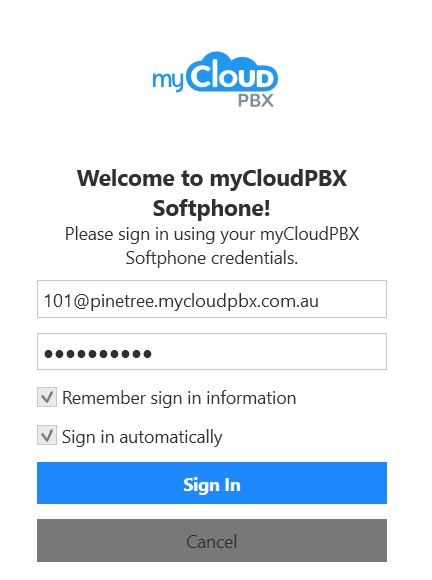
Step 11. You are now logged in.
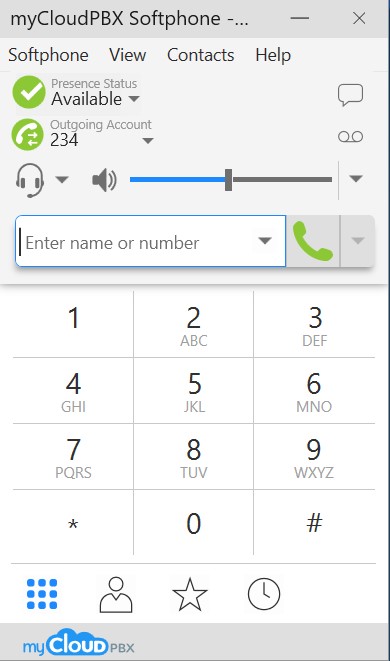
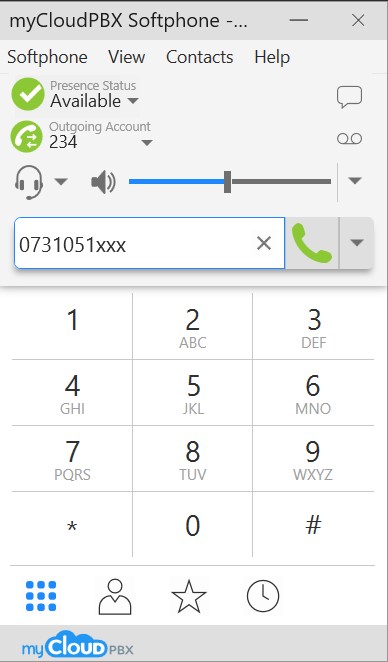
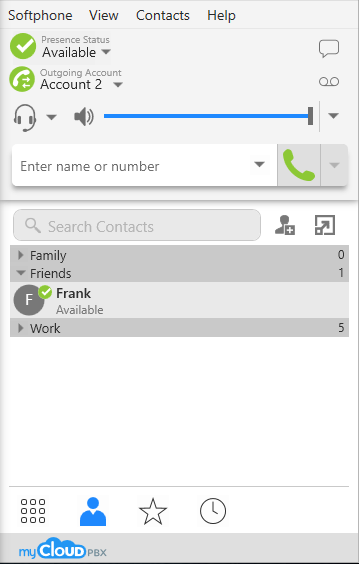
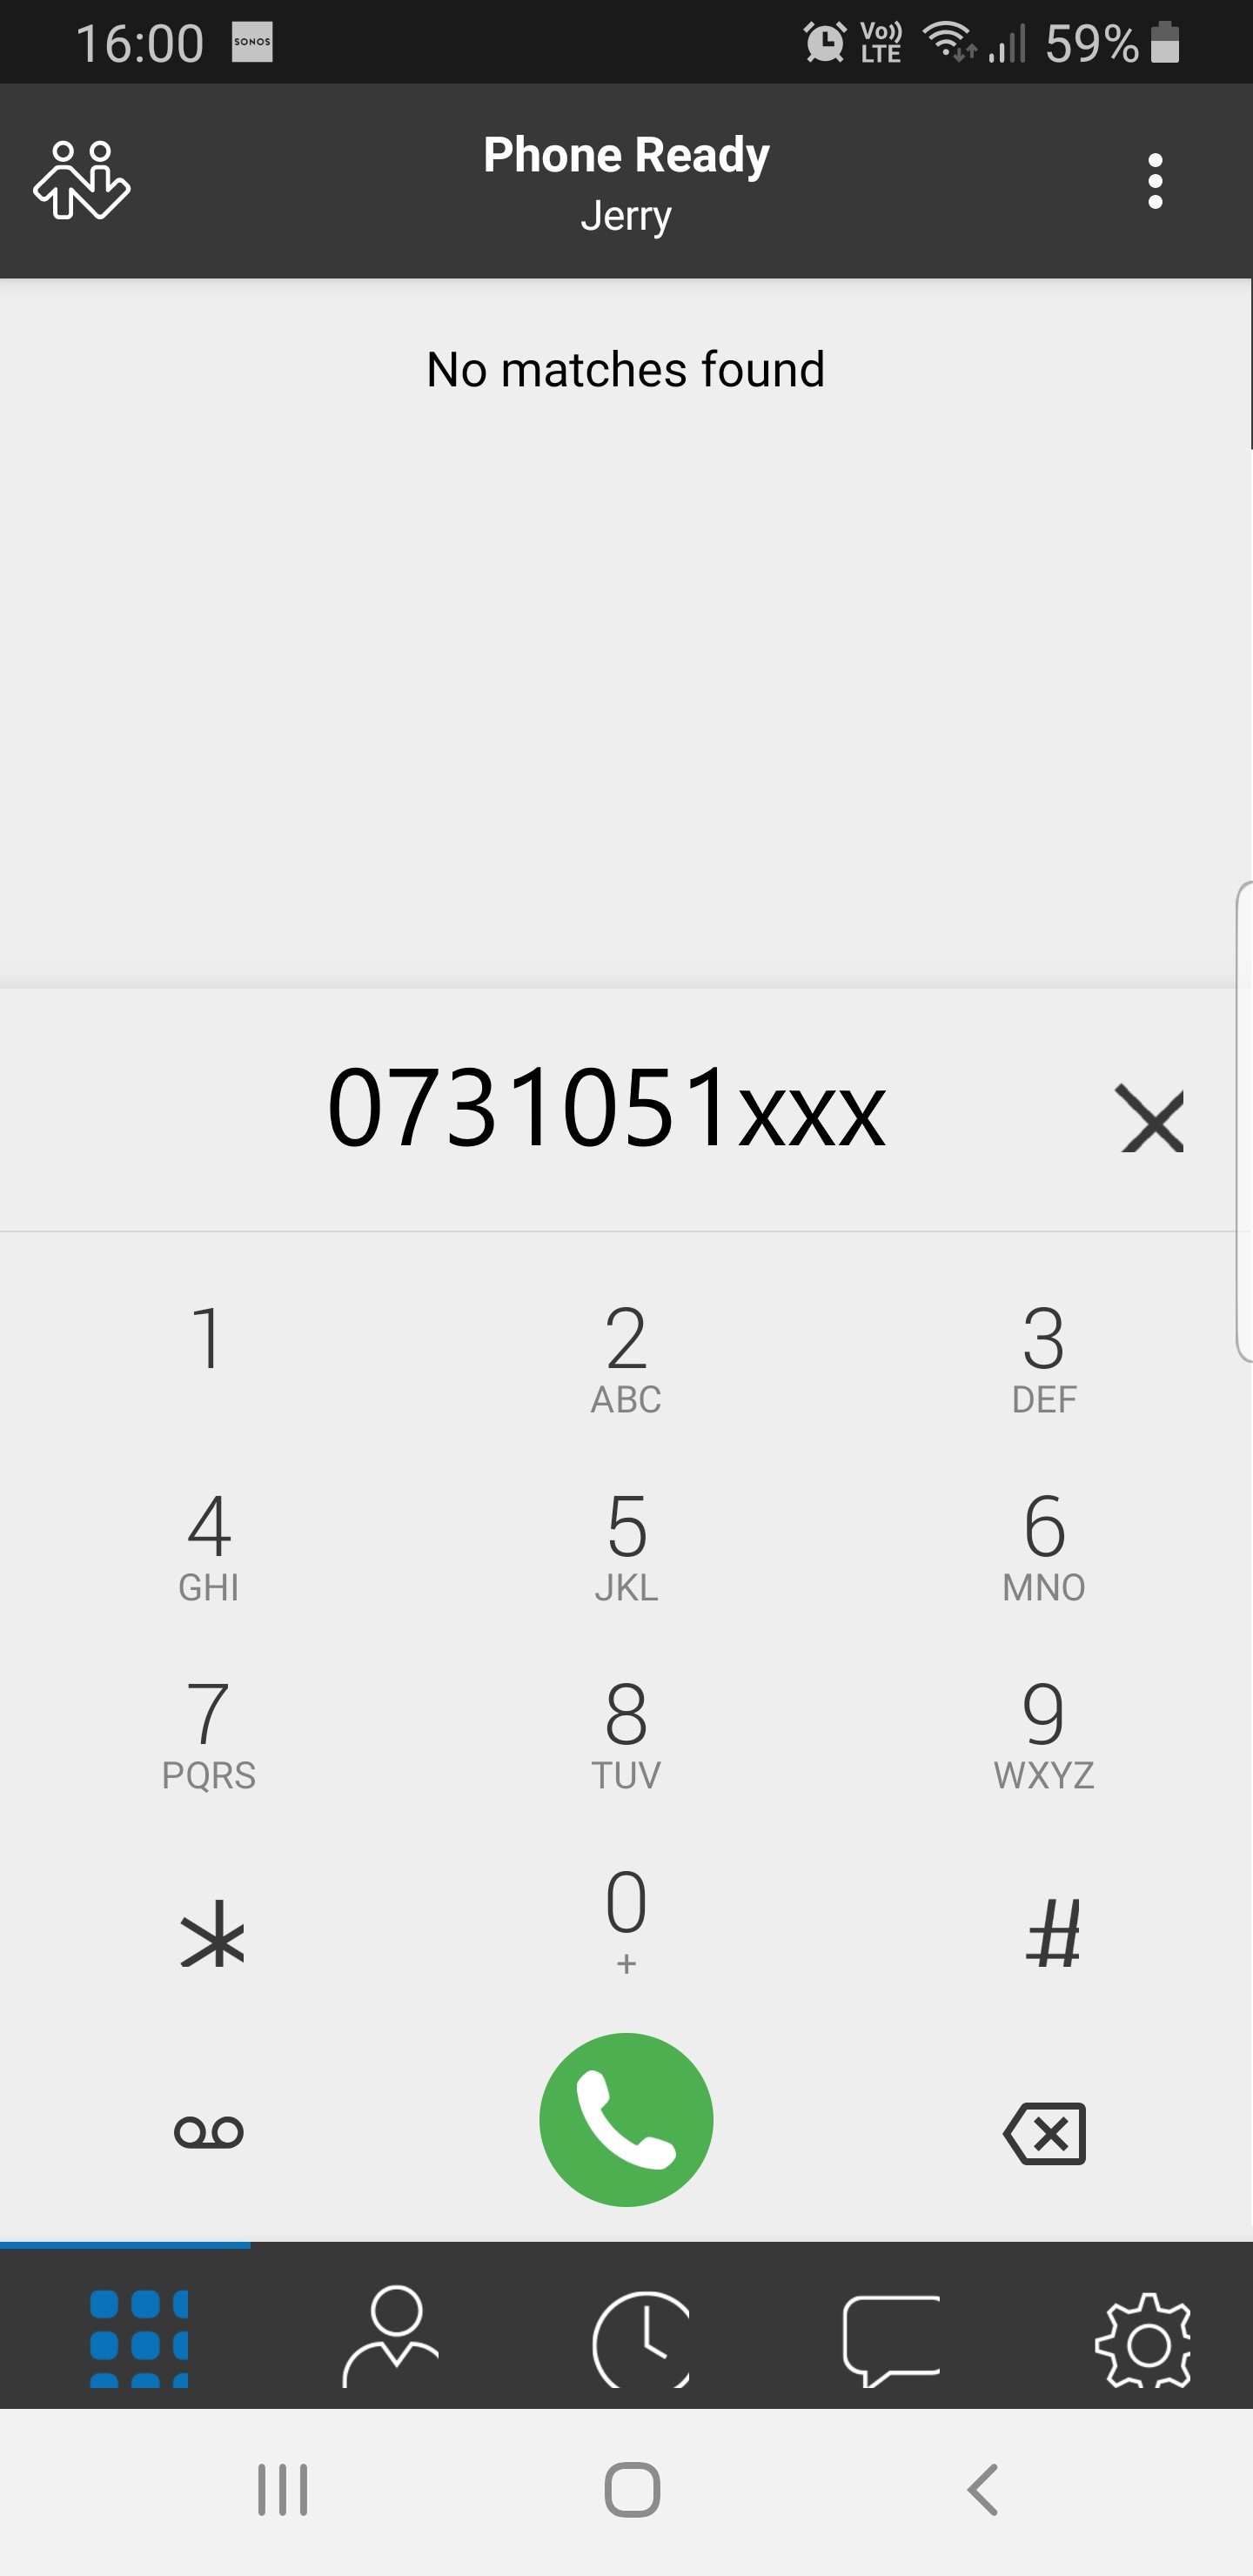
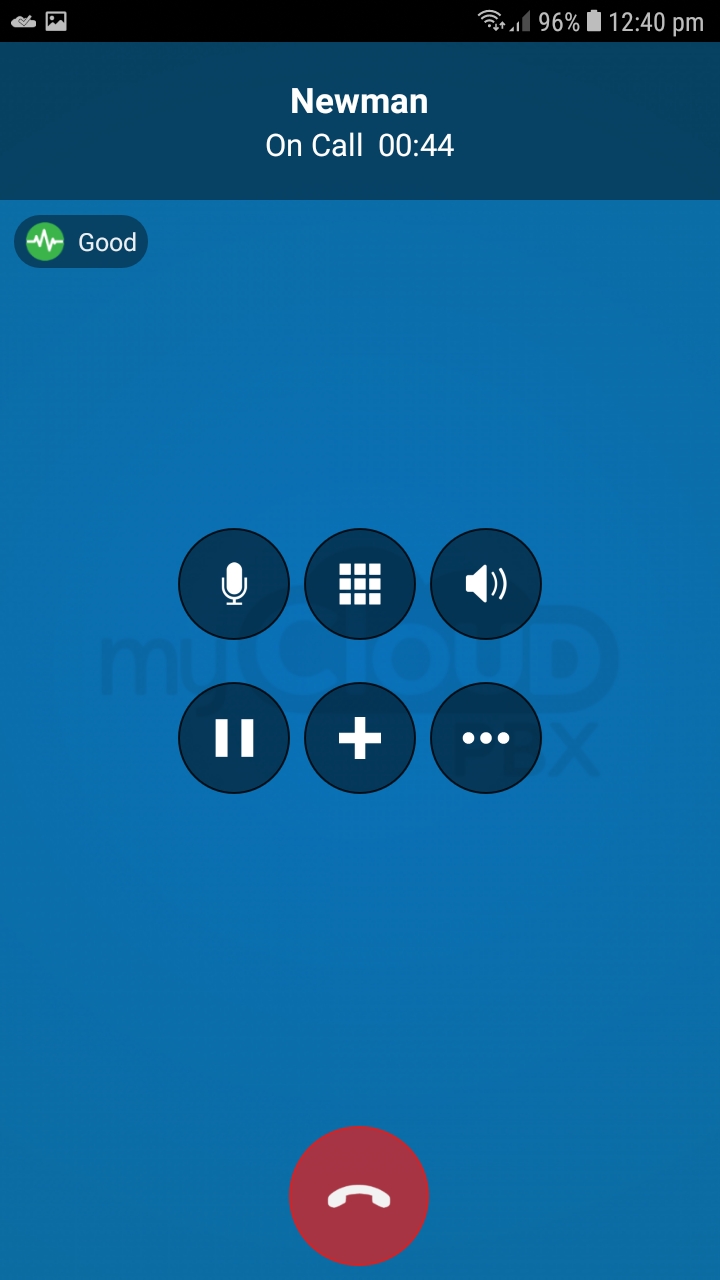
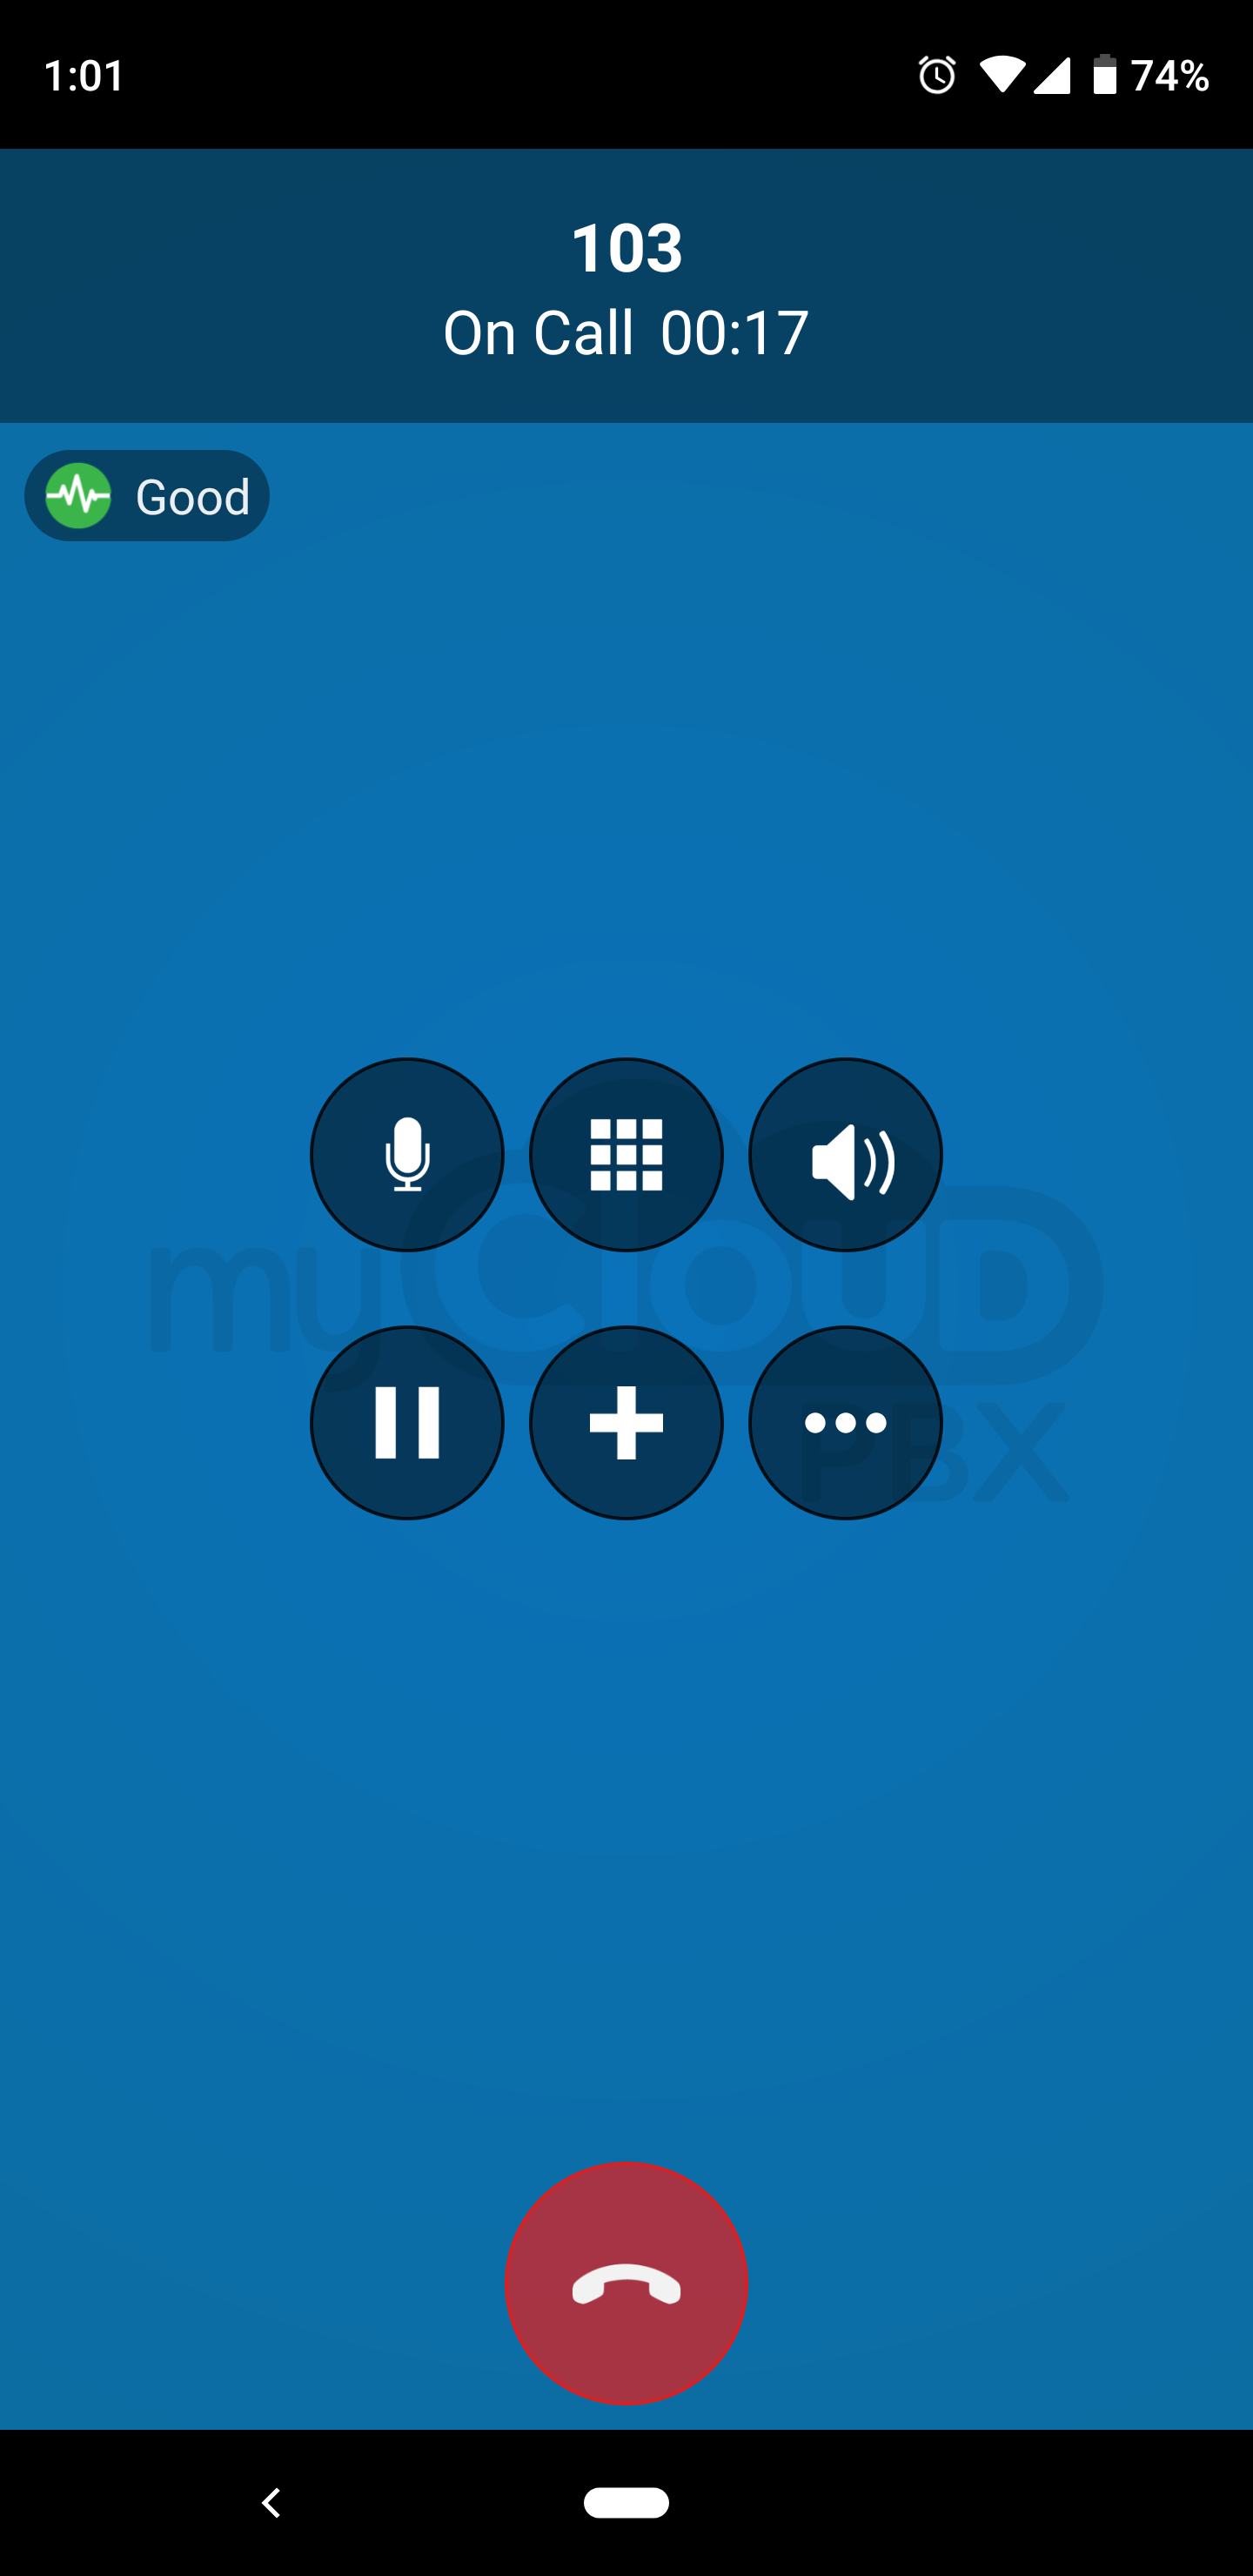
# Making a Call
You will need a MyCloudPBX Softphone account in order to follow this guide, if you do not already have one you will need to contact your administrator.
Open the myCloudPBX app and login using your username and password.
Type the number you wish to call or use the on-screen keyboard and then click ![]()
# Accessing Voicemail
To access Voicemail, press  or dial 777.
Use the on-screen keyboard to type in your voicemail PIN when prompted
# Blind Transfer a Call
Description: When you 'Blind Transfer' a call the call will immediately ring on the intended persons phone and will no longer be on yours.
Step 1. While in-call, click on ![]() to initiate a transfer. This will place your current call on hold.
to initiate a transfer. This will place your current call on hold.
Step 2. Type the number you wish to transfer to and then click 
The call has now been transferred to the other person.
# Attended Transfer a Call
Description: An 'Attended Transfer' allows you to 'introduce' the caller to the callee before handing the call over. This is the preferred method of transferring calls.
Step 1. While in-call, click on ![]() to initiate a transfer. This will place your current call on hold.
to initiate a transfer. This will place your current call on hold.
Step 2. Type the number you wish to transfer to and then click ![]() followed by clicking 'Call First'.
followed by clicking 'Call First'.
You are now speaking to the callee.
Step 3. When you are ready to hand the call over, click .
The call has now been transferred to the other person.
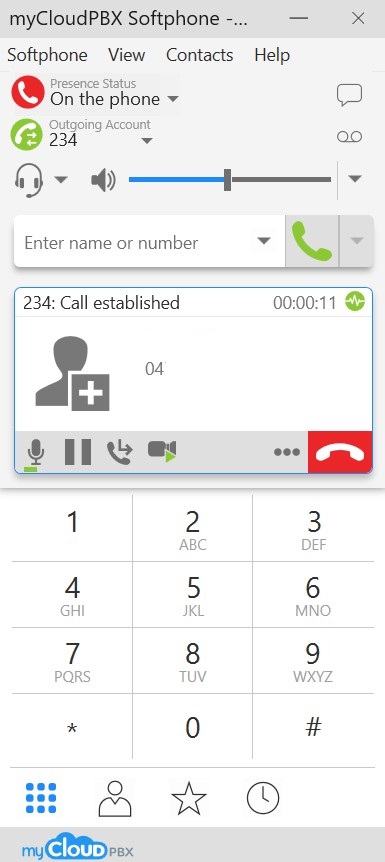
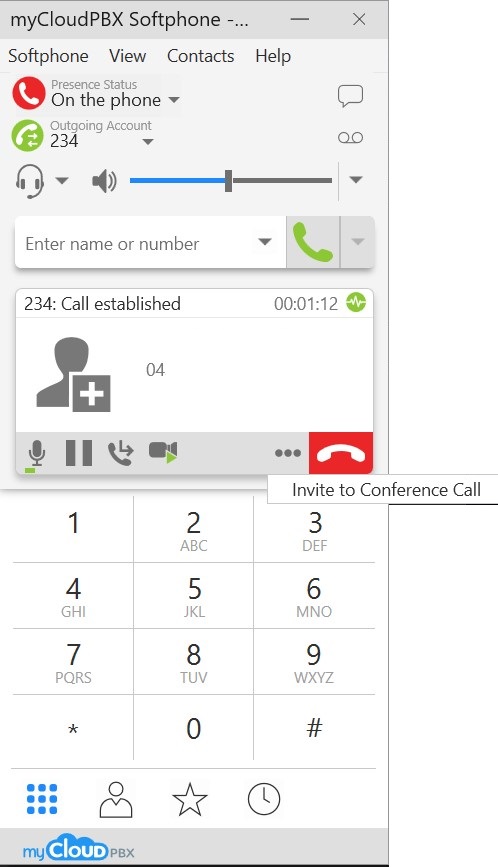
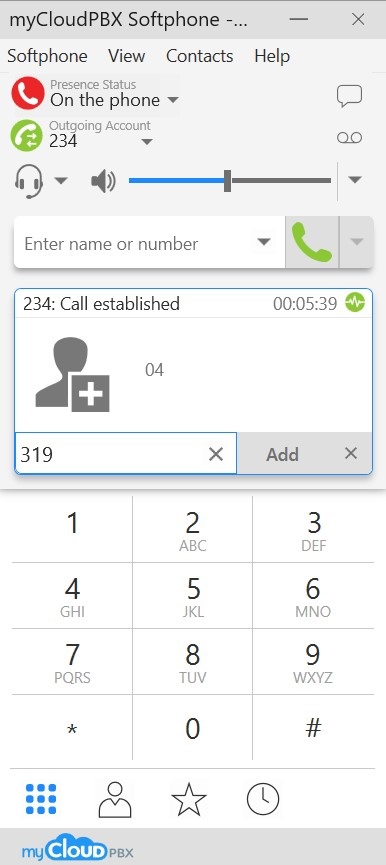
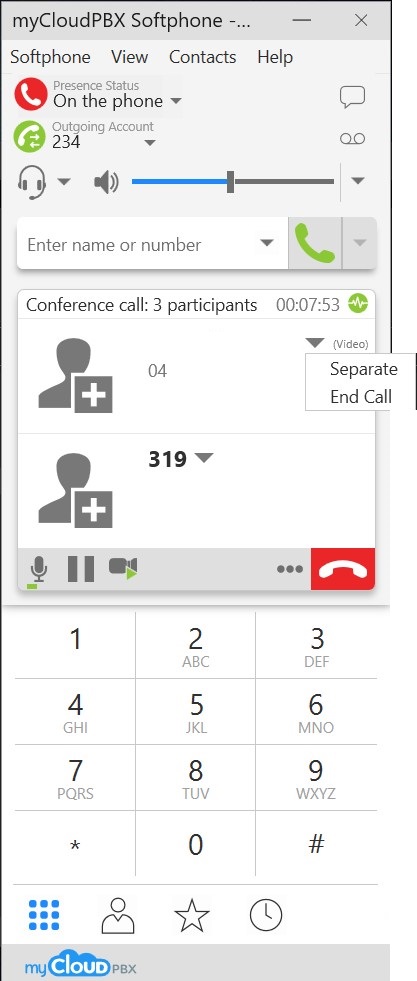
# Conference Calls
Description: The myCloudPBX Softphone allows you to merge two callers together into a 3-way conference call.
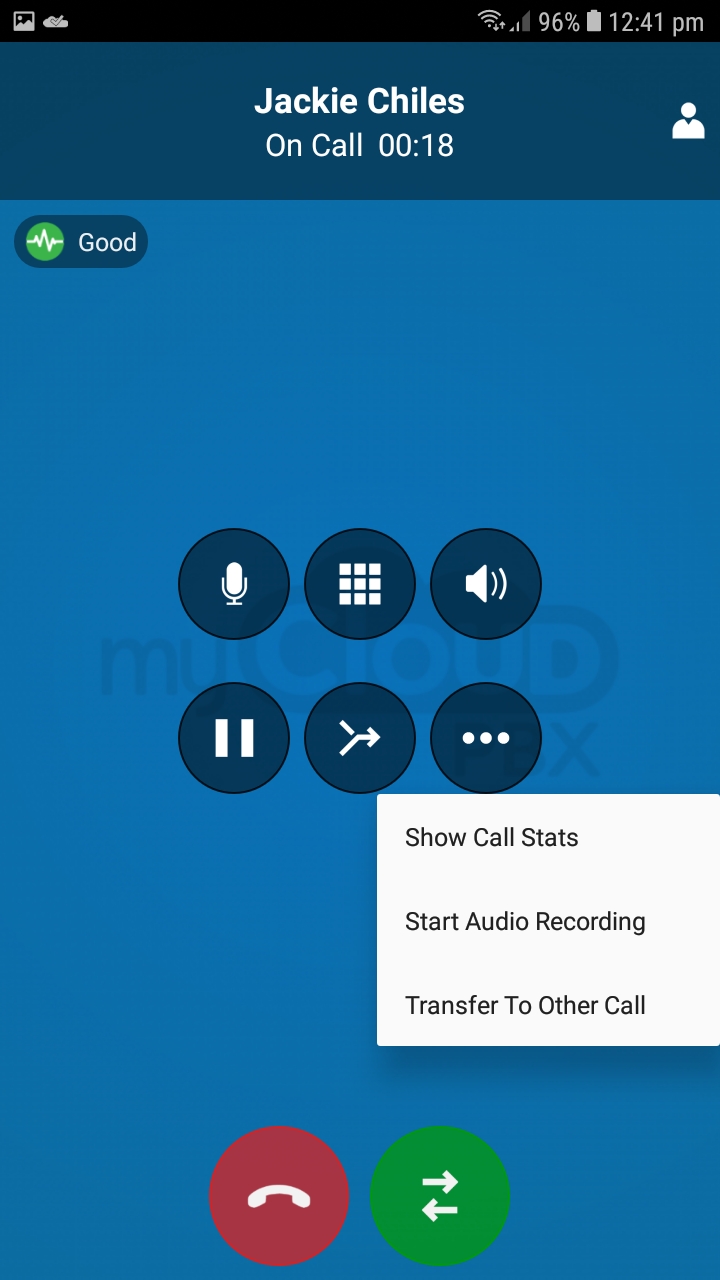
Step 1. While in-call, click on ![]() to access additional call options.
to access additional call options.
Step 2. Click on 'Invite to Conference Call'
Step 3. Type the number of the person you wish to add to the call and then click  .
.
Step 4. You are now in a conference call. In order to separate the calls click on ![]() , followed by 'Separate'.
, followed by 'Separate'.
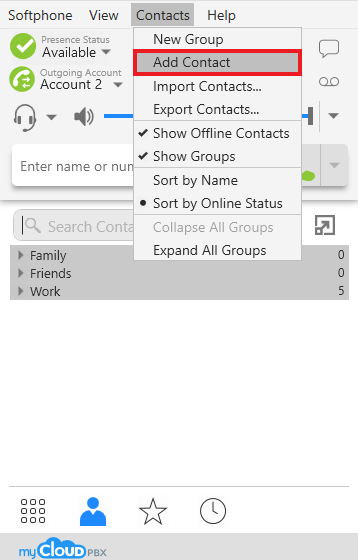
# Adding Contacts
Description: The myCloudPBX Softphone allows you to add other users on your PBX as contacts so you can monitor their call status.
Step 1. From the main screen of the softphone, click 'Contacts' and then from the drop down menu, 'Add Contact'.
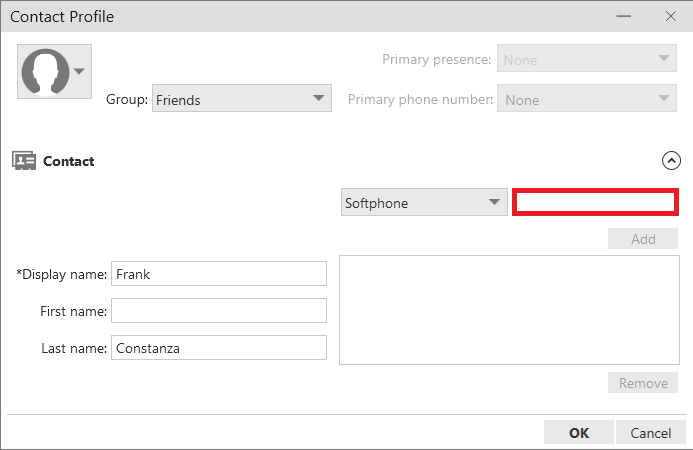
Step 2. Enter in the relevant information for your contact and then your contact's extension number in the box indicated below. Then click 'Add'.
Step 3. Click 'OK' to finish adding your contact.
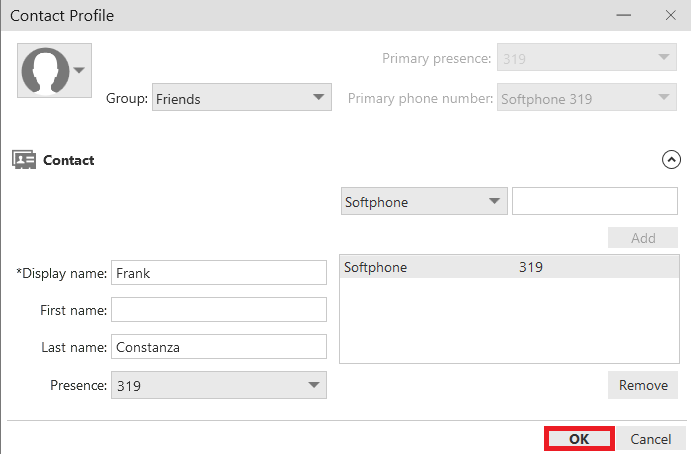
Step 4. Your contact is now added.
# Android Guides
These guides will aim to demonstrate how to install and operate the MyCloudPBX softphone using an Android phone.
You will need a MyCloudPBX Softphone account in order to follow this guide, if you do not already have one you will need to contact your administrator.
# Installation
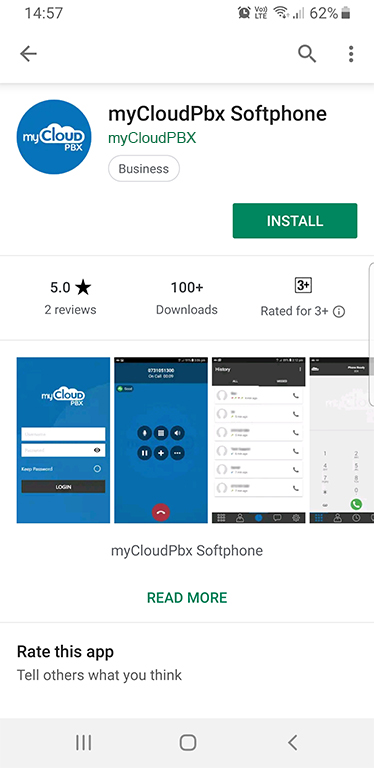
Step 1. From the Play Store, search ‘myCloudPBX’ and and Install the app.
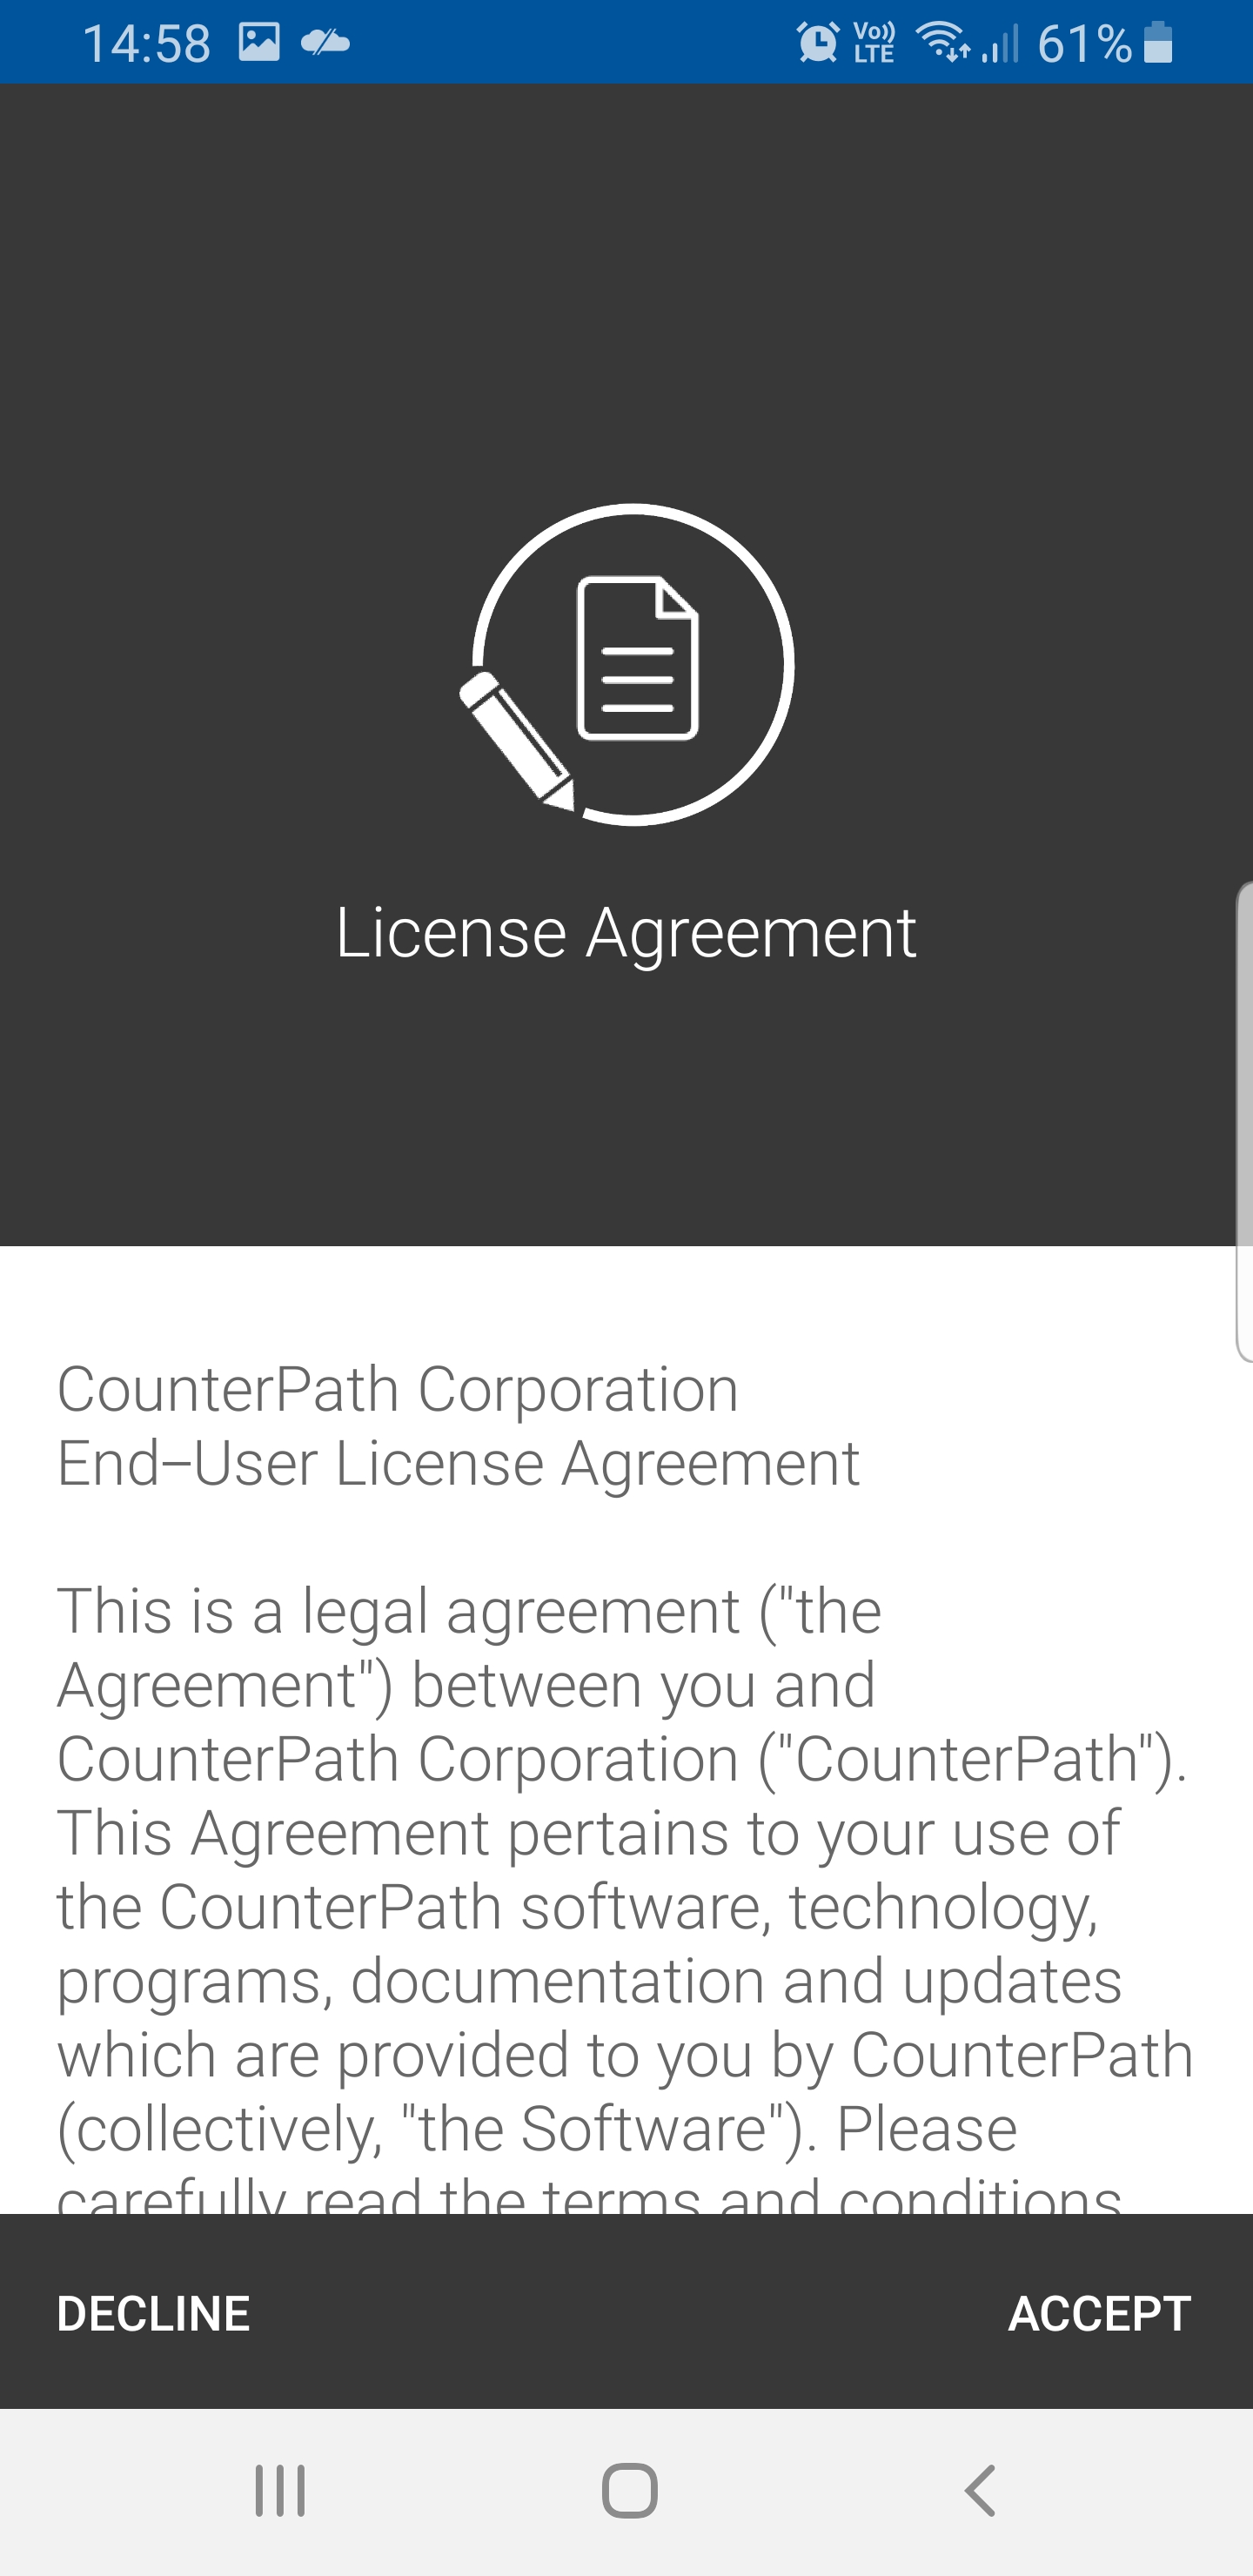
Step 2. The first time you run the application, you will have to accept some permissions so the app will work. Start by Accepting License Agreement.
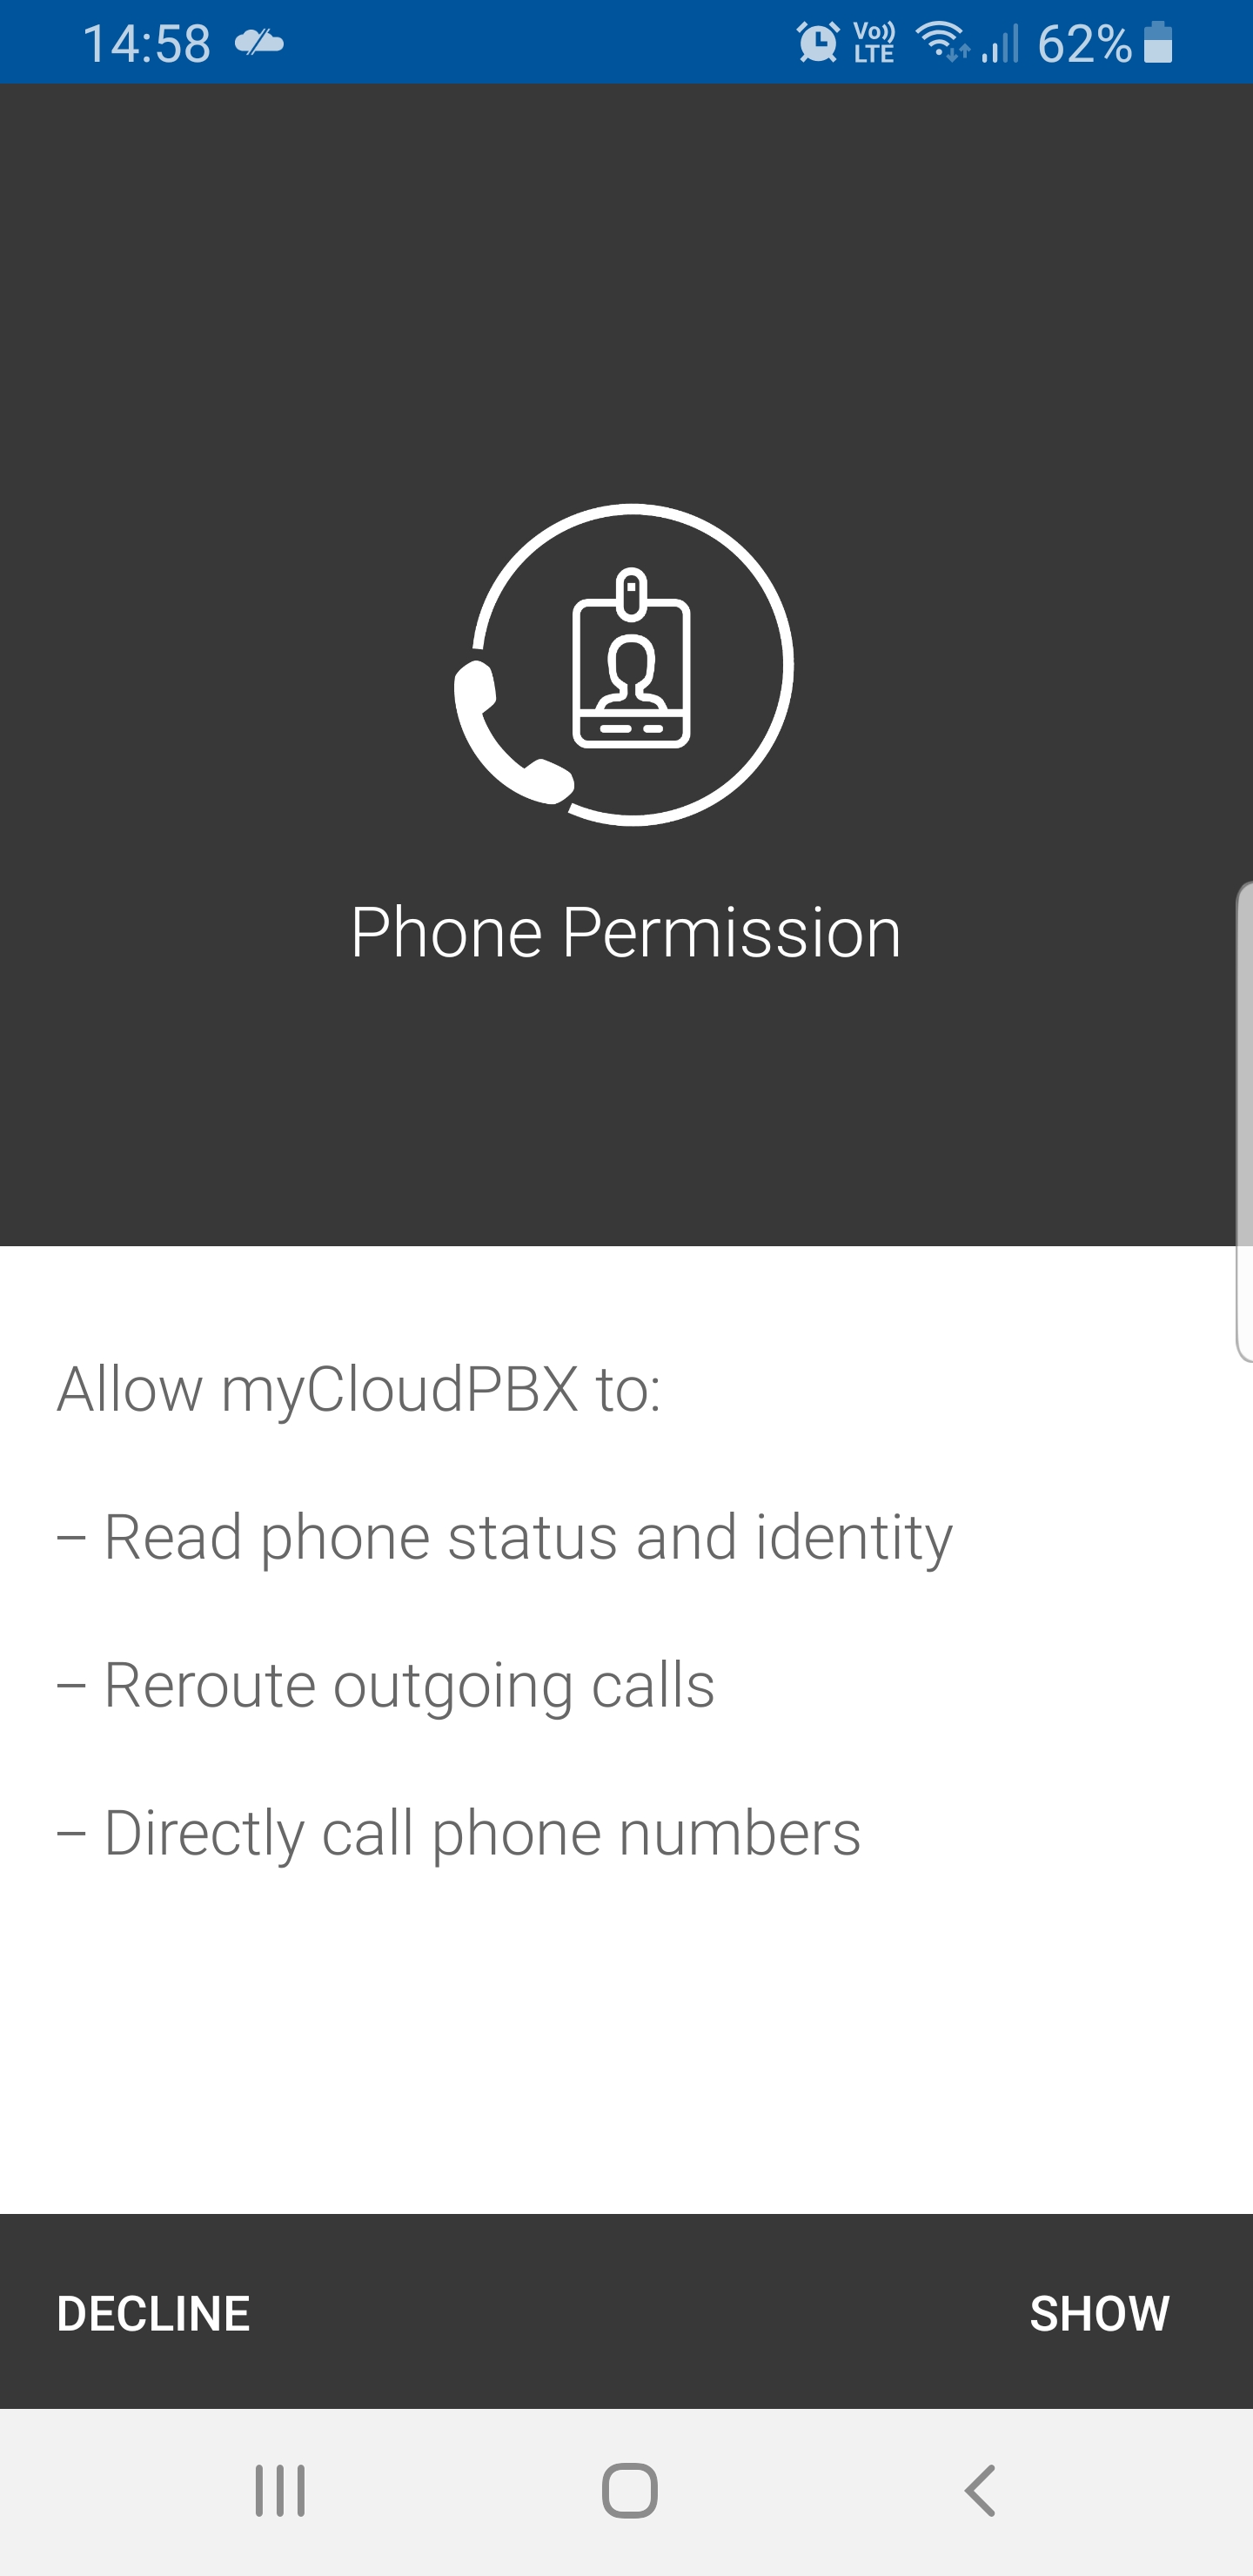
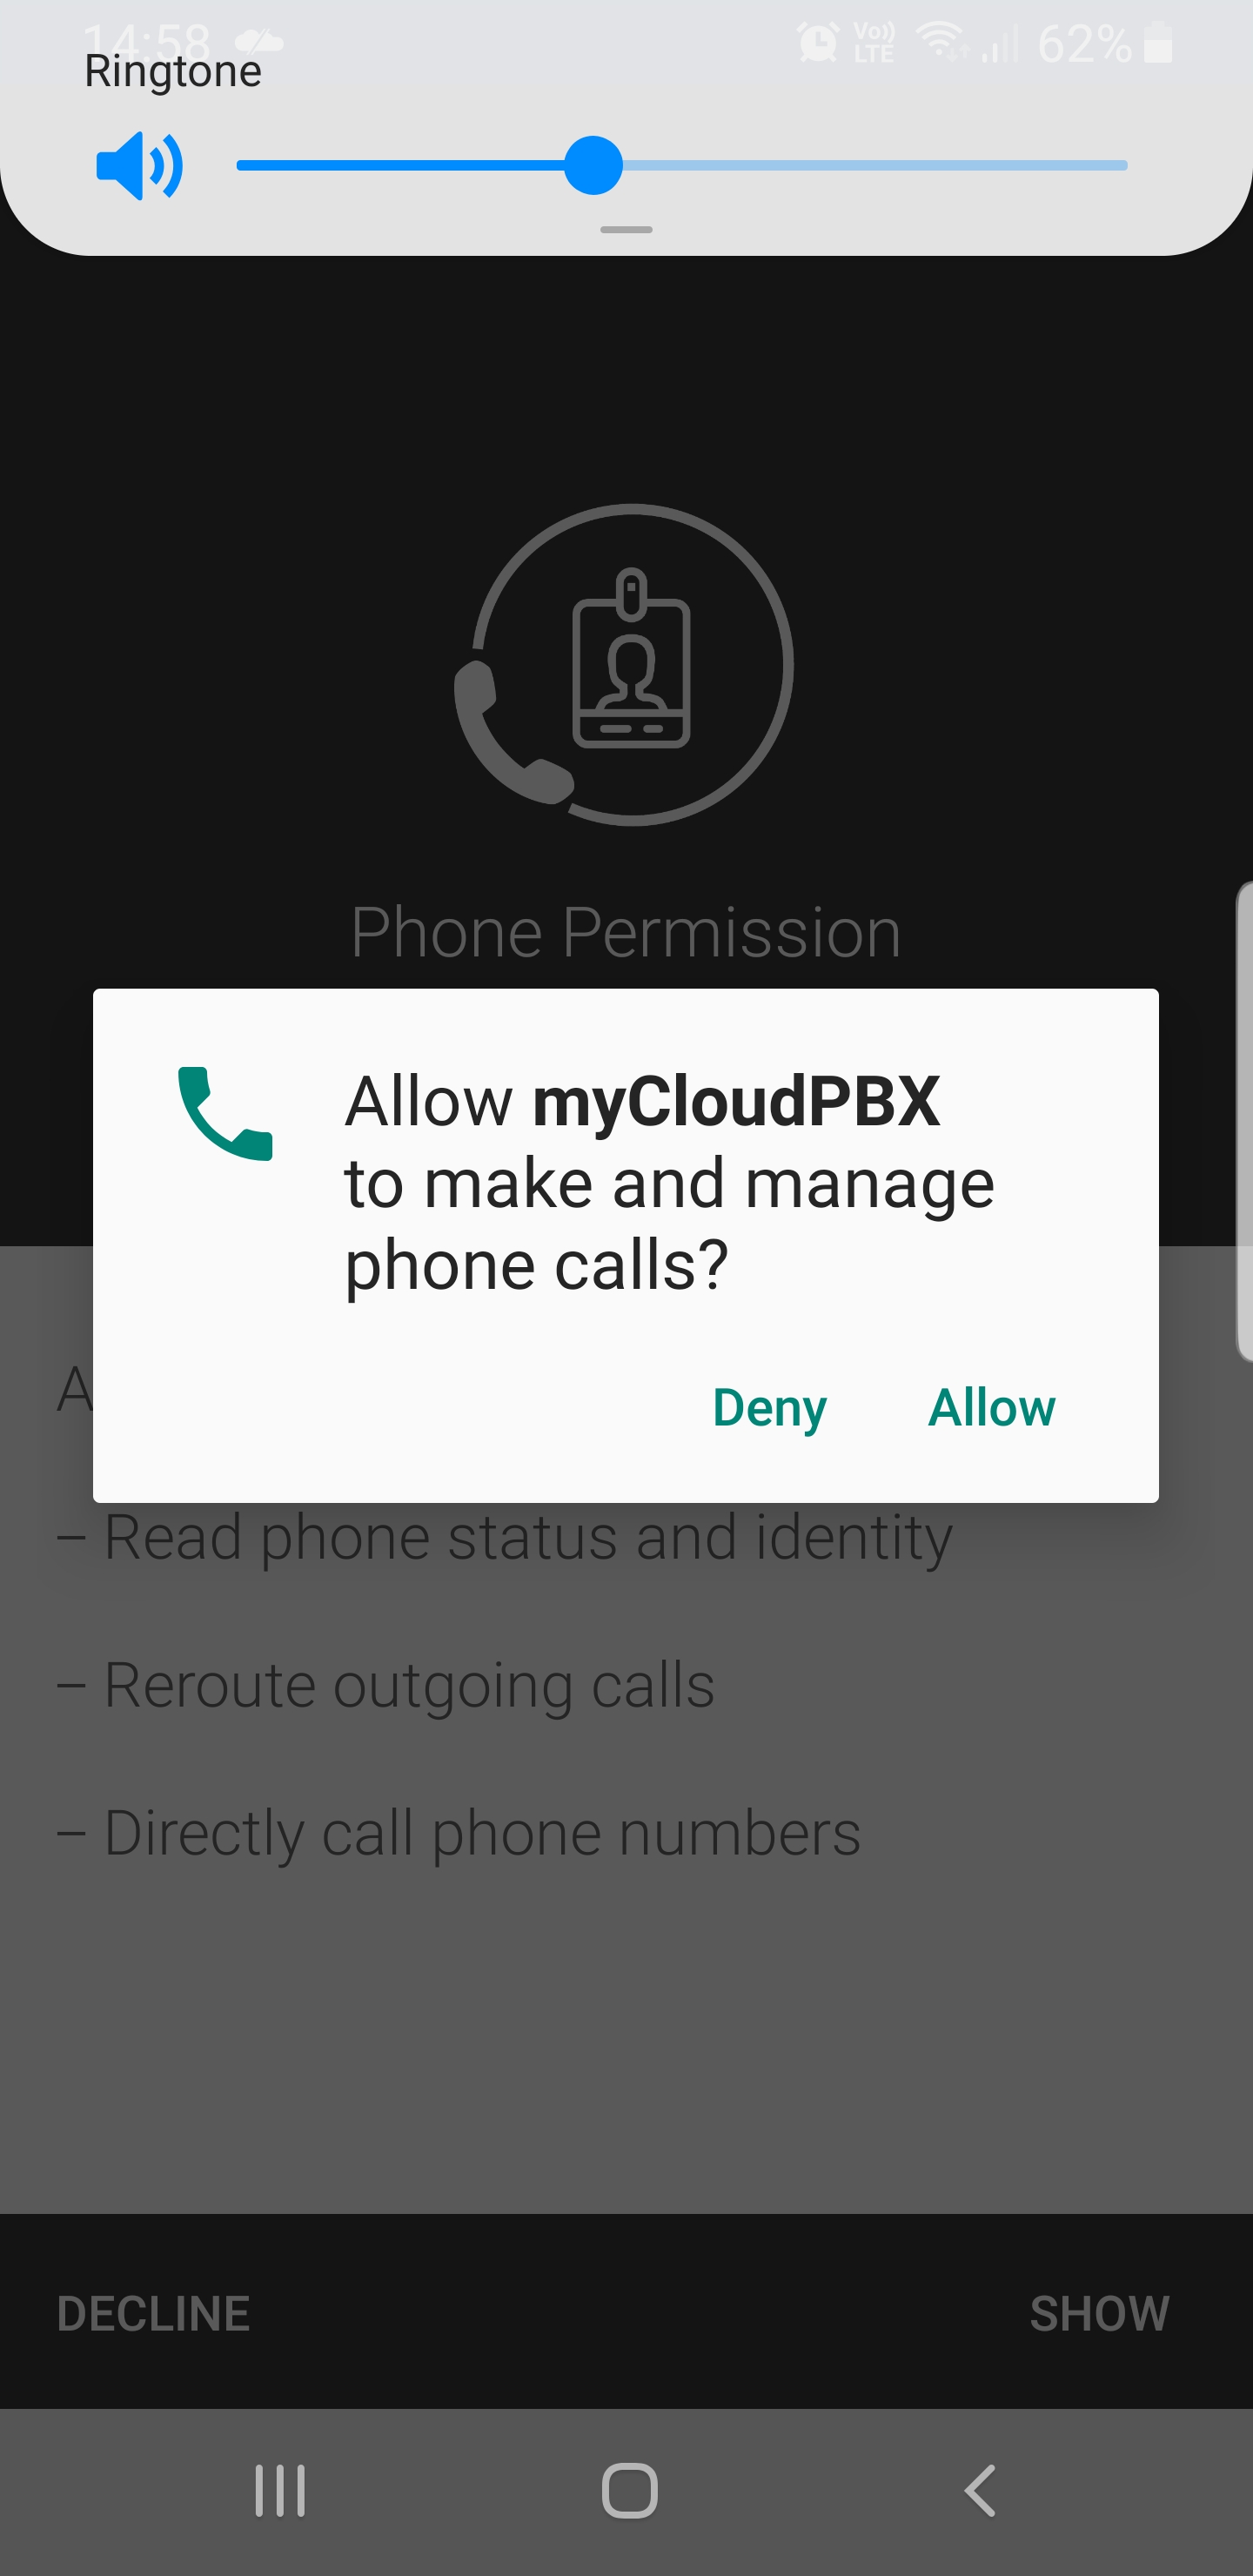
Step 3. Tap Show to allow myCloudPBX to Read phone status and identity, reroute outgoing calls and directly call phone numbers.
Step 4. Tap ‘Allow’ to enable myCloudPBX to make and manage phone calls.
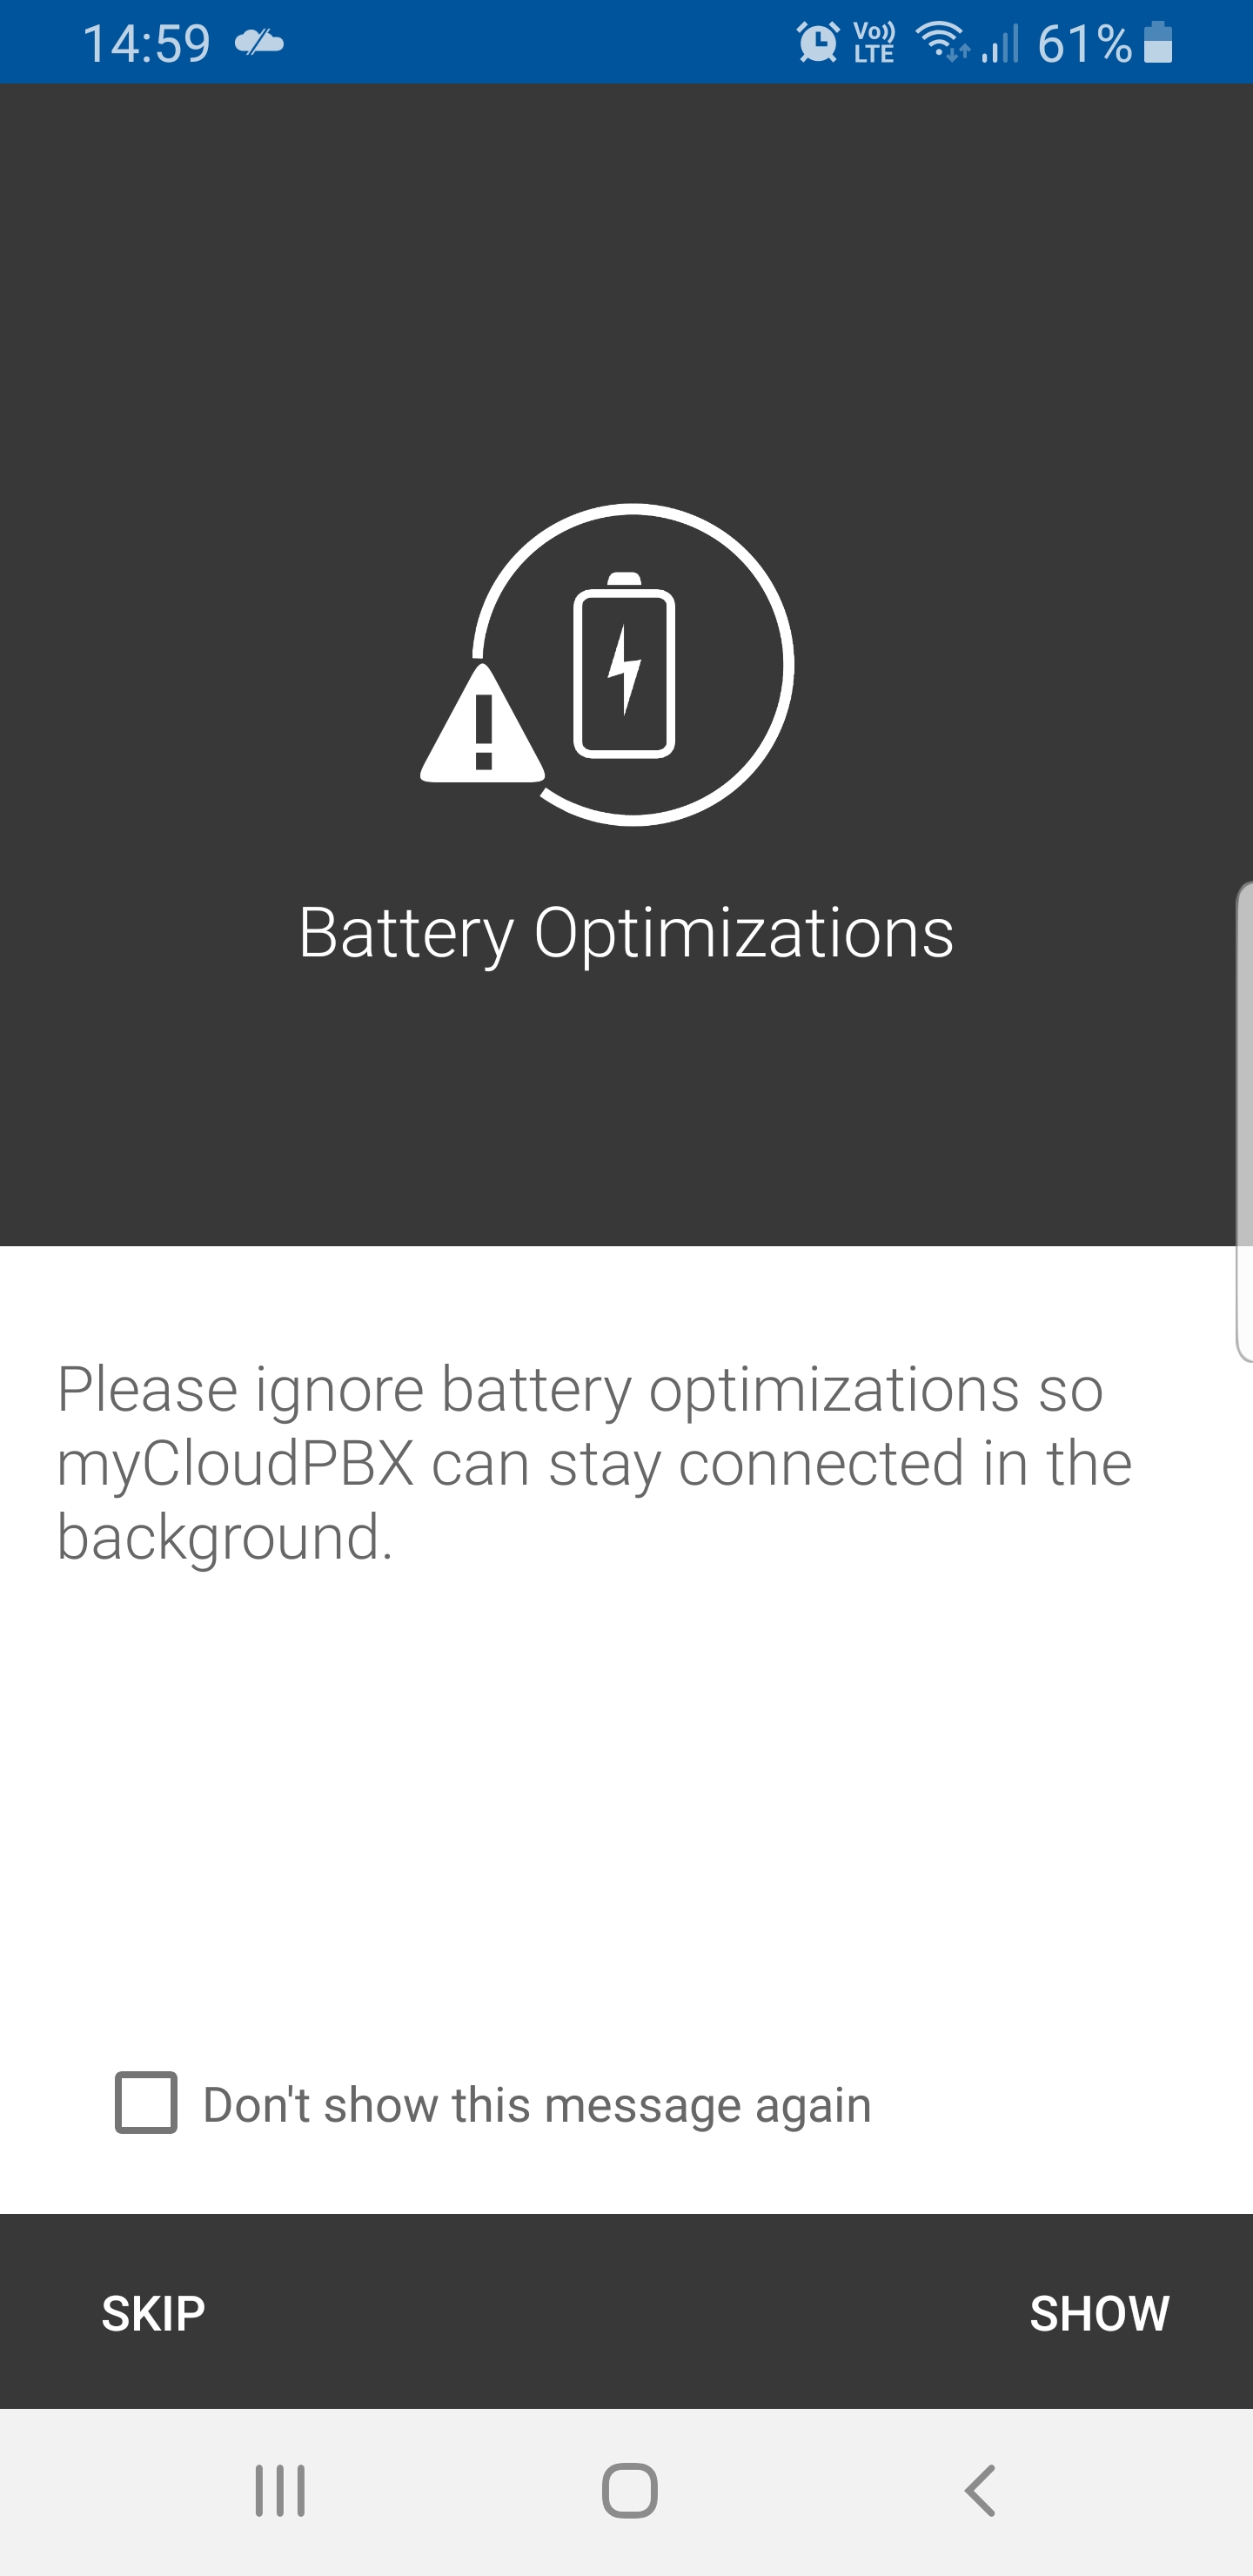
Step 5. Next, it will request permission to be exempt from battery saving rules, this will allow the app to run in the background and receive calls even when on battery saver. Click "SHOW' and then 'accept' to proceed.
Step 6. Enter the following information:
Username: Your username
Password: Your password
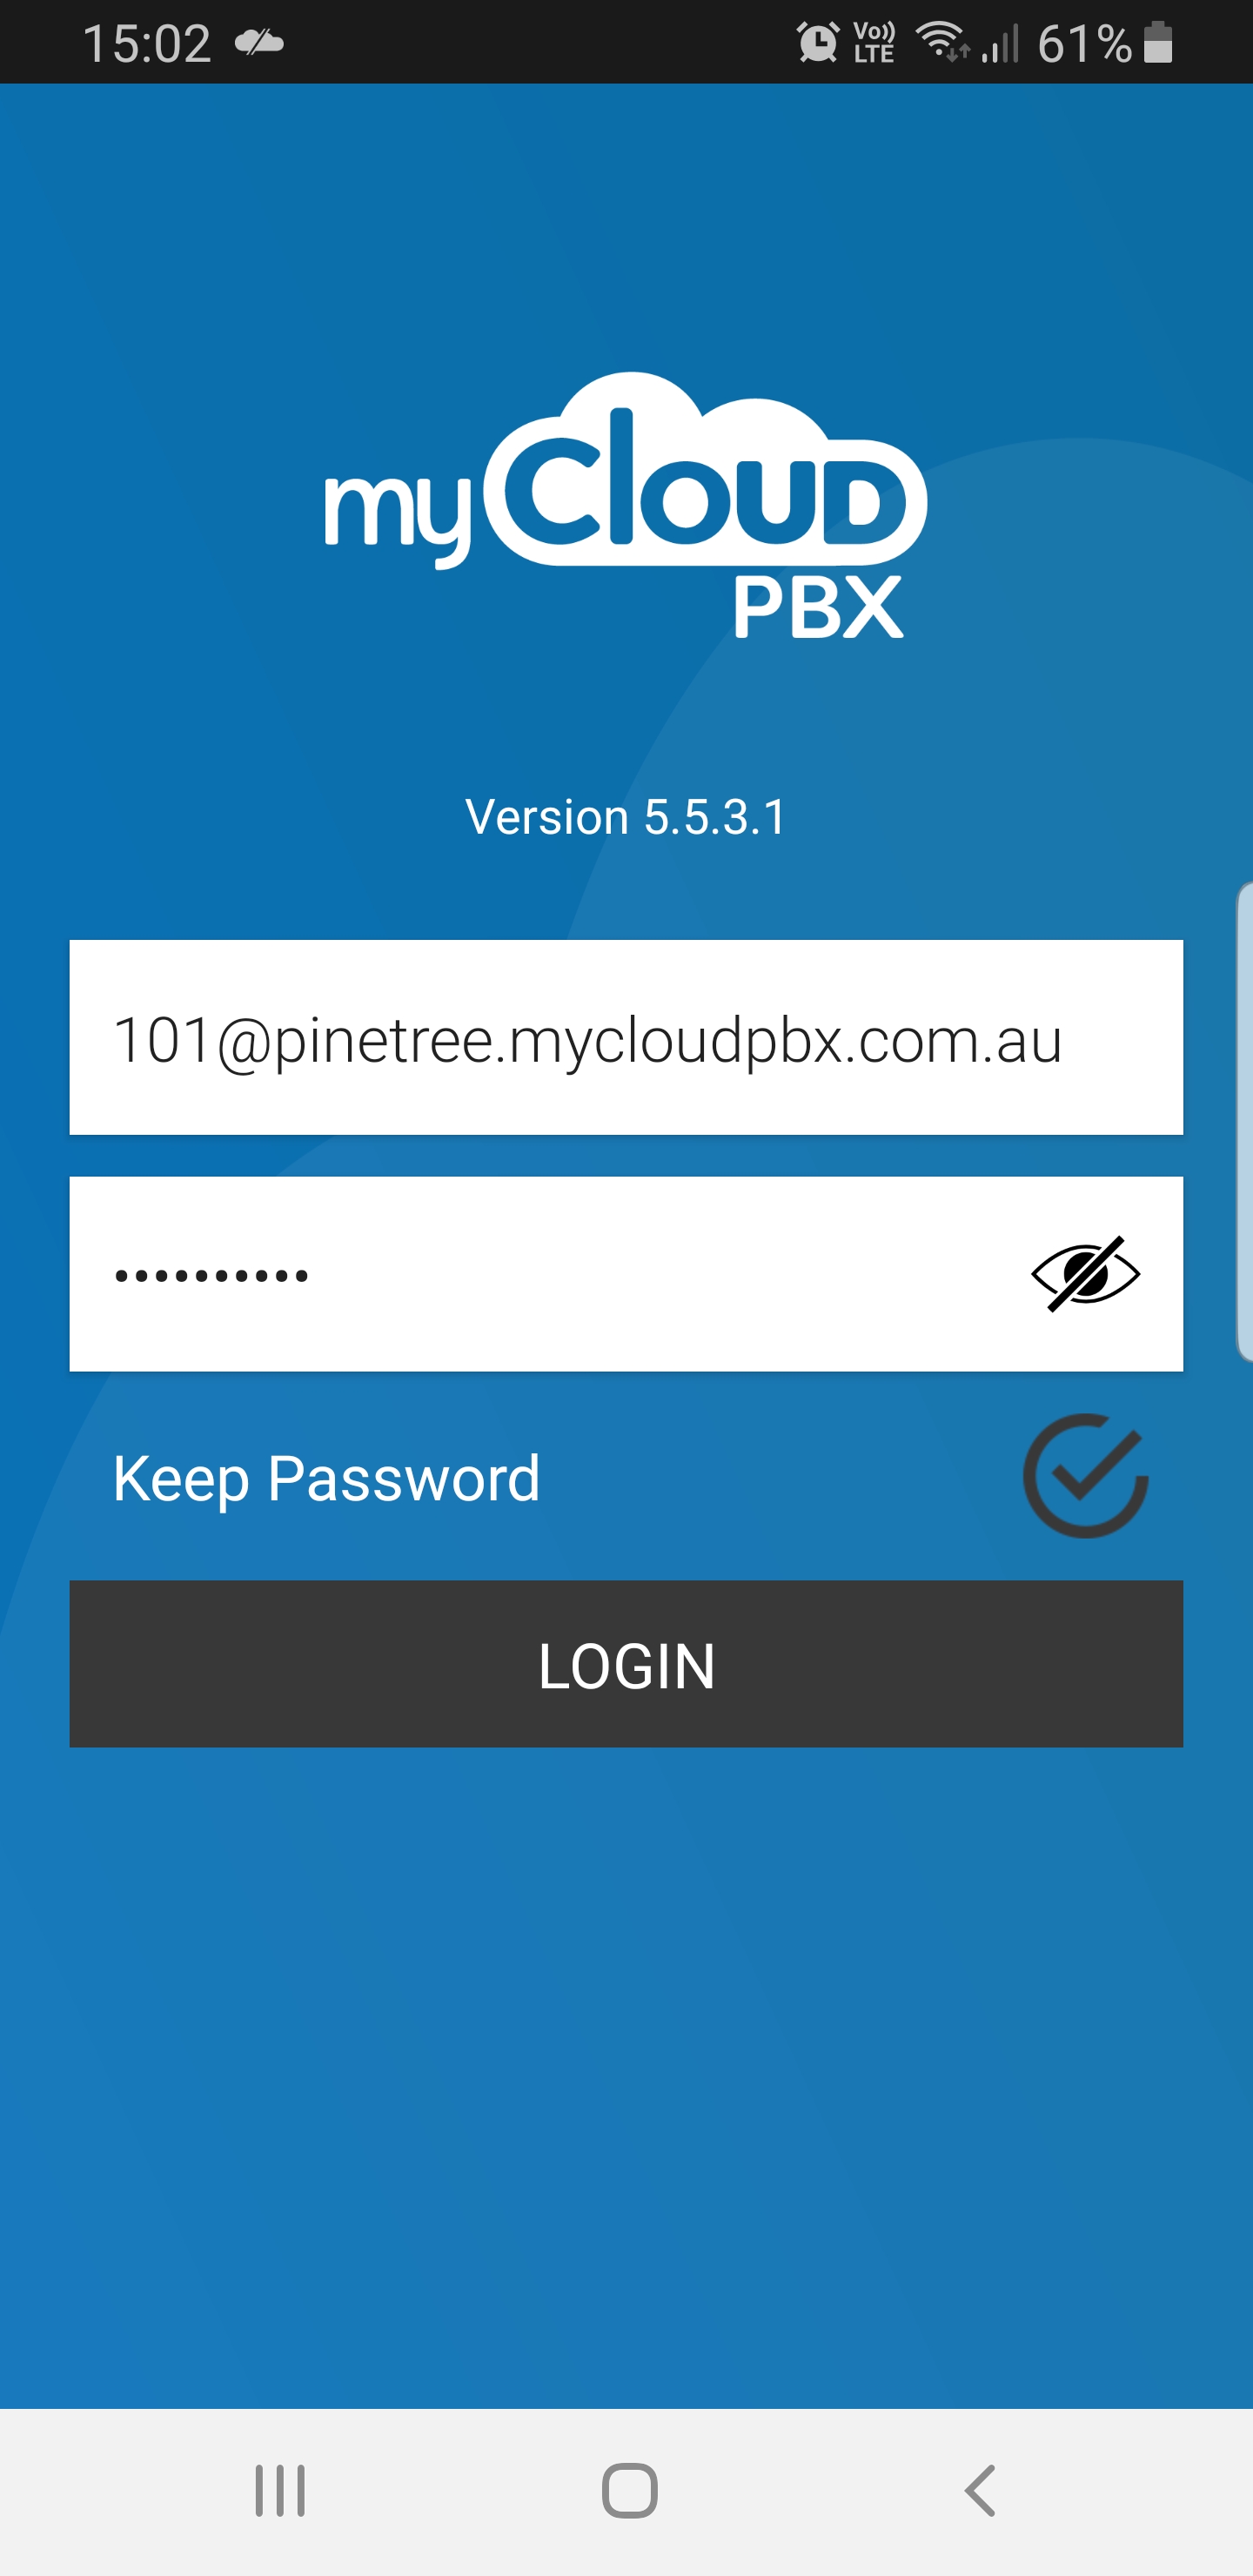
Step 7. You are now logged in.
# Making a Call
You will need a MyCloudPBX Softphone account in order to follow this guide, if you do not already have one you will need to contact your administrator.
Open the myCloudPBX app and login using your username and password.
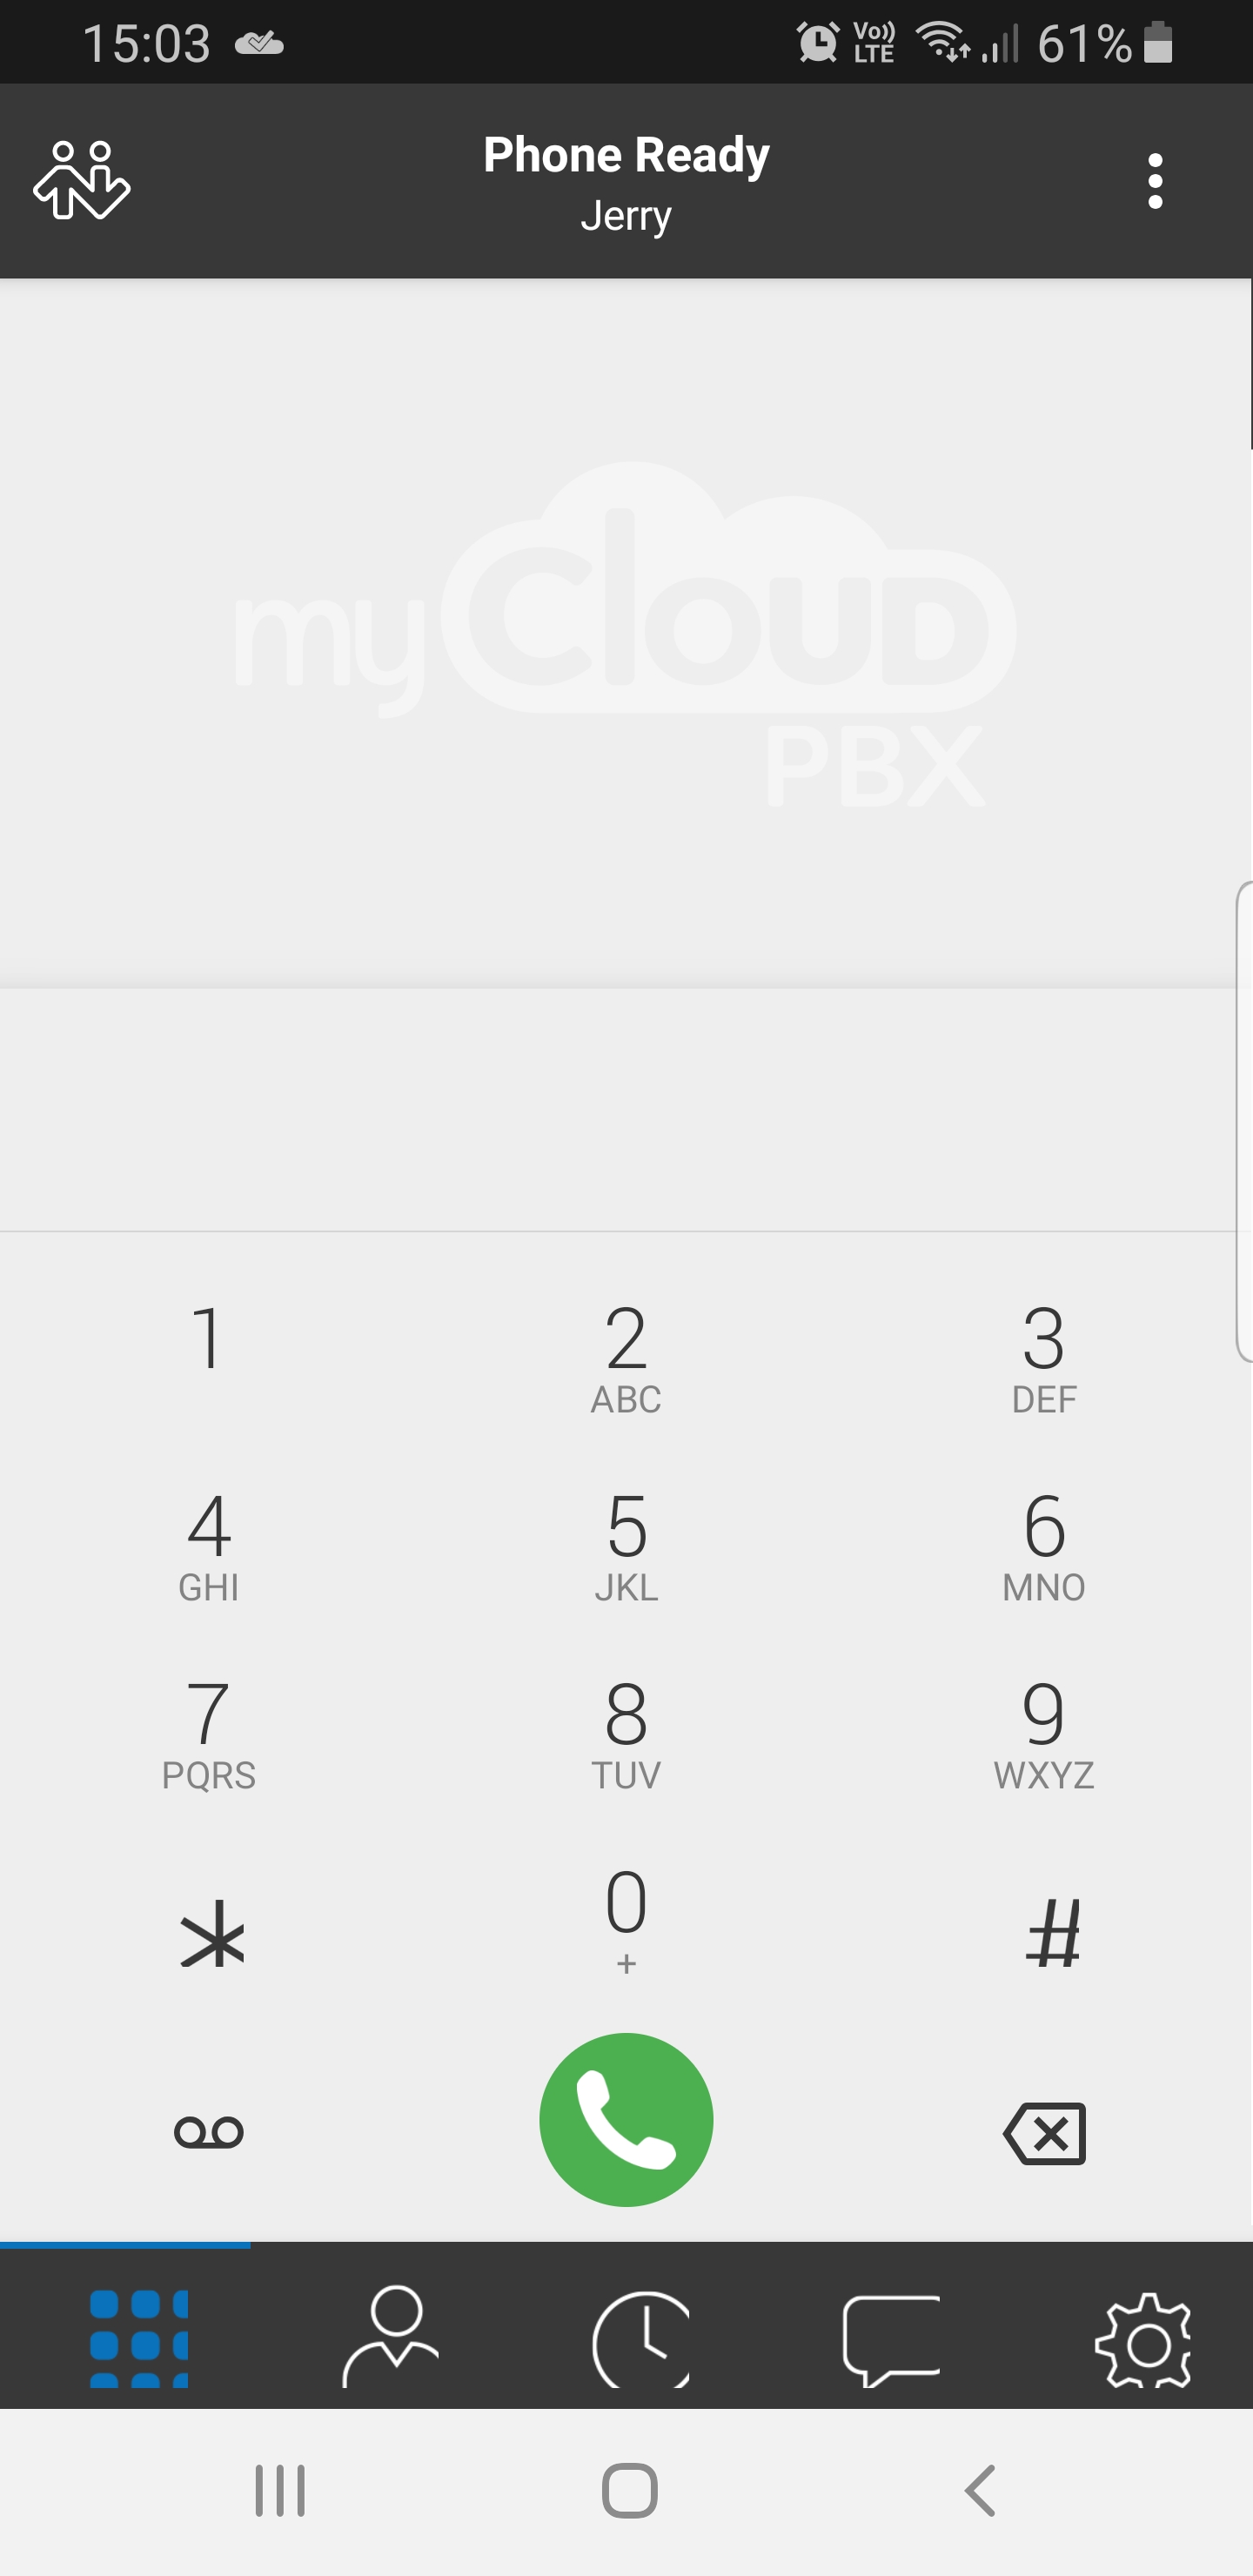
Using the touchscreen enter the number you wish to dial and then press the green ‘dial’ button.
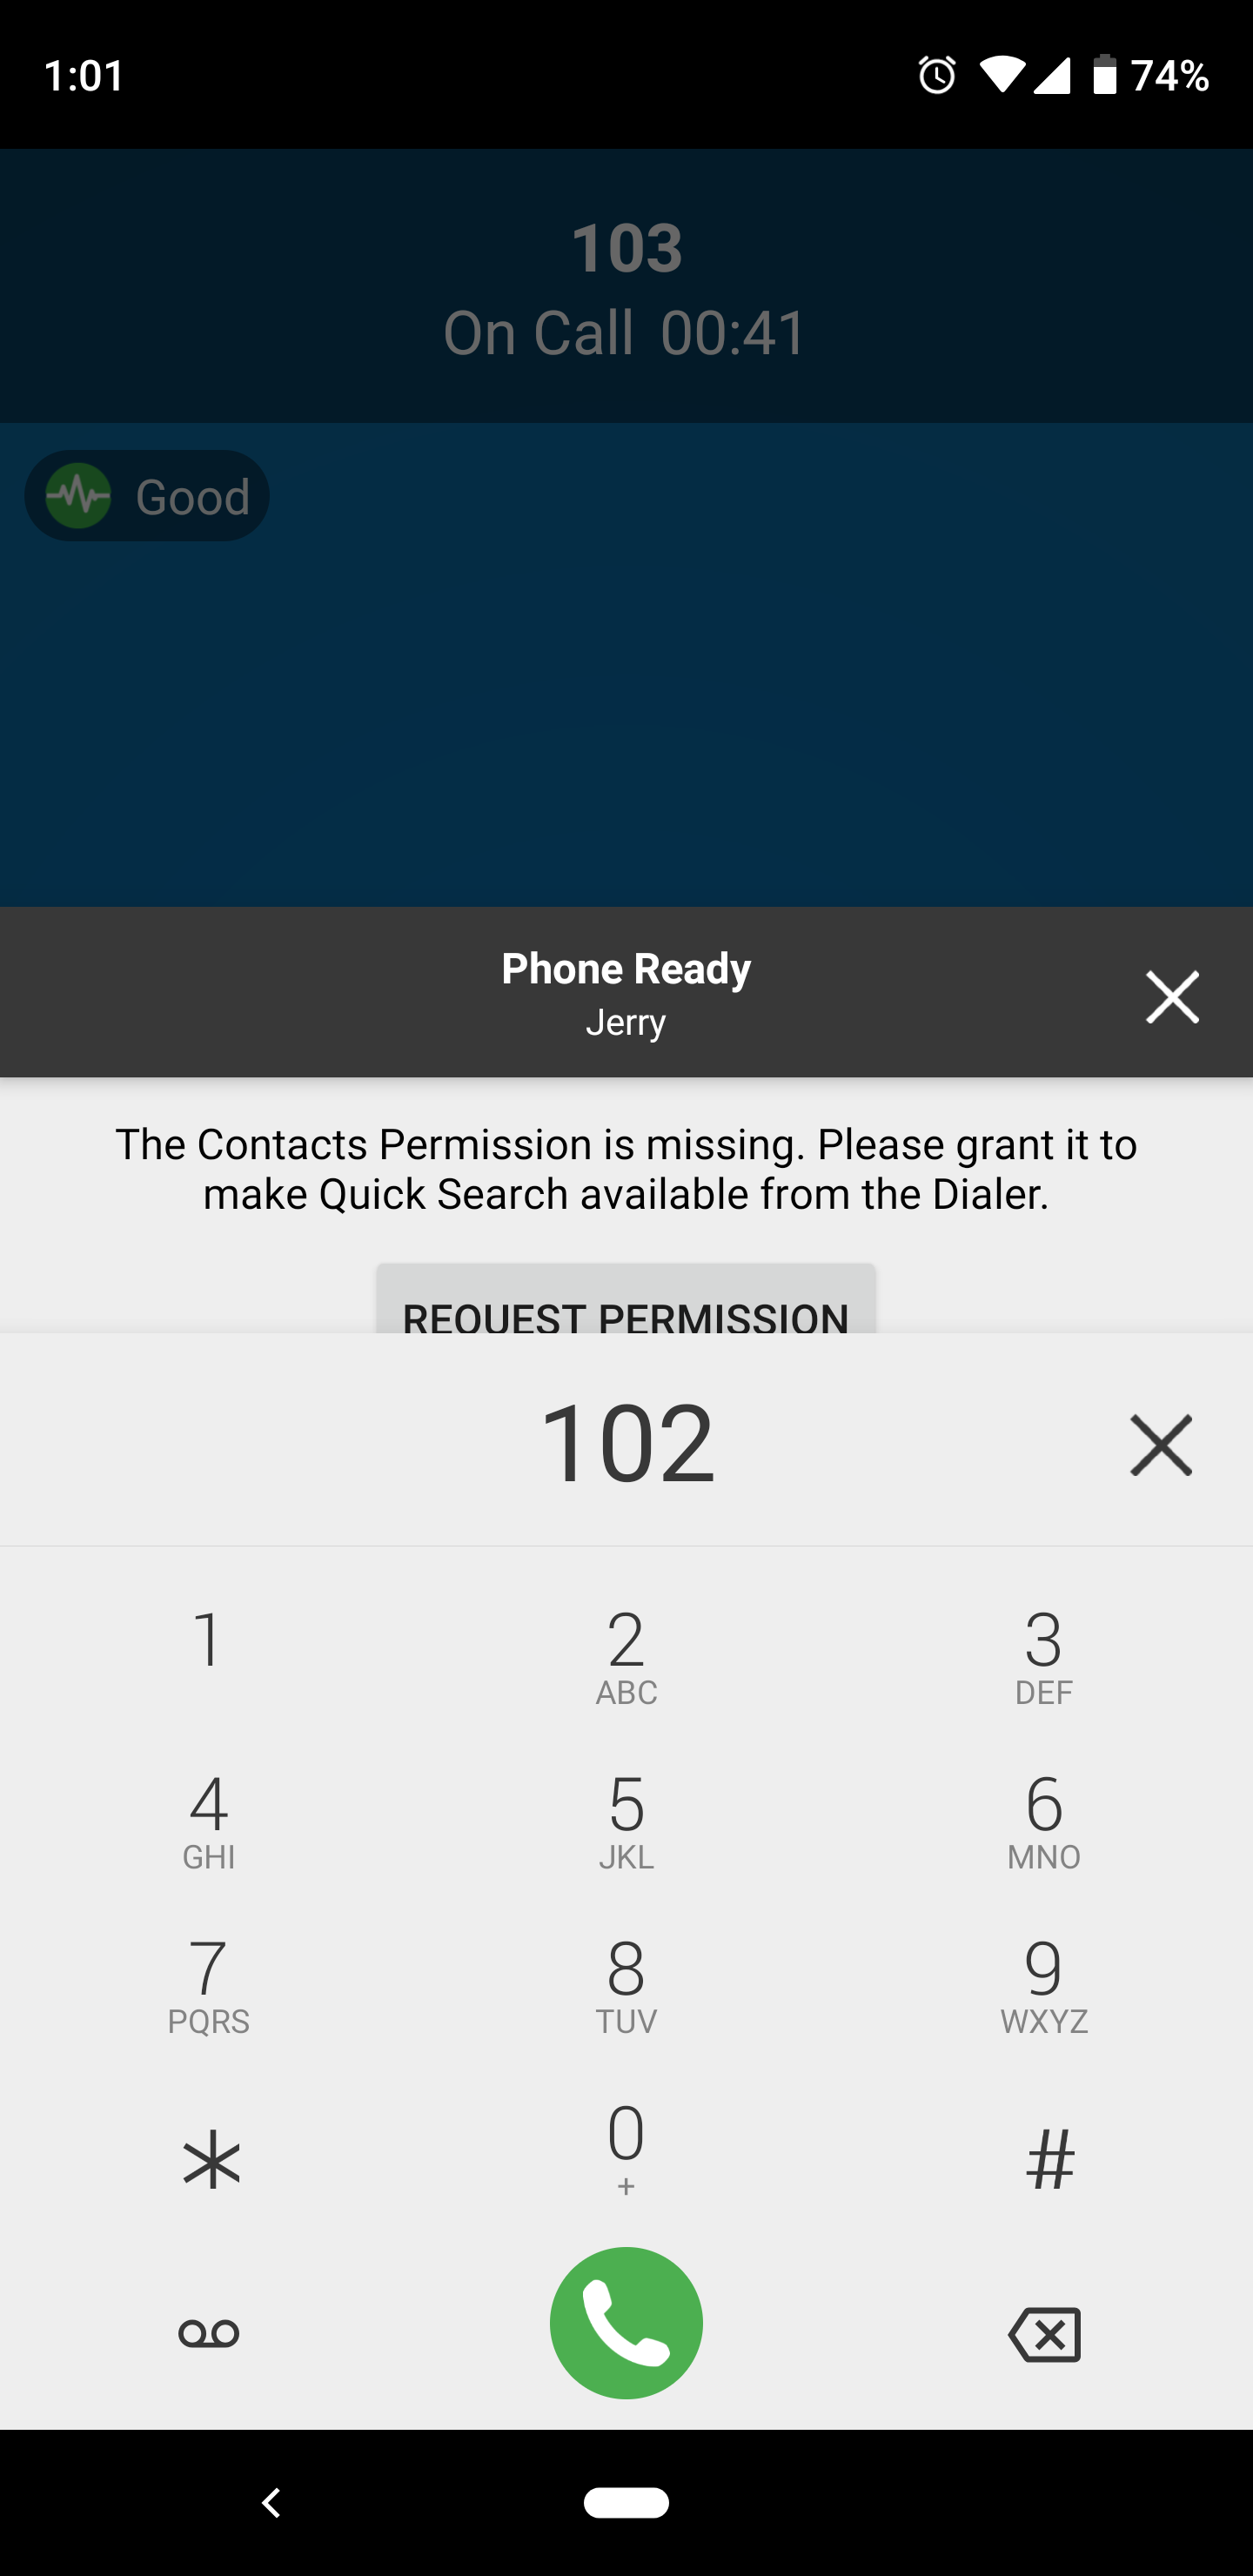
# Accessing Voicemail
To access Voicemail, press or dial 777.
Press the 'Keypad Icon' to access the keypad, then enter your PIN when prompted.
# Blind Transfer a Call
Description: When you 'Blind Transfer' a call the call will immediately ring on the intended persons phone and will no longer be on yours.
While on the active phone call press ![]() and the press the 'Transfer To...' option as shown below.
and the press the 'Transfer To...' option as shown below.
Use your address book, or enter the number you wish to transfer to and press 
The call has now been blind transferred to the other person.
# Attended Transfer a Call
Description: An 'Attended Transfer' allows you to 'introduce' the caller to the callee before handing the call over. This is the preferred method of transferring calls.
While on an active call, press ![]()
Use your address book, or enter the number you wish to transfer to and press 

Once the phone is answered you will be able to announce the caller to the callee before handing the call over.
Press ![]() and the press the 'Transfer To...' option as shown below.
and the press the 'Transfer To...' option as shown below.
The has now been transferred to the other person.
# Conference Calls
Description: The myCloudPBX Softphone allows you to merge two callers together into a 3-way conference call.
While on an active call, press 
Using the touchscreen enter the number you wish to dial and press 
To merge the calls together press ![]()
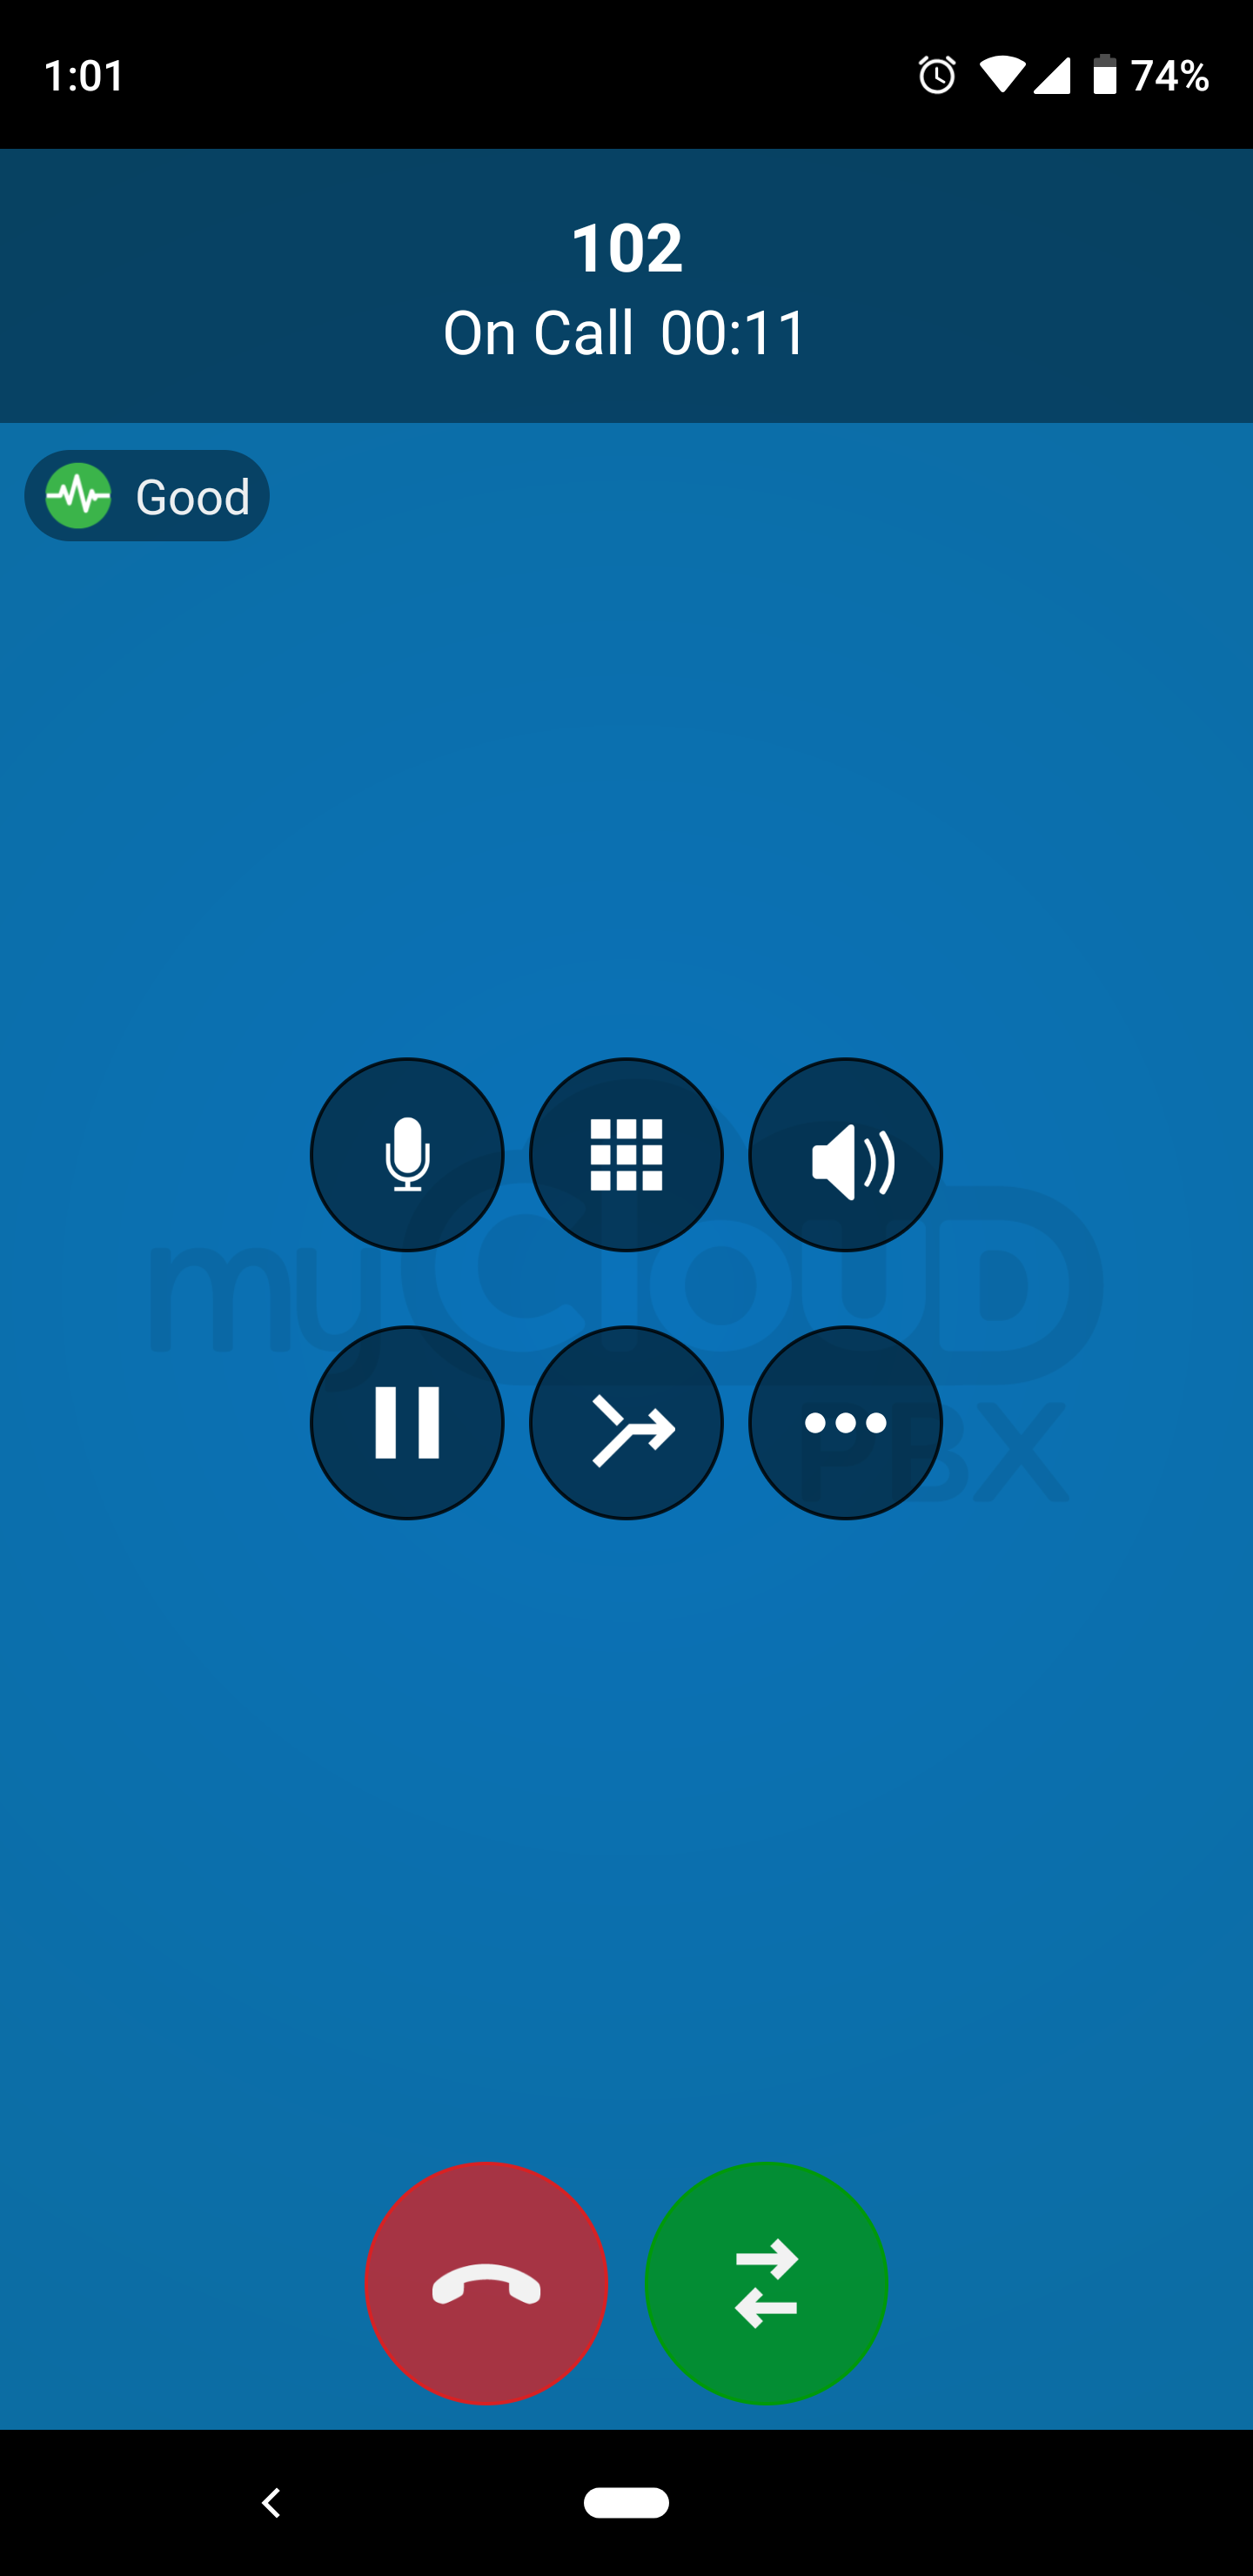
The calls are now conferenced together.
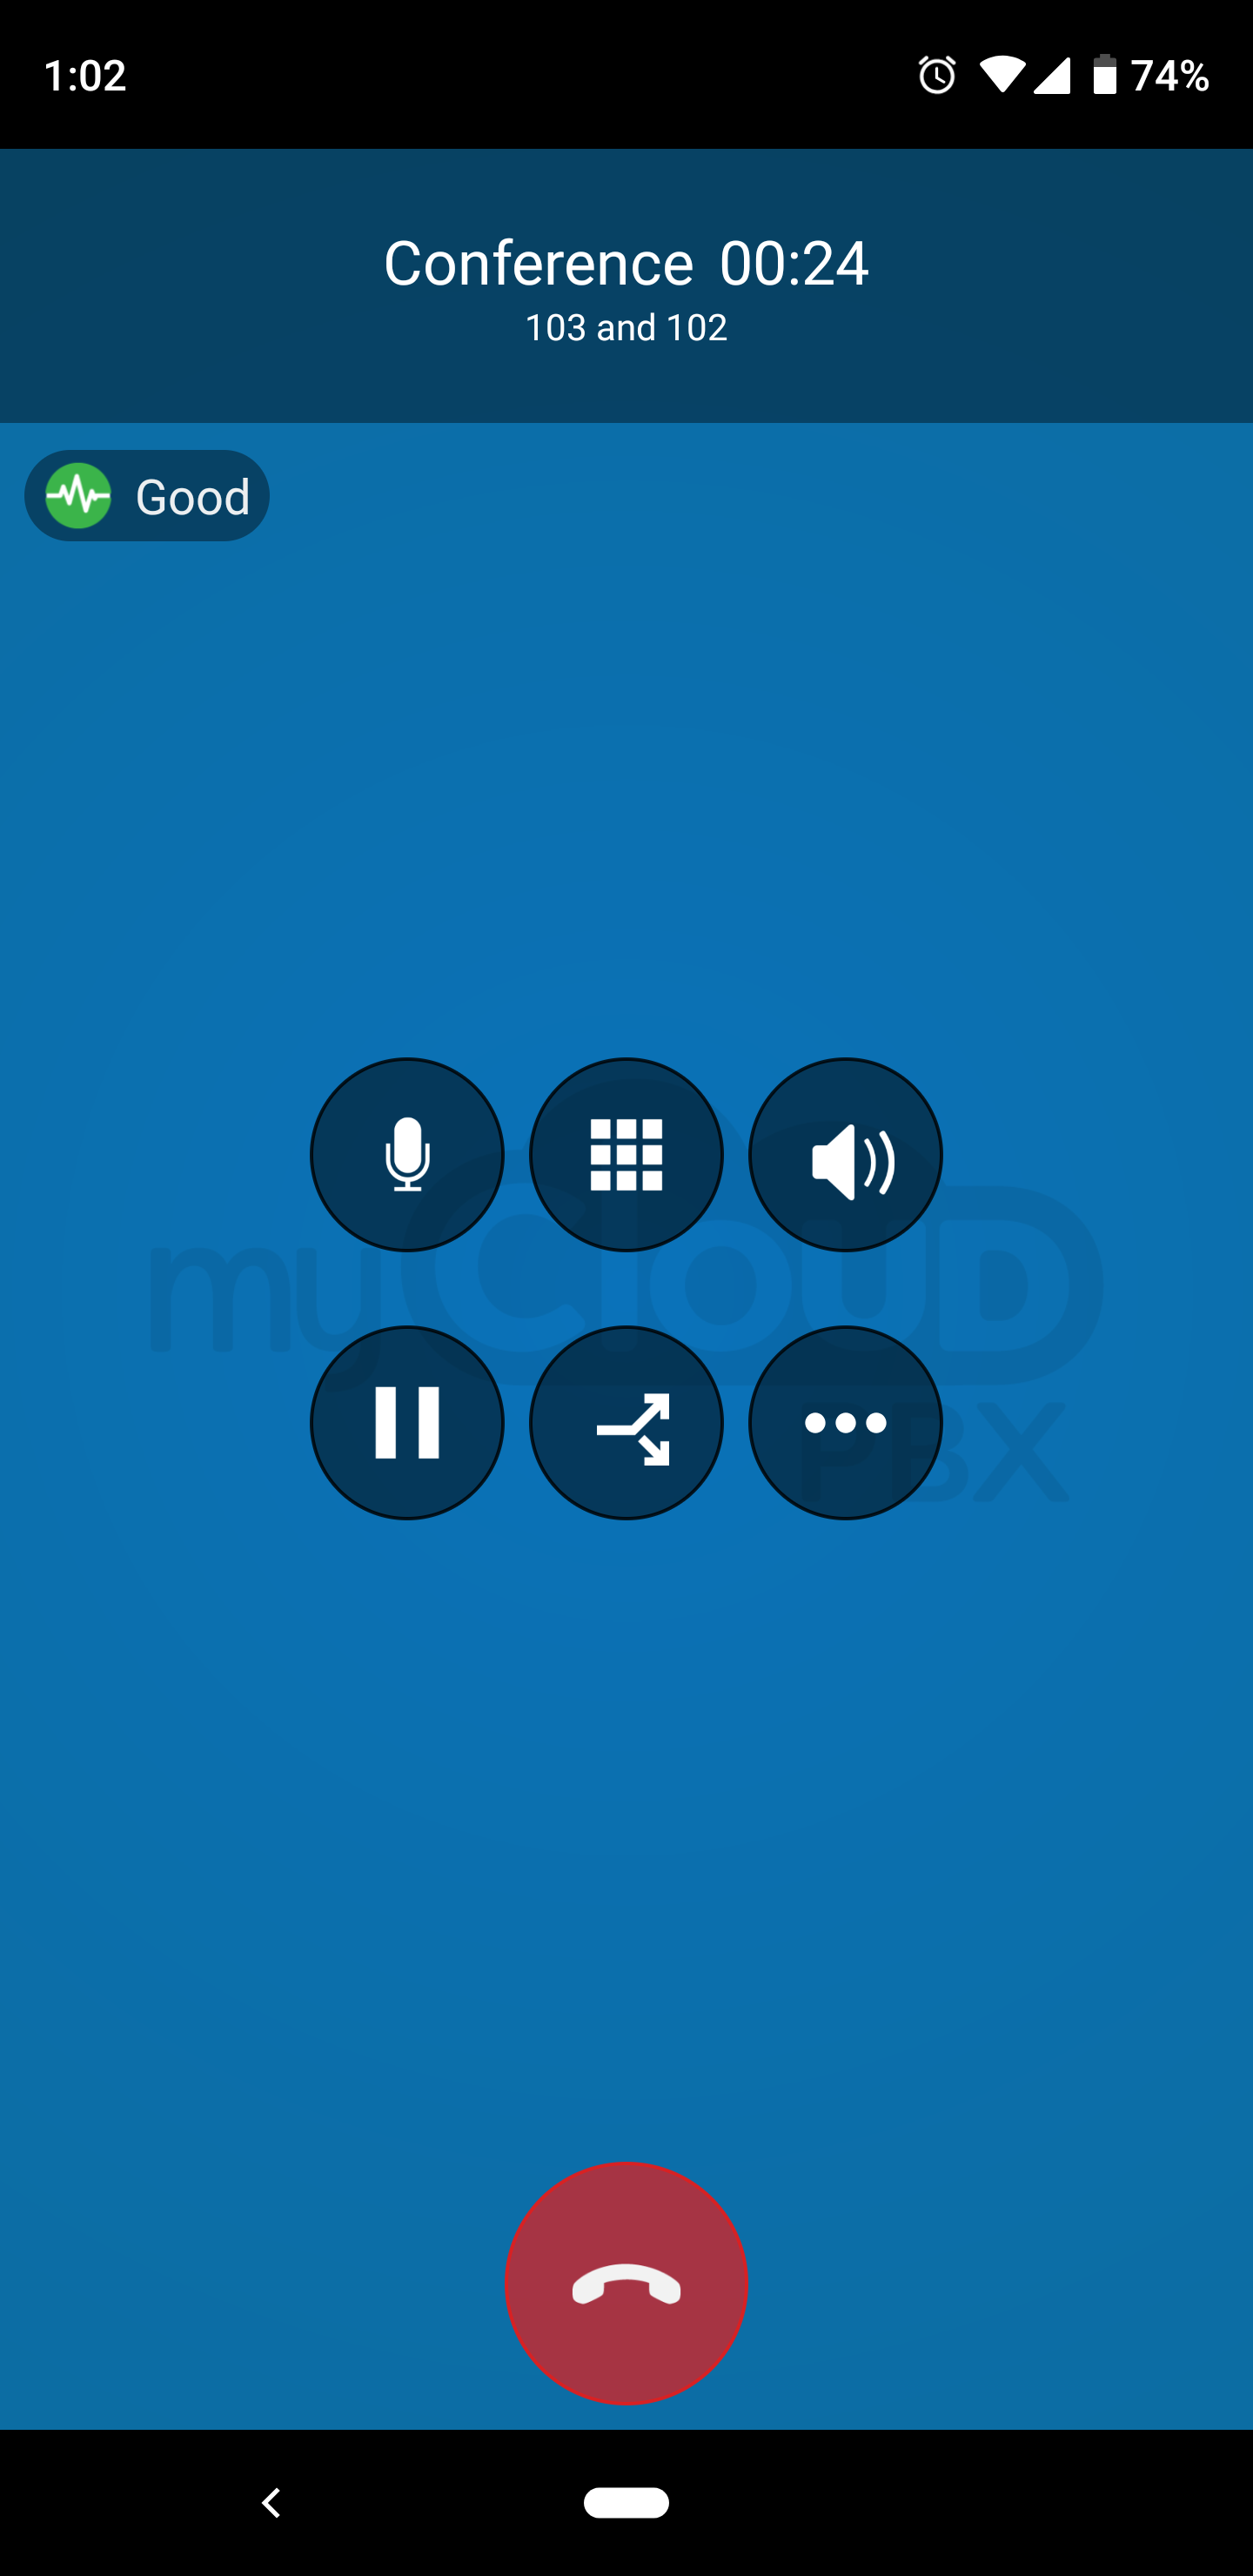
To un-merge the calls again, press 
# iPhone / iPad Guides
These guides will aim to demonstrate how to install and operate the MyCloudPBX Softphone on your IOS device.
You will need a MyCloudPBX Softphone account in order to follow this guide, if you do not already have one you will need to contact your administrator.
# Installation
Open the App Store by pressing 
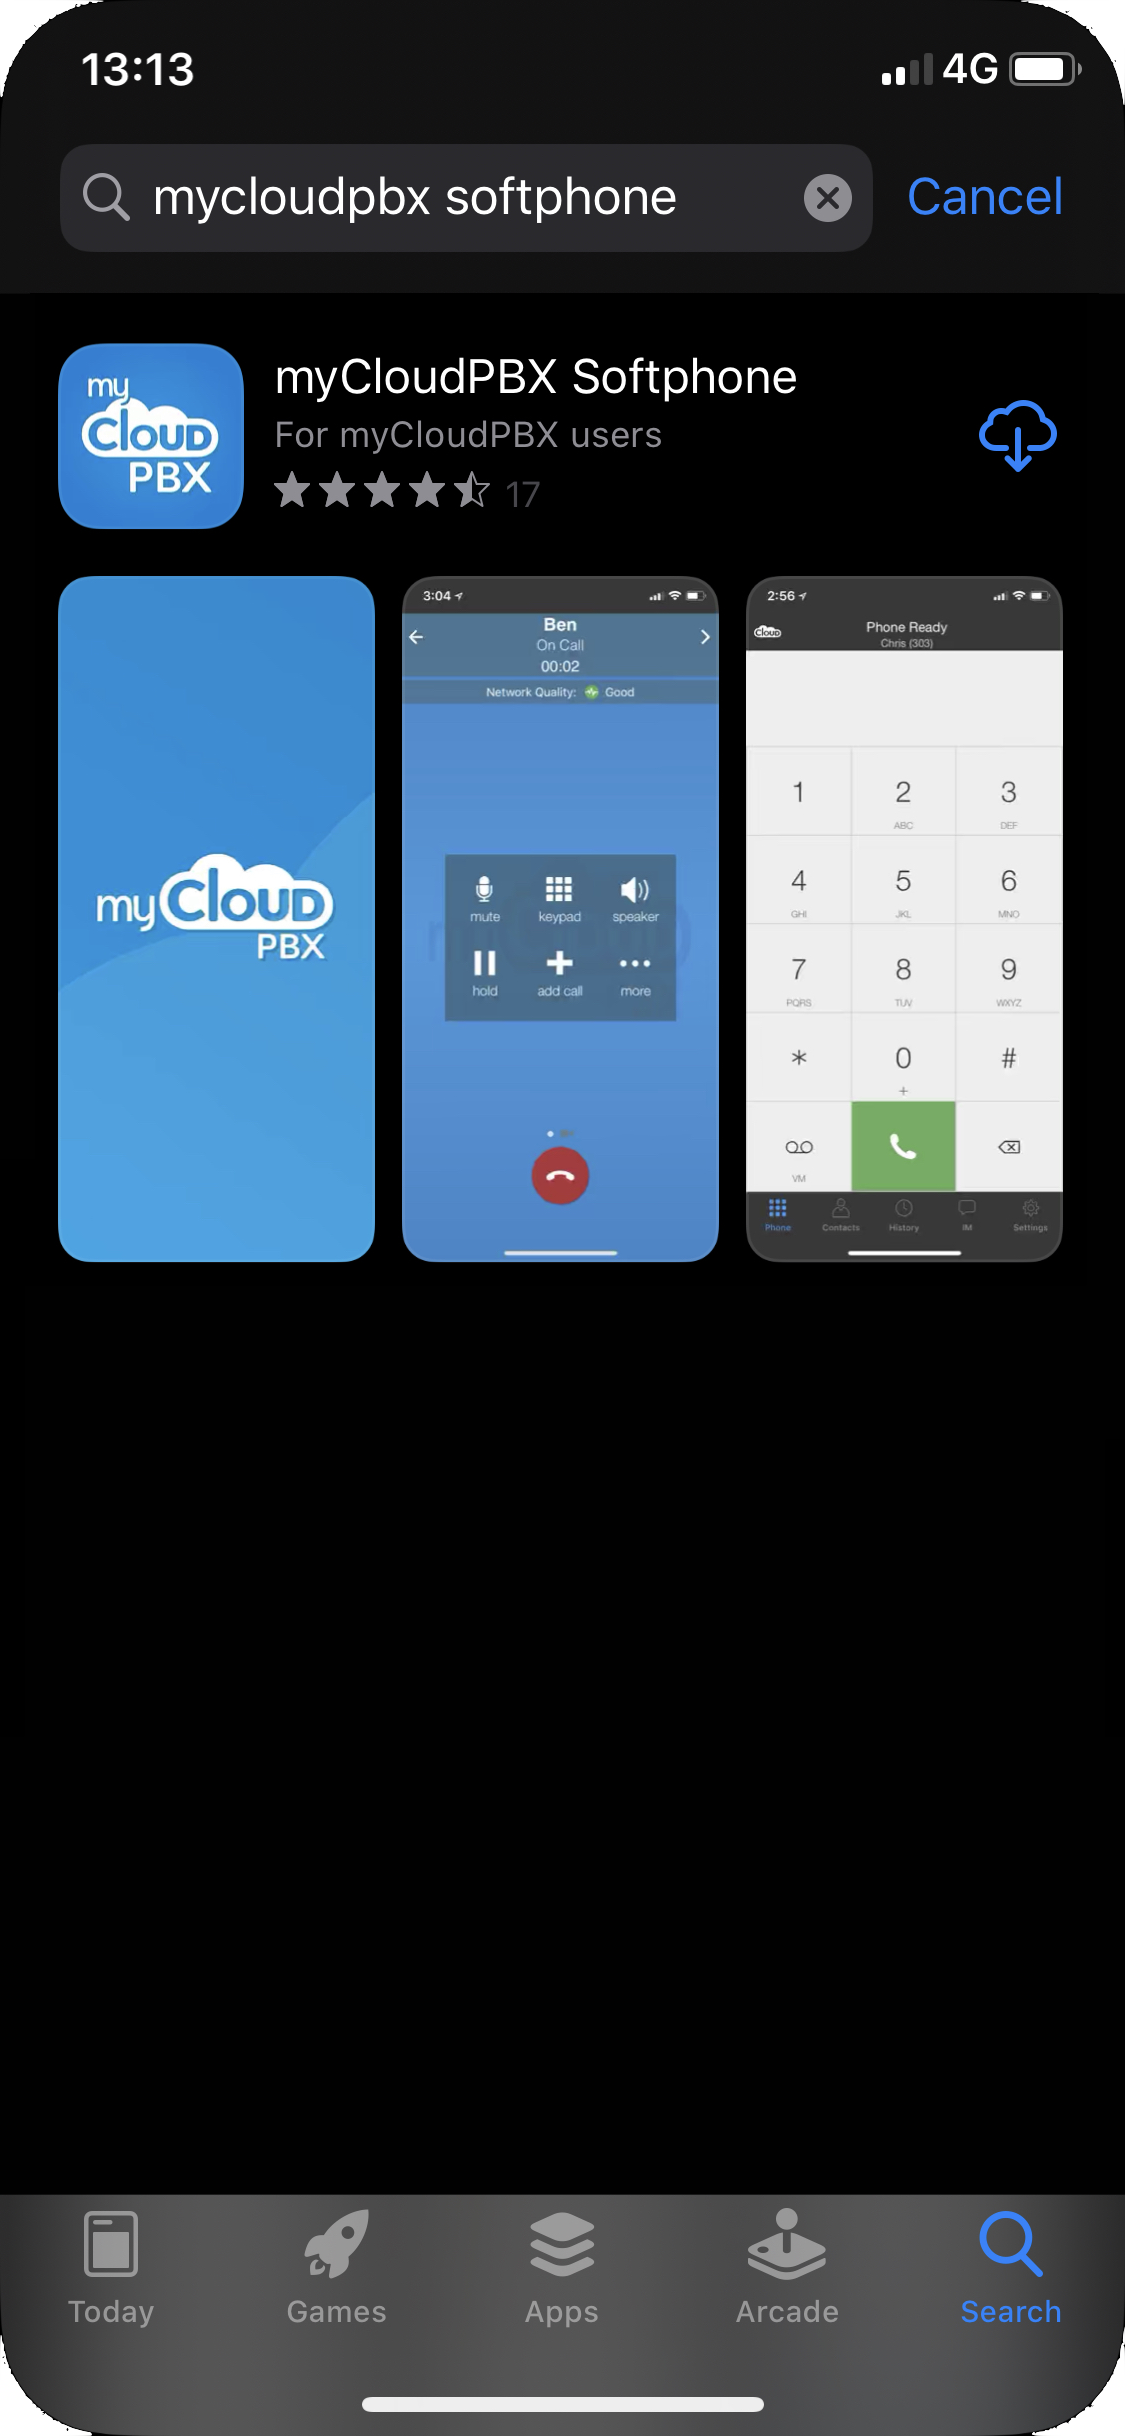
Enter the search term 'mycloudpbx softphone'.
Press  to begin the installation.
Enter your Apple ID / Password if prompted.
Once the download has finished press 'Open' to complete the installation.
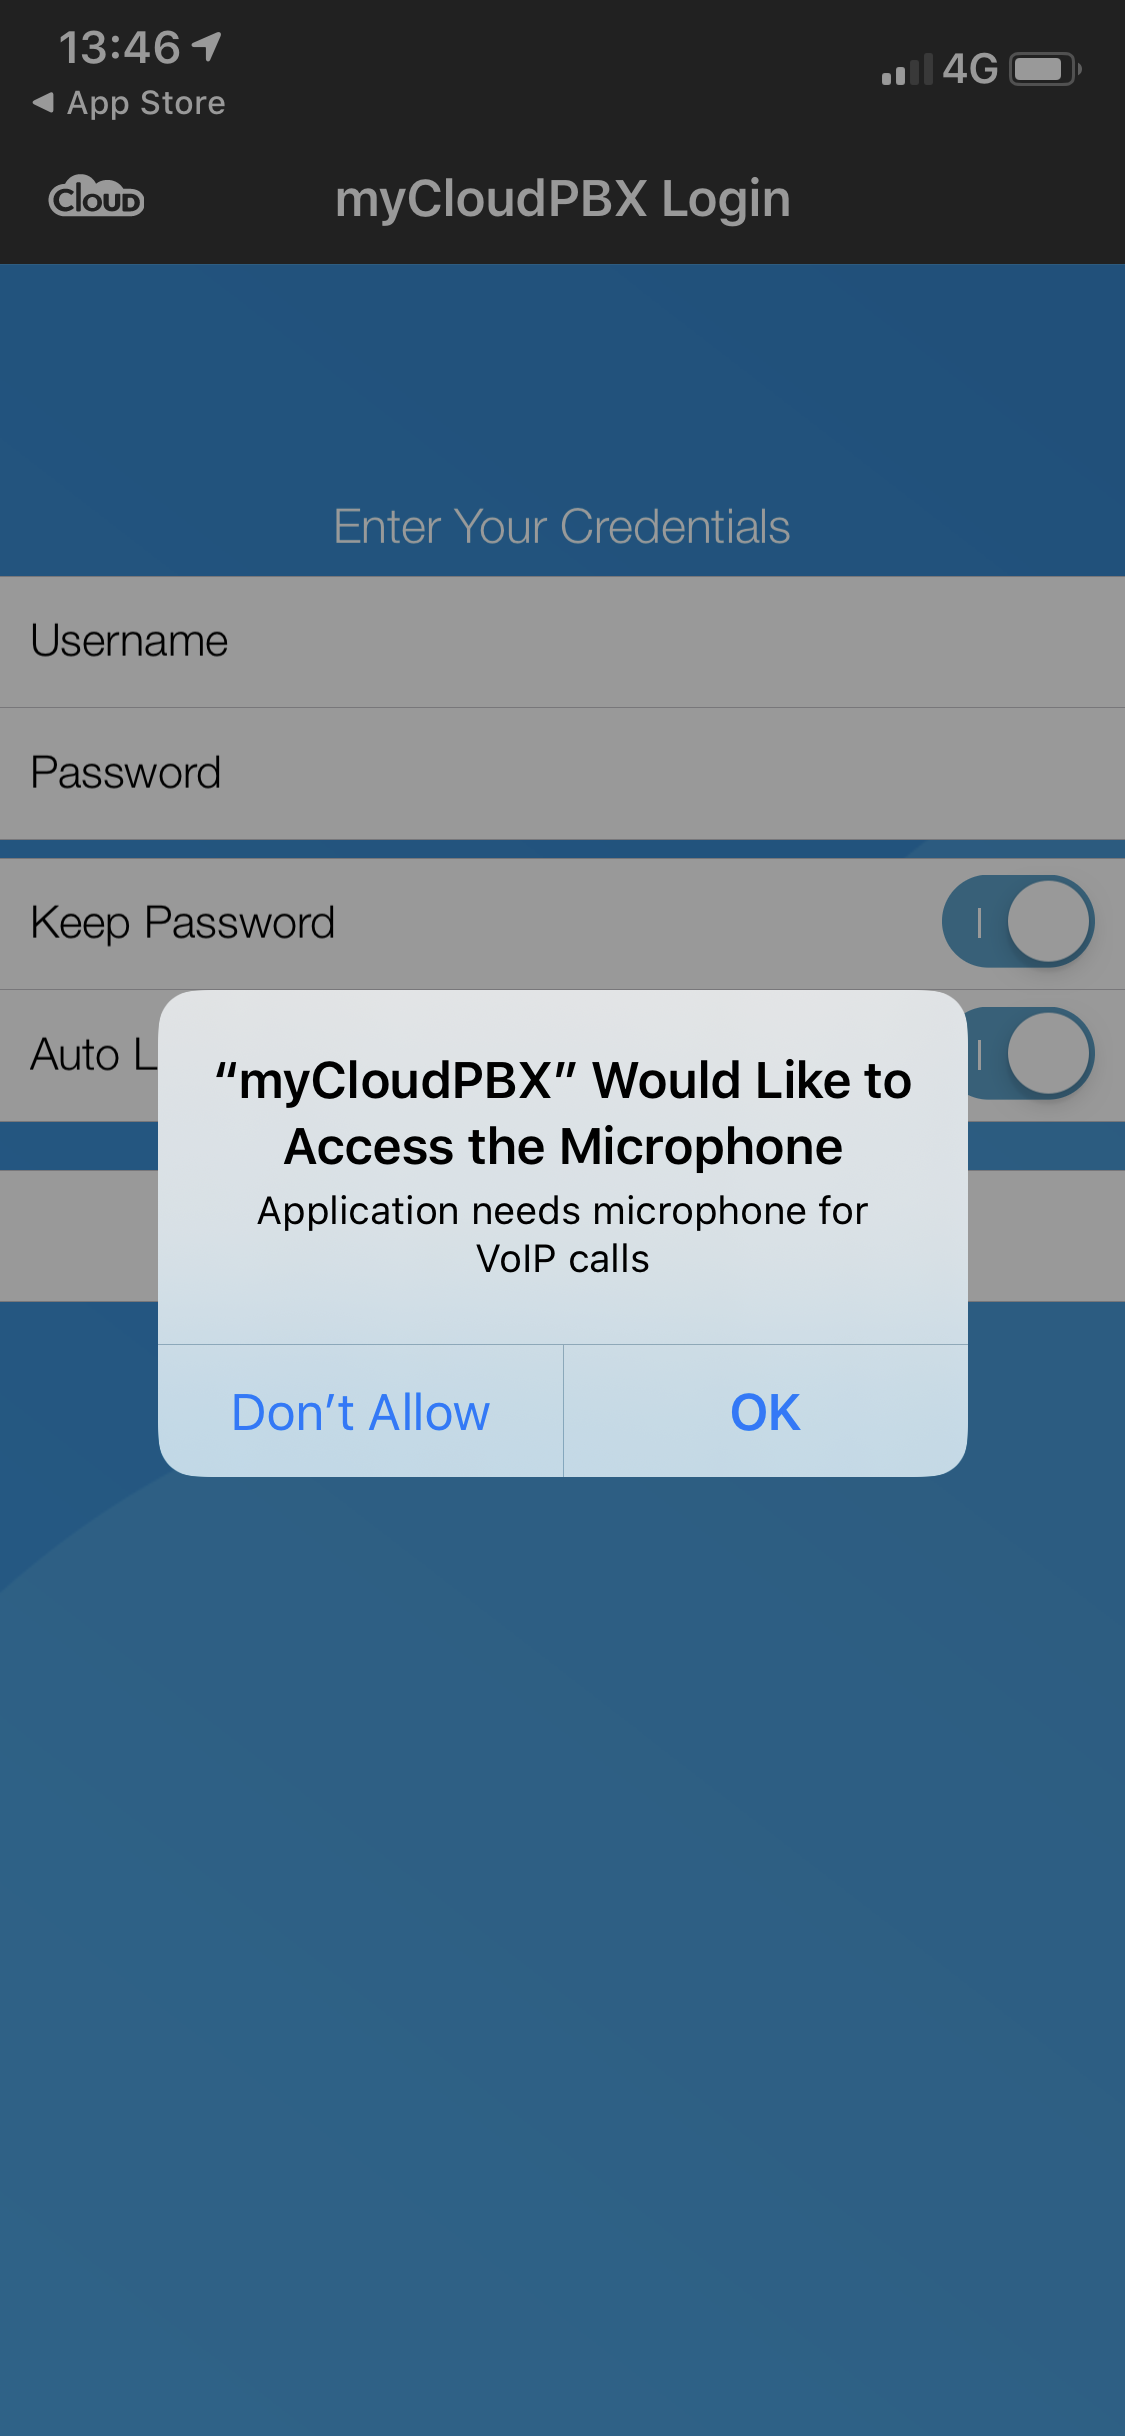
When prompted, you will need to press 'OK' to allow the app access to the Microphone.
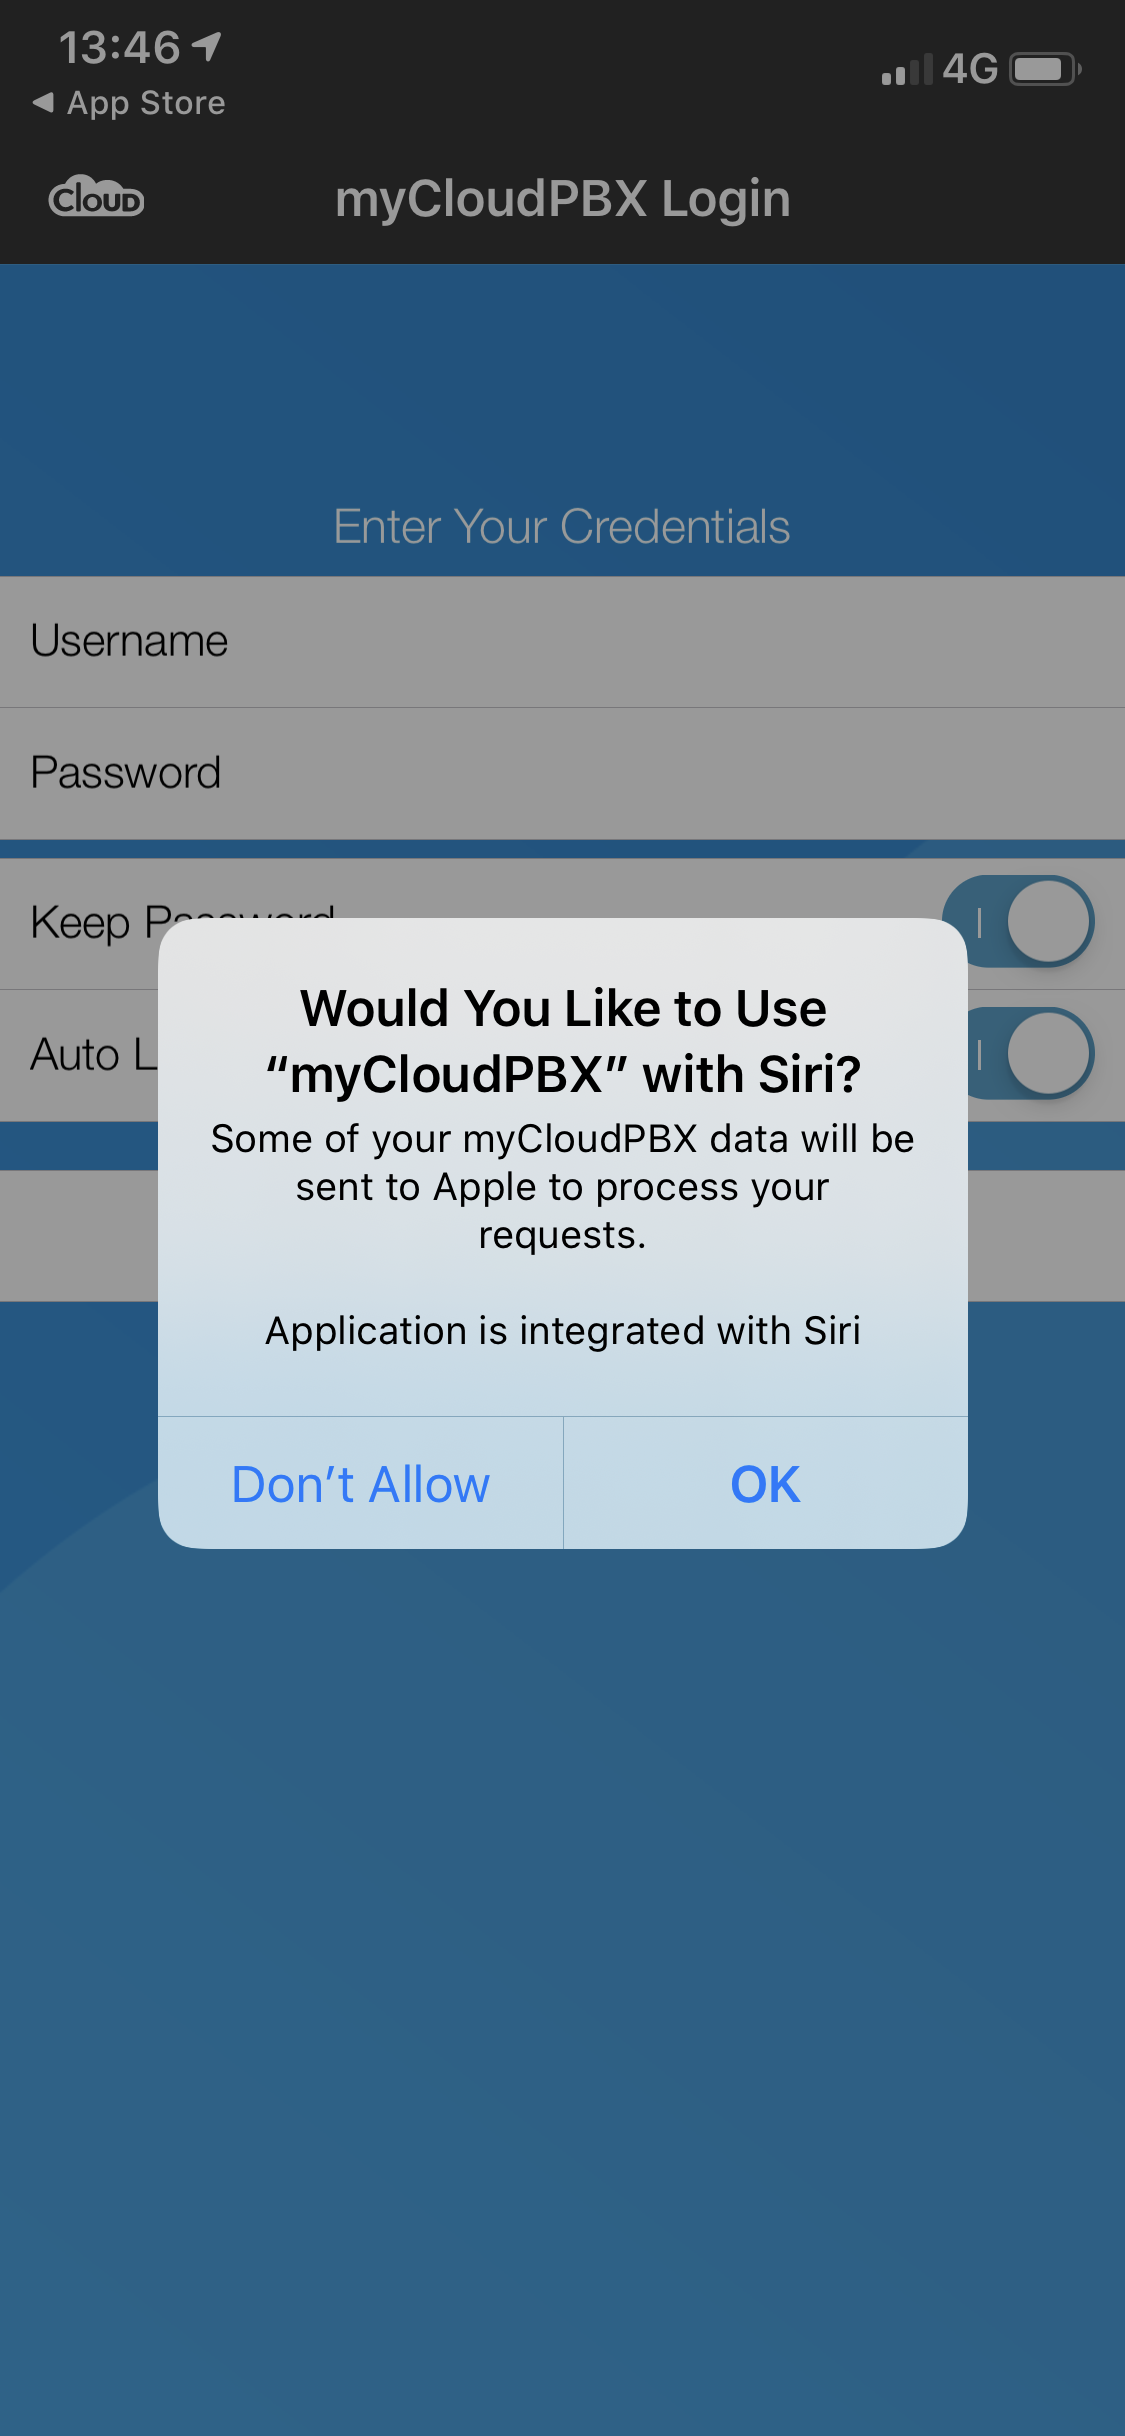
When prompted, you can choose weather or not you wish to allow Siri integration.
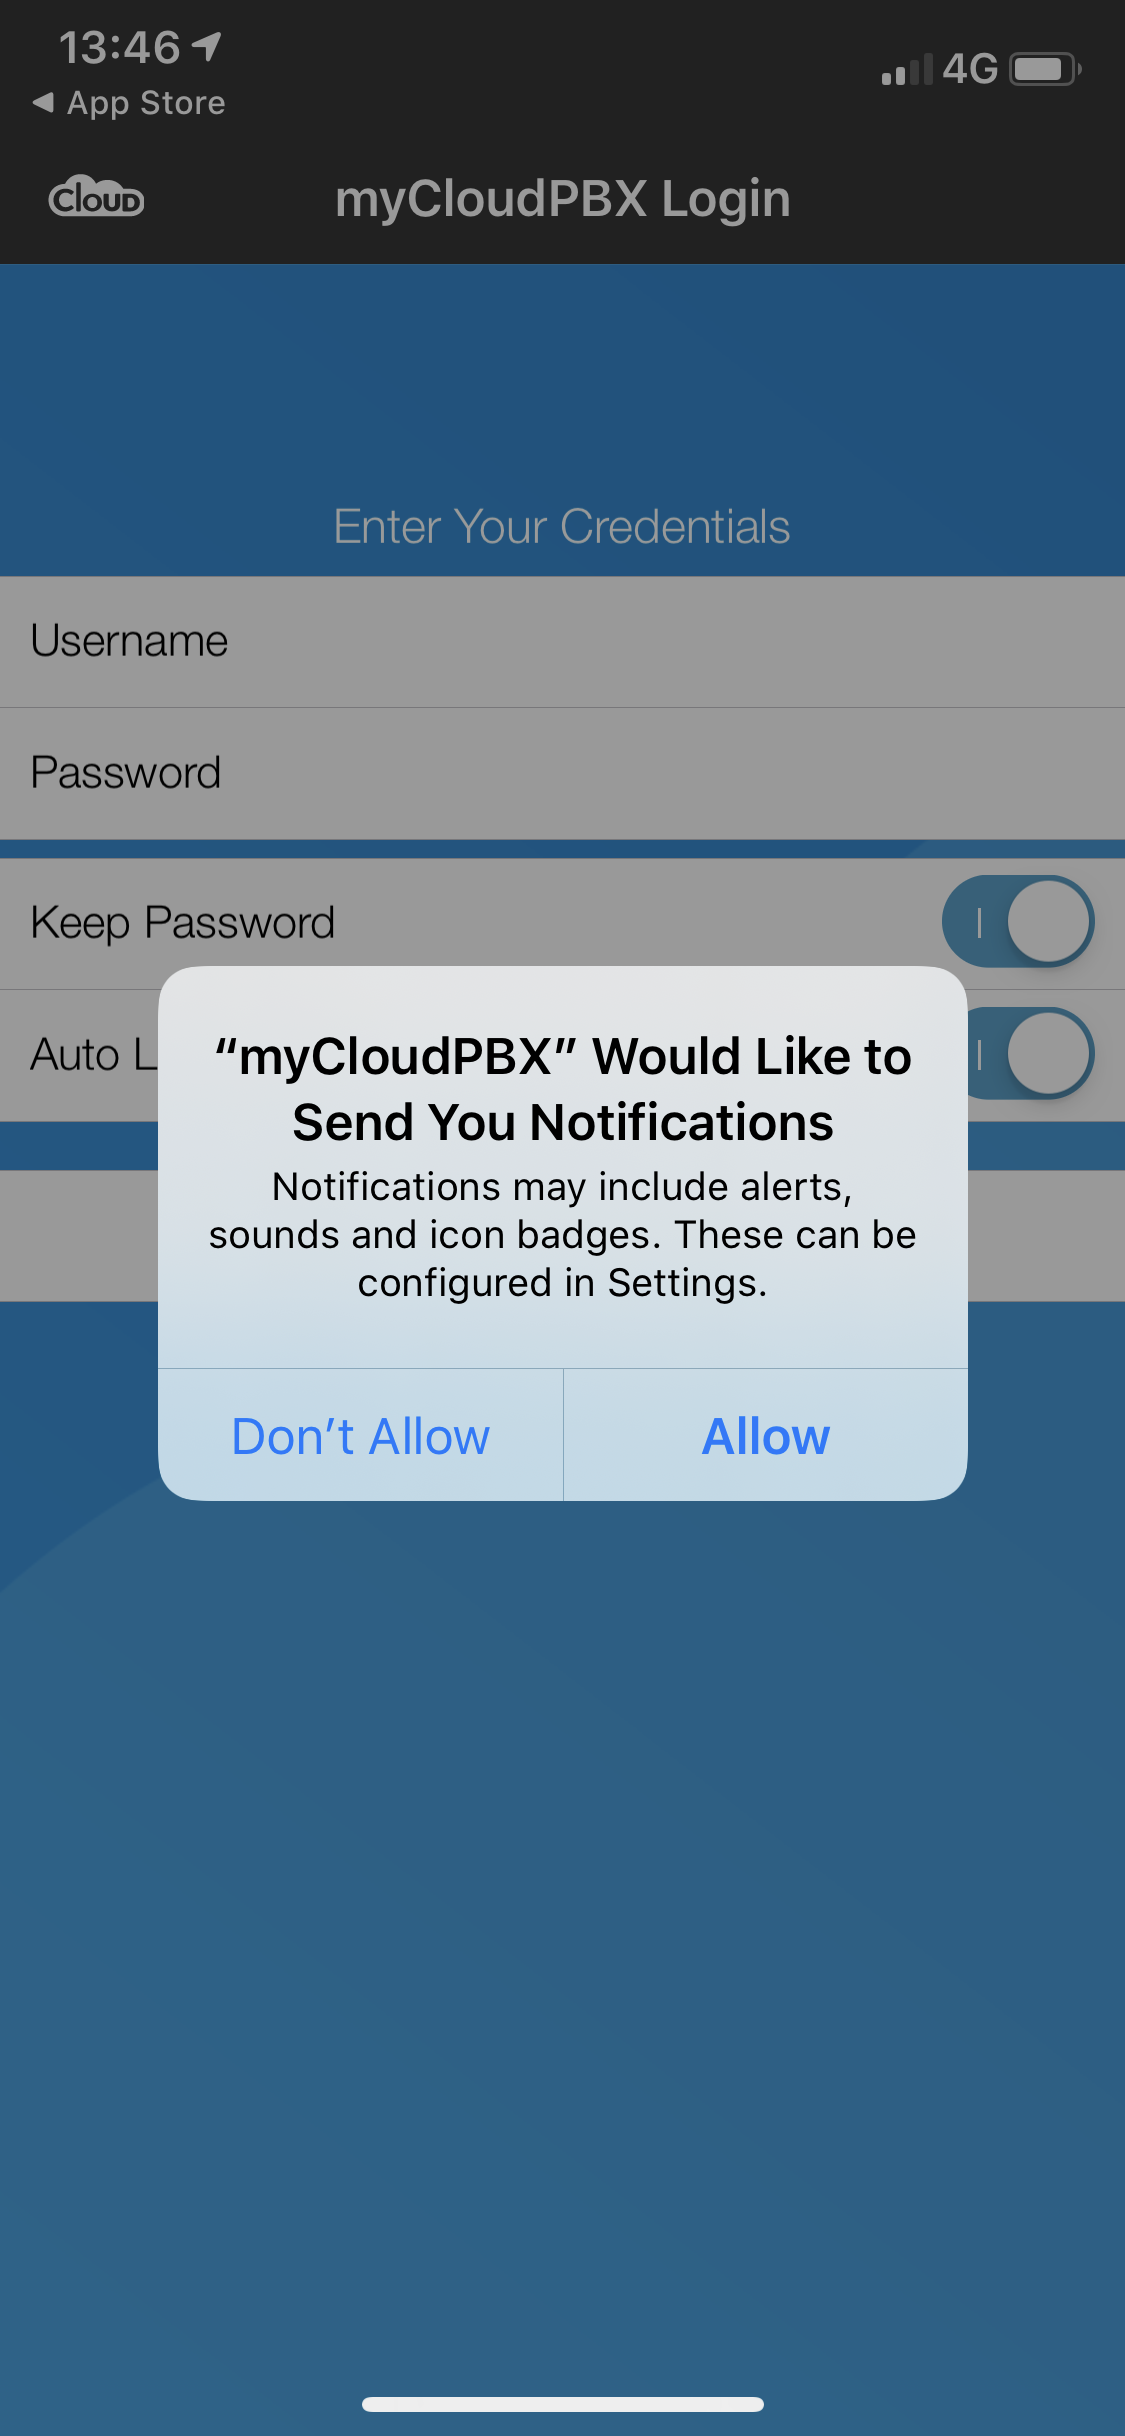
When prompted, you will need to press 'Allow' to allow the app to display missed call notifications.
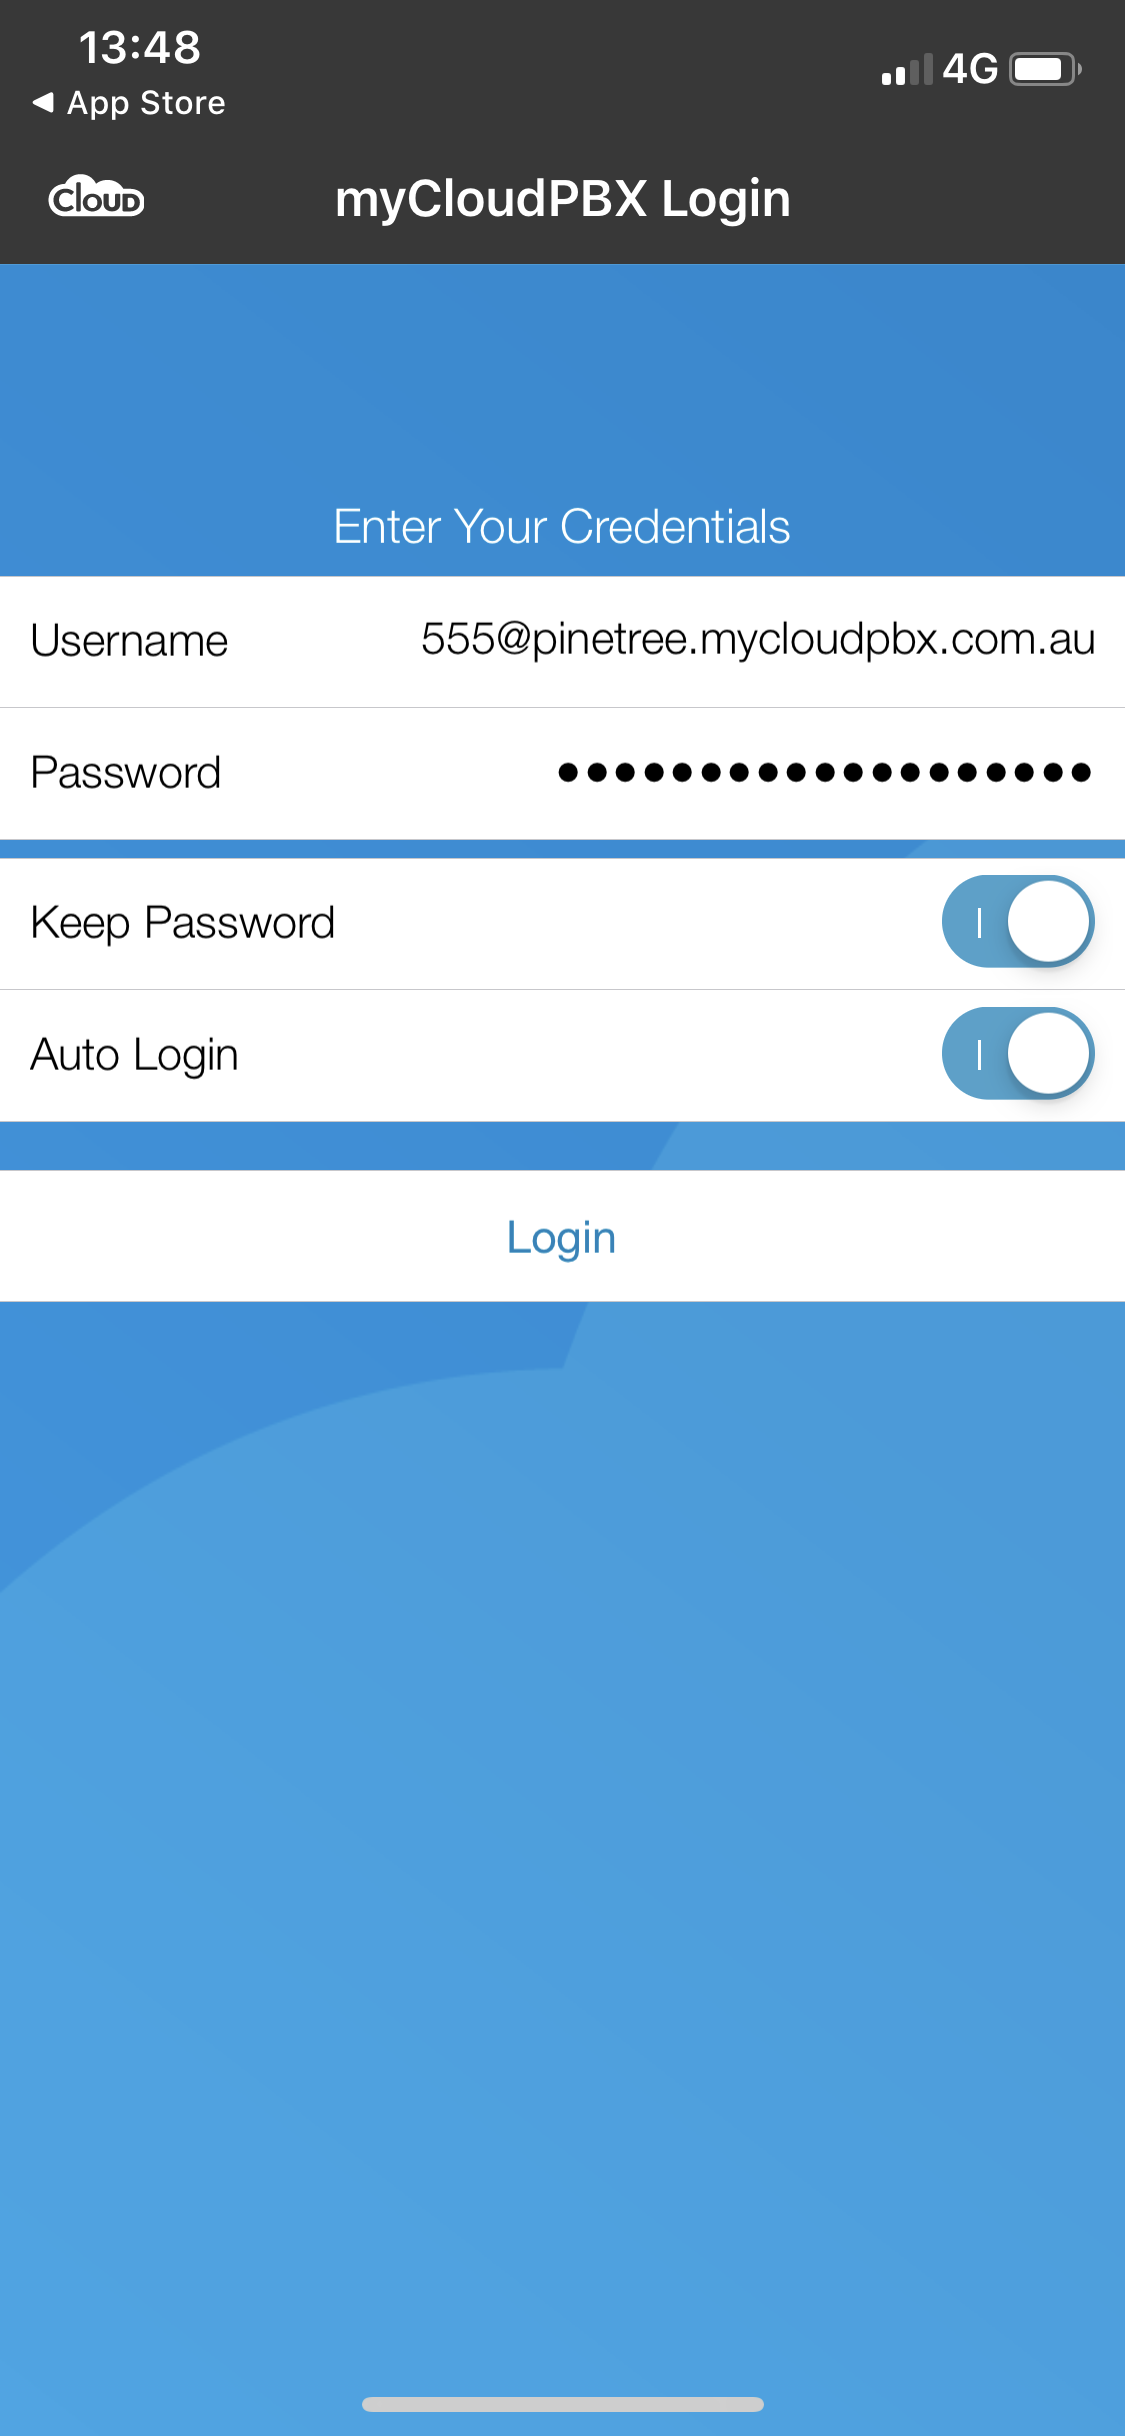
Enter the following information:
- Your Username. (You will have received this in the welcome email when you activated the softphone.)
- Your Password. (You can find this in the myCloudPBX Management Portal. If you are not sure, contact your Administrator).
When finished click 'Login'.
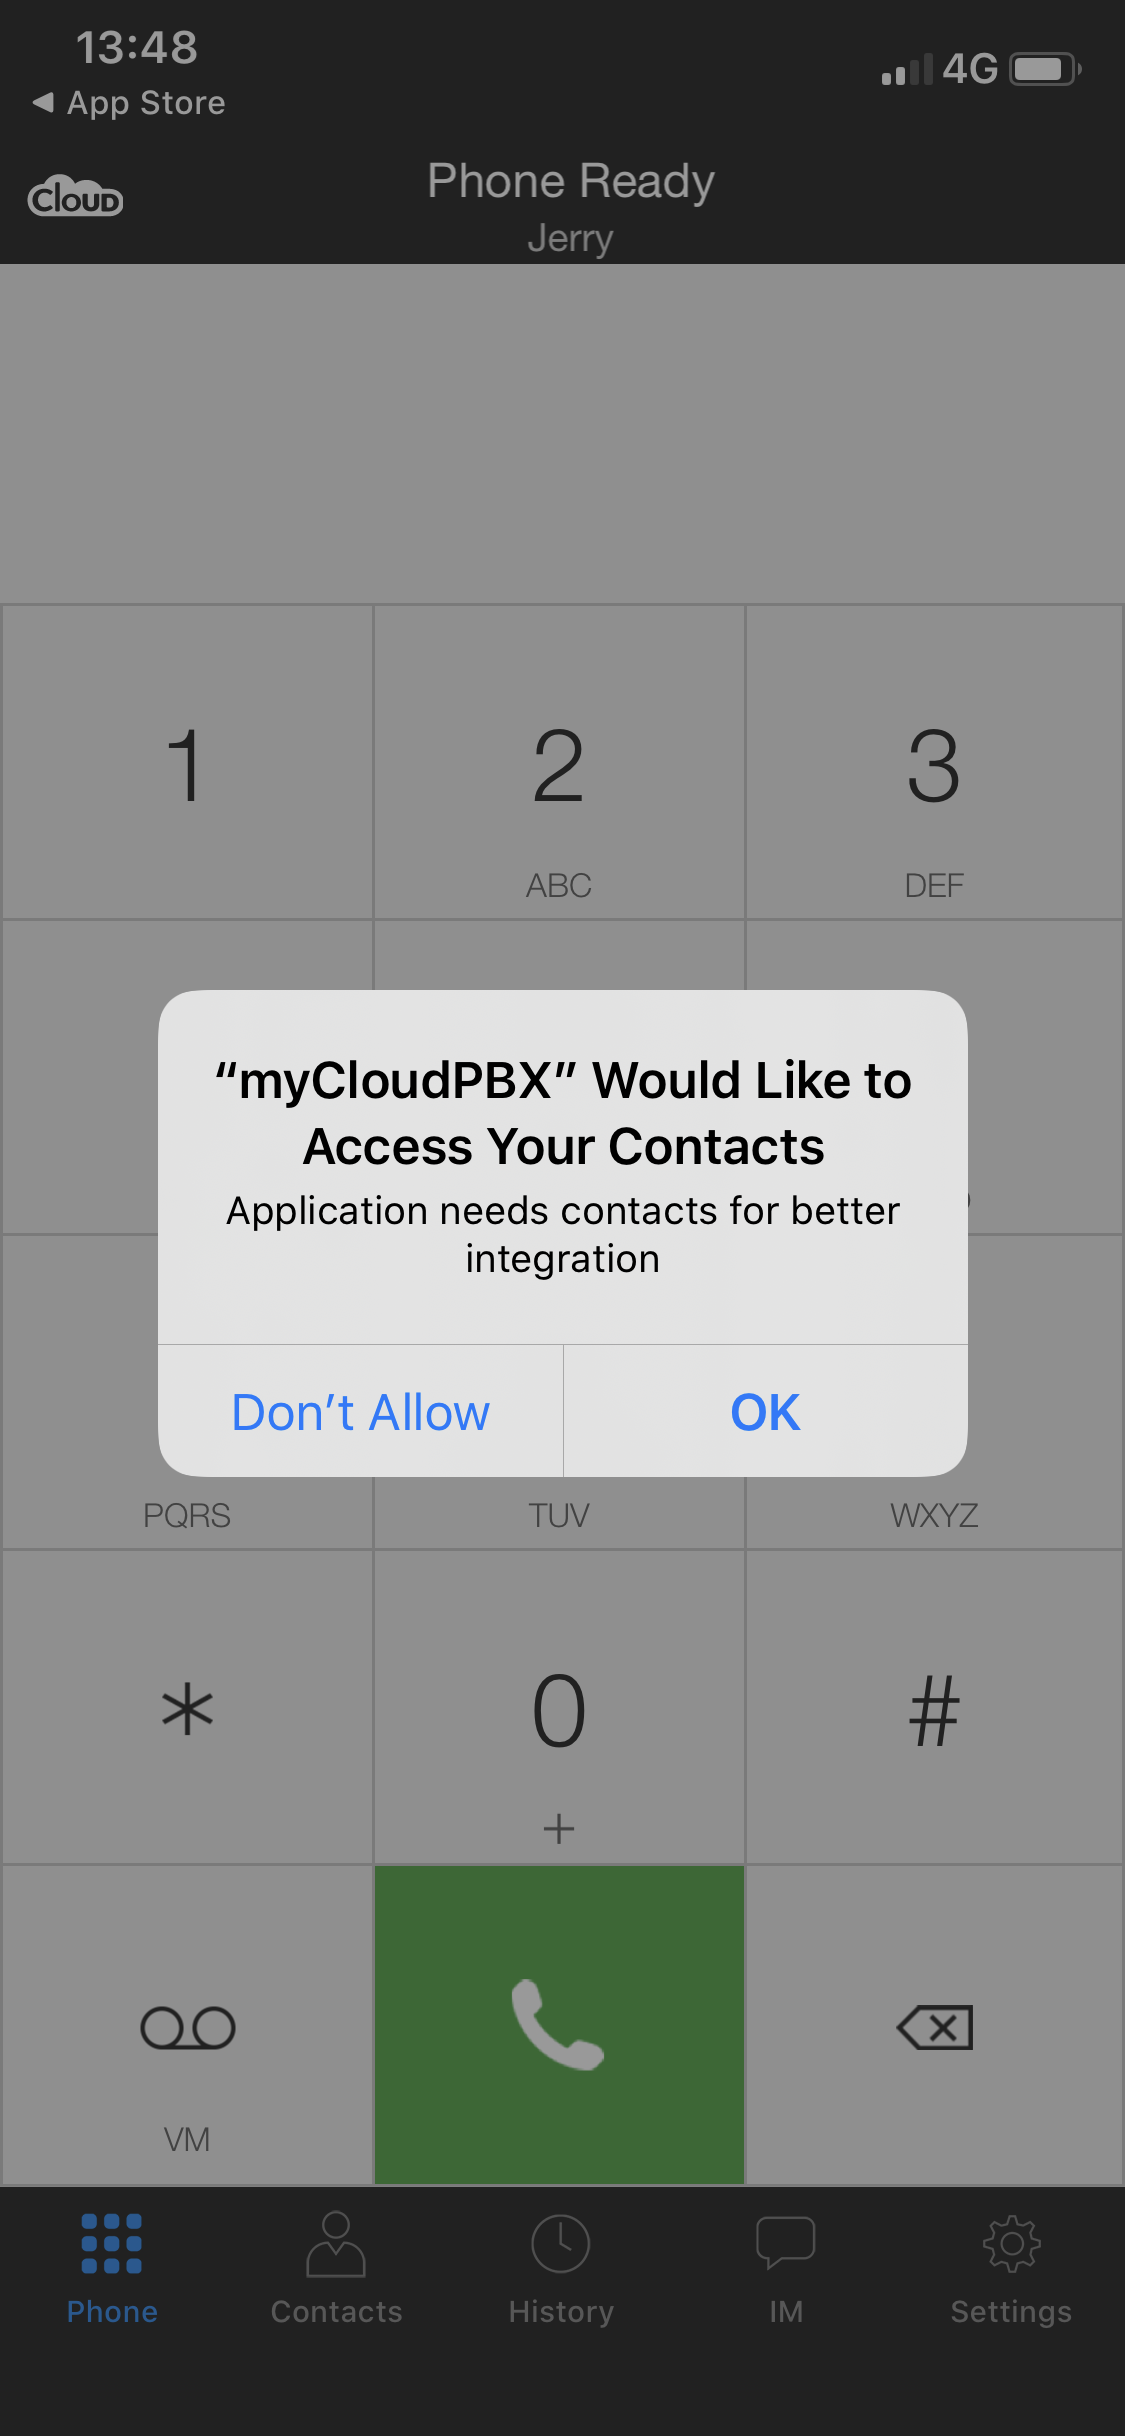
When prompted, click 'OK' to allow the app to access your Contacts.
The myCloudPBX Softphone is now fully installed and ready for use.
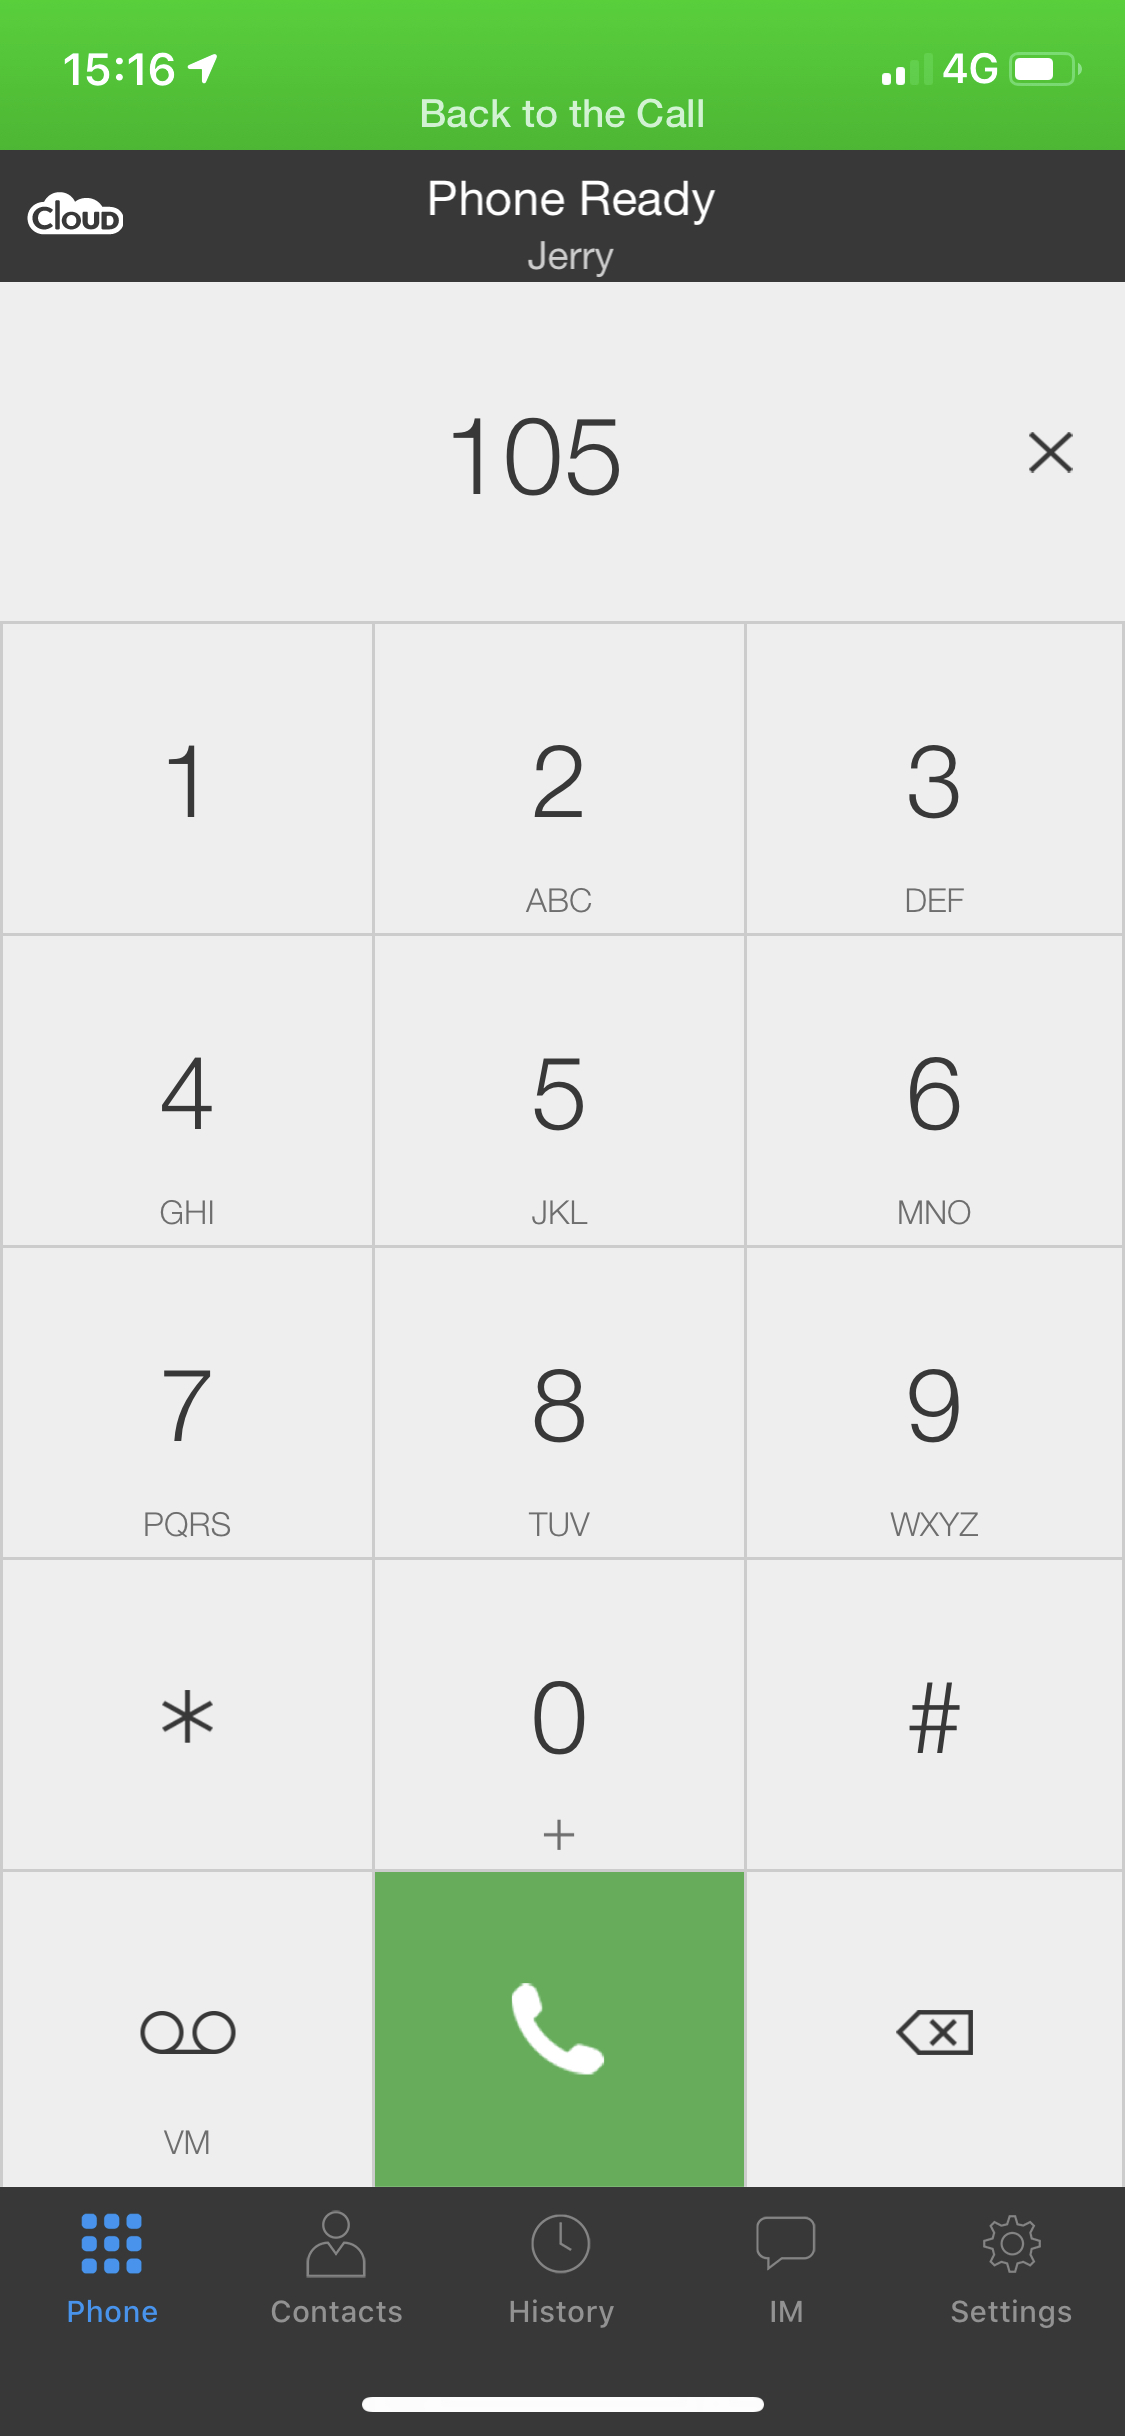
# Making a Phone Call
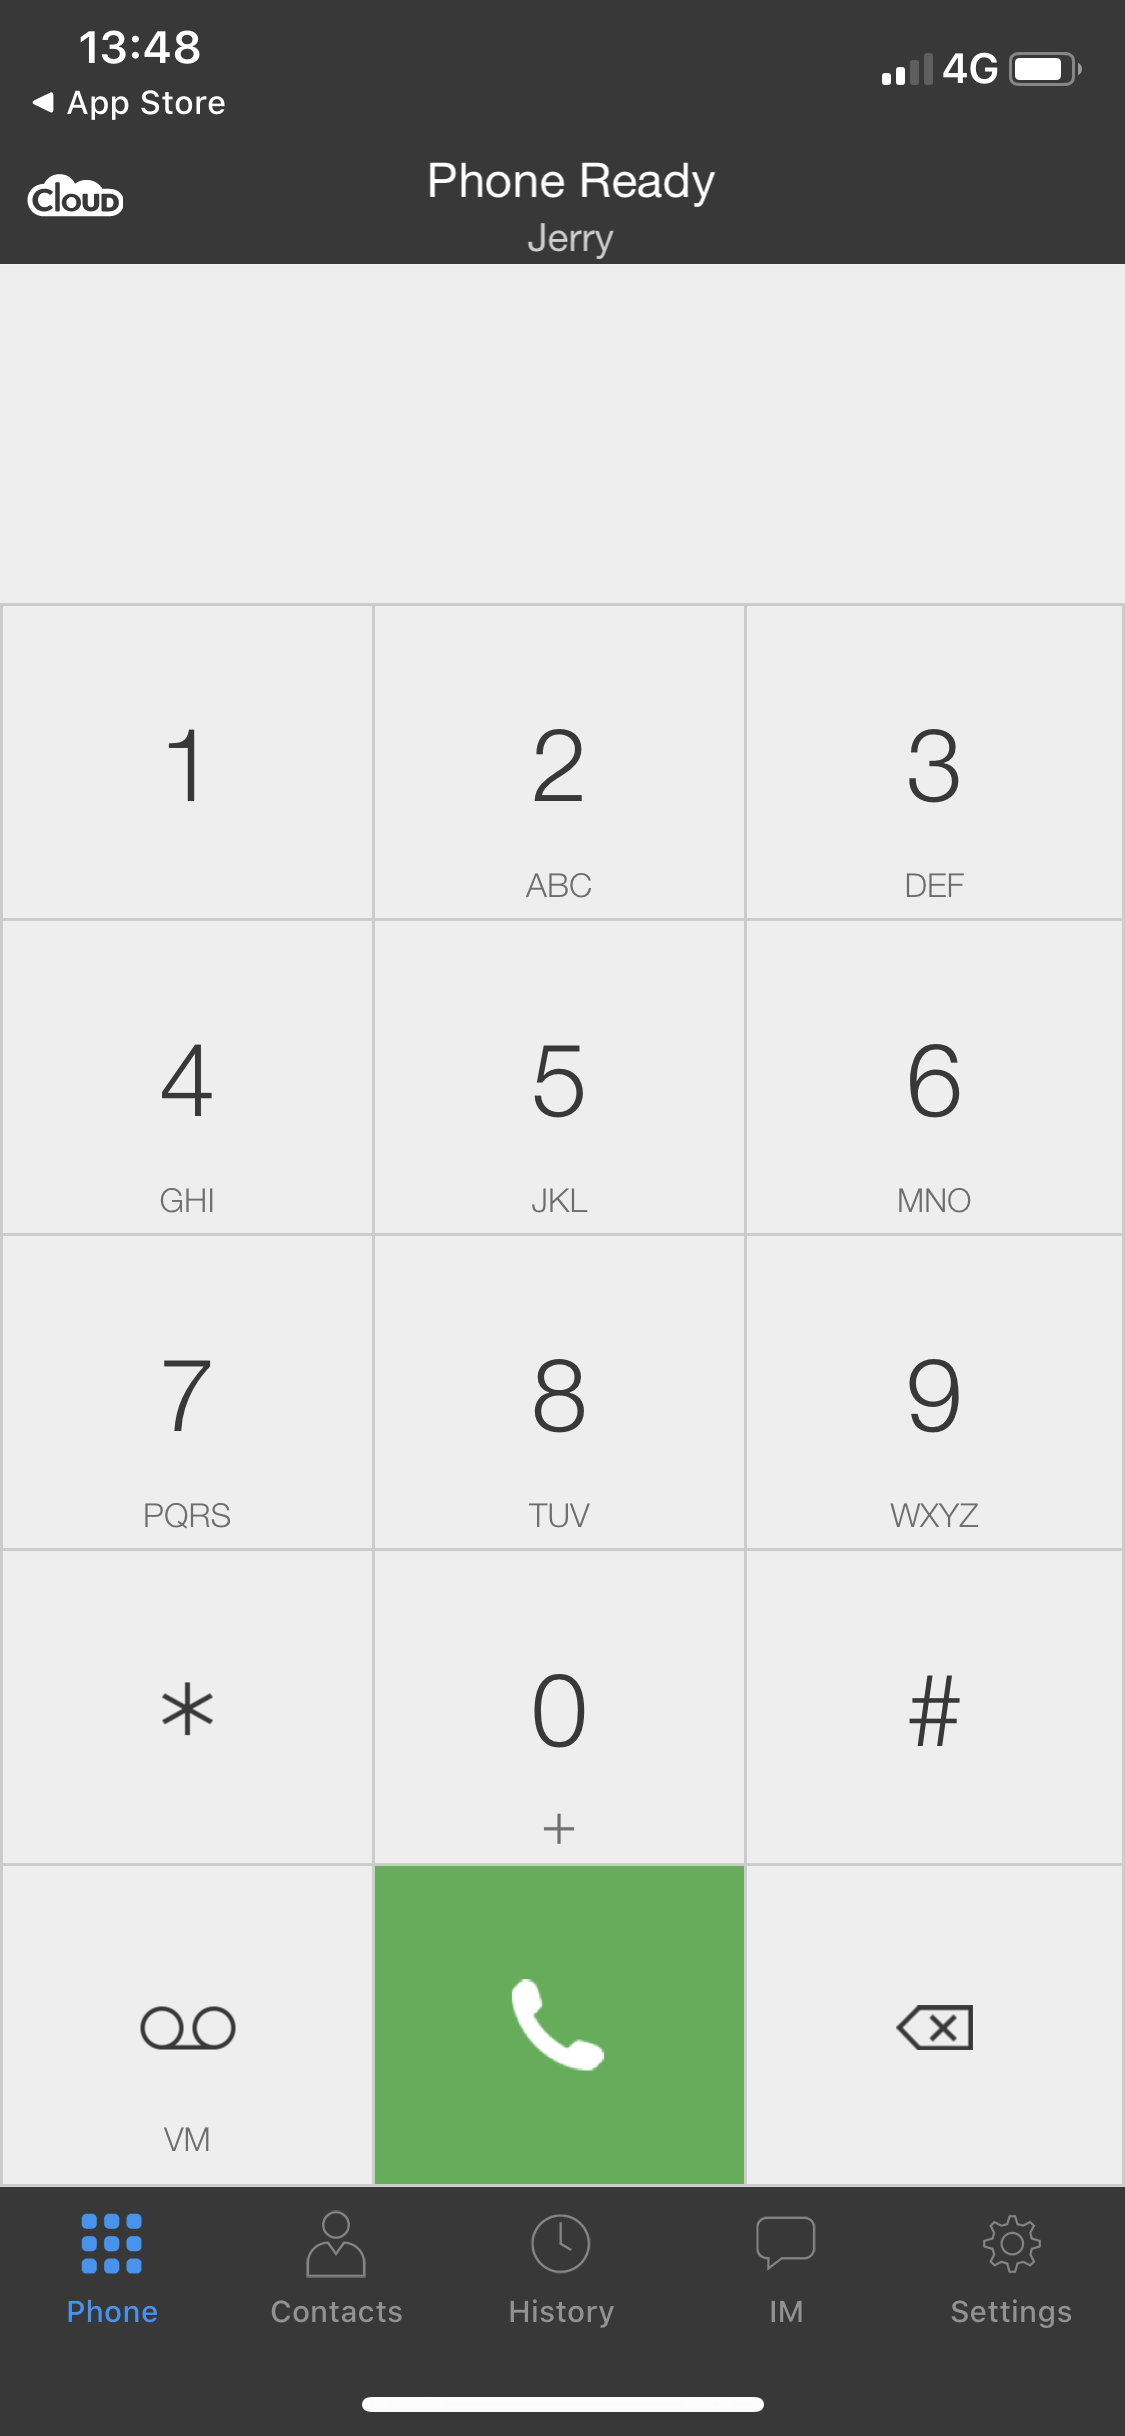
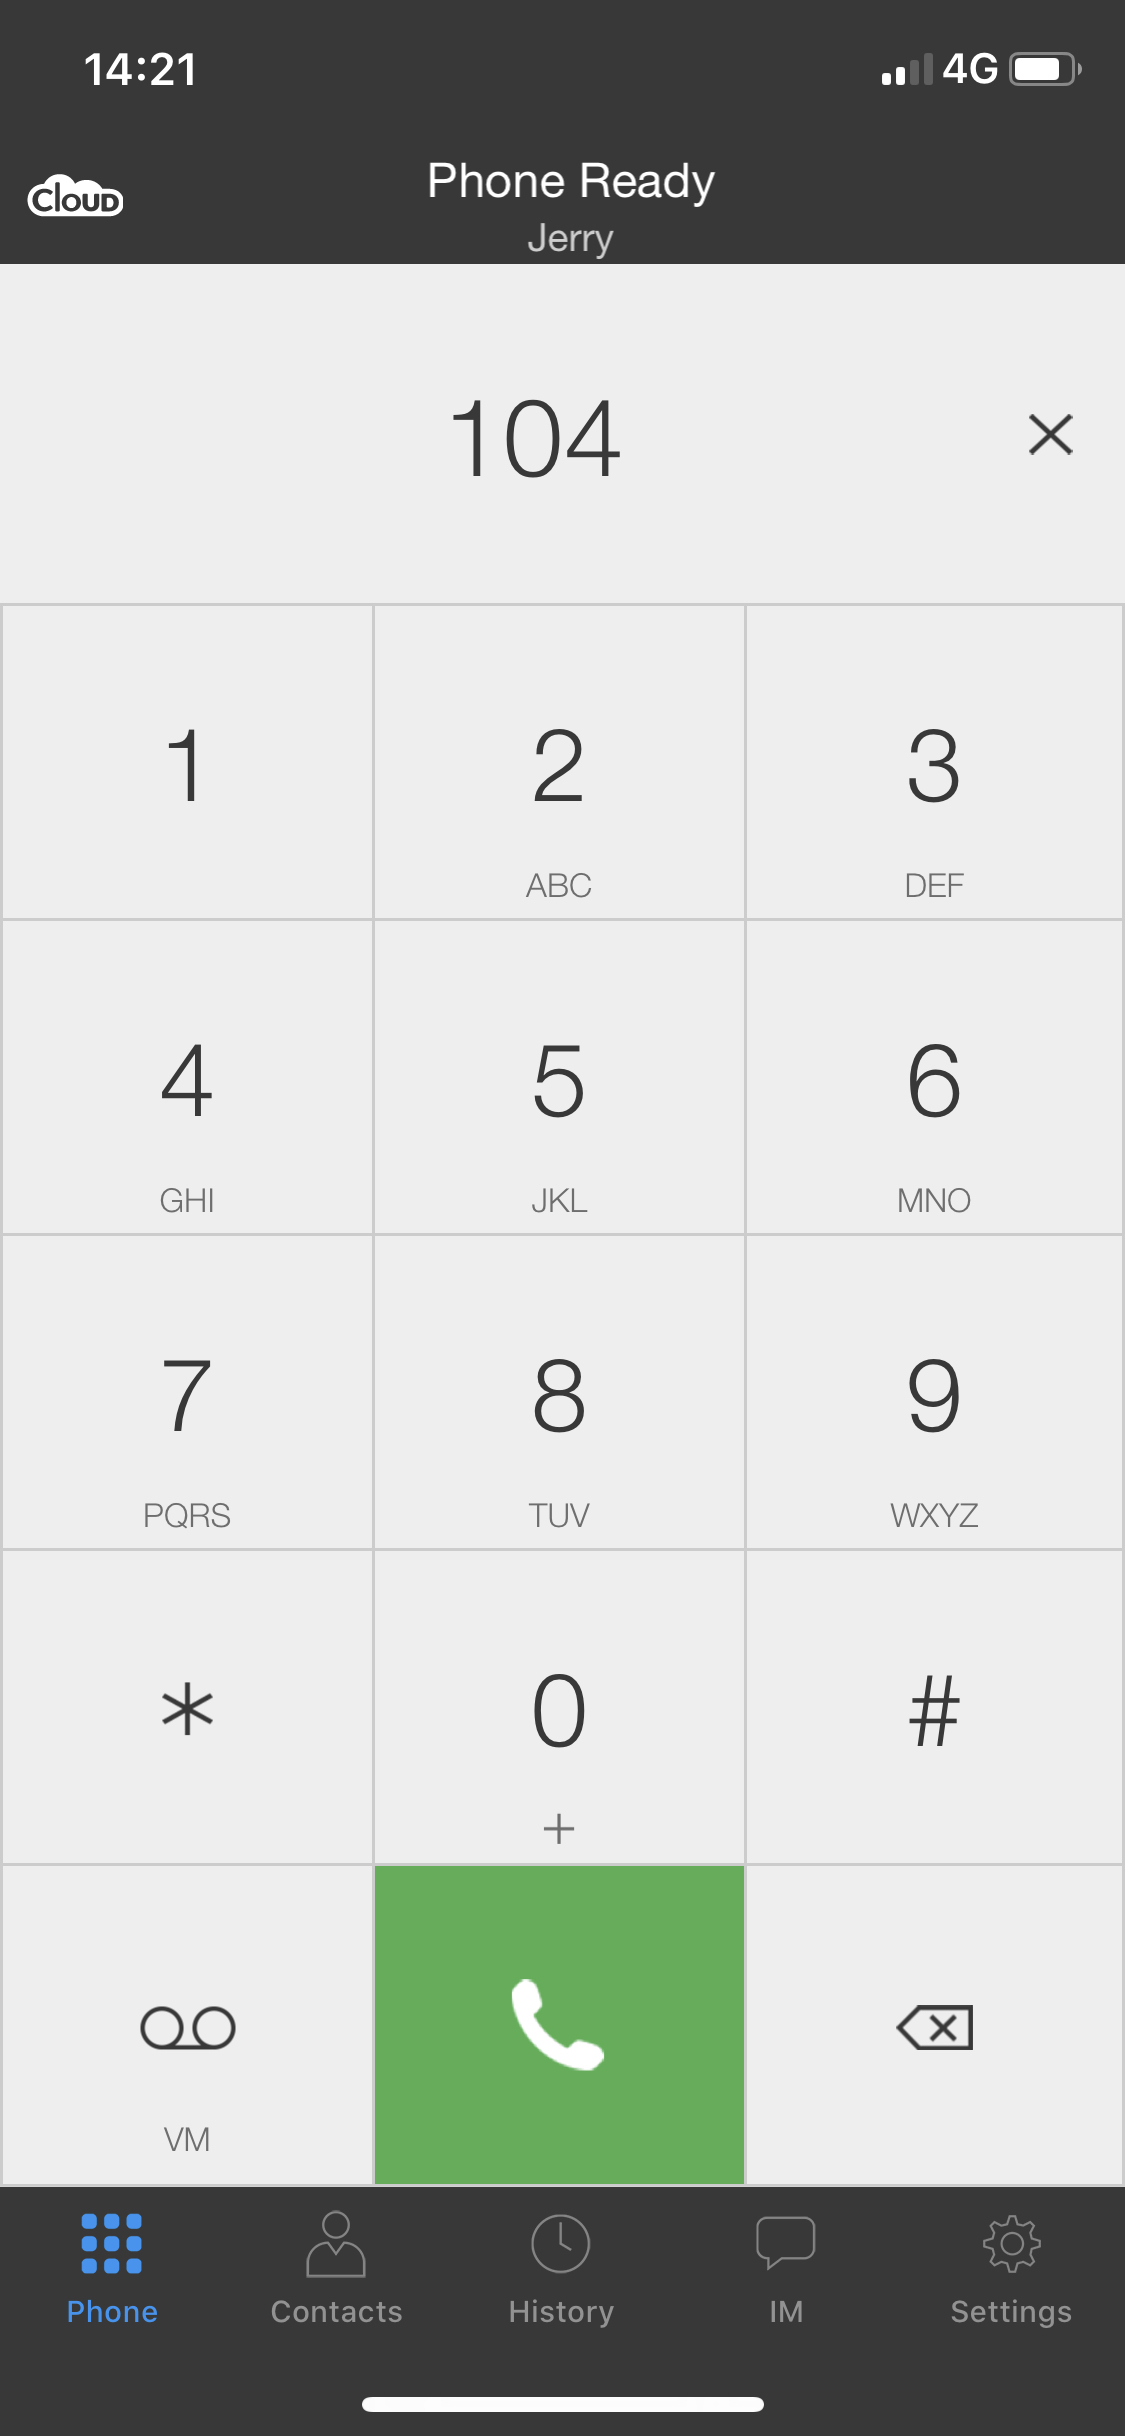
Open the myCloudPBX app and login using your username and password.
Using the touchscreen enter the number you wish to dial and press
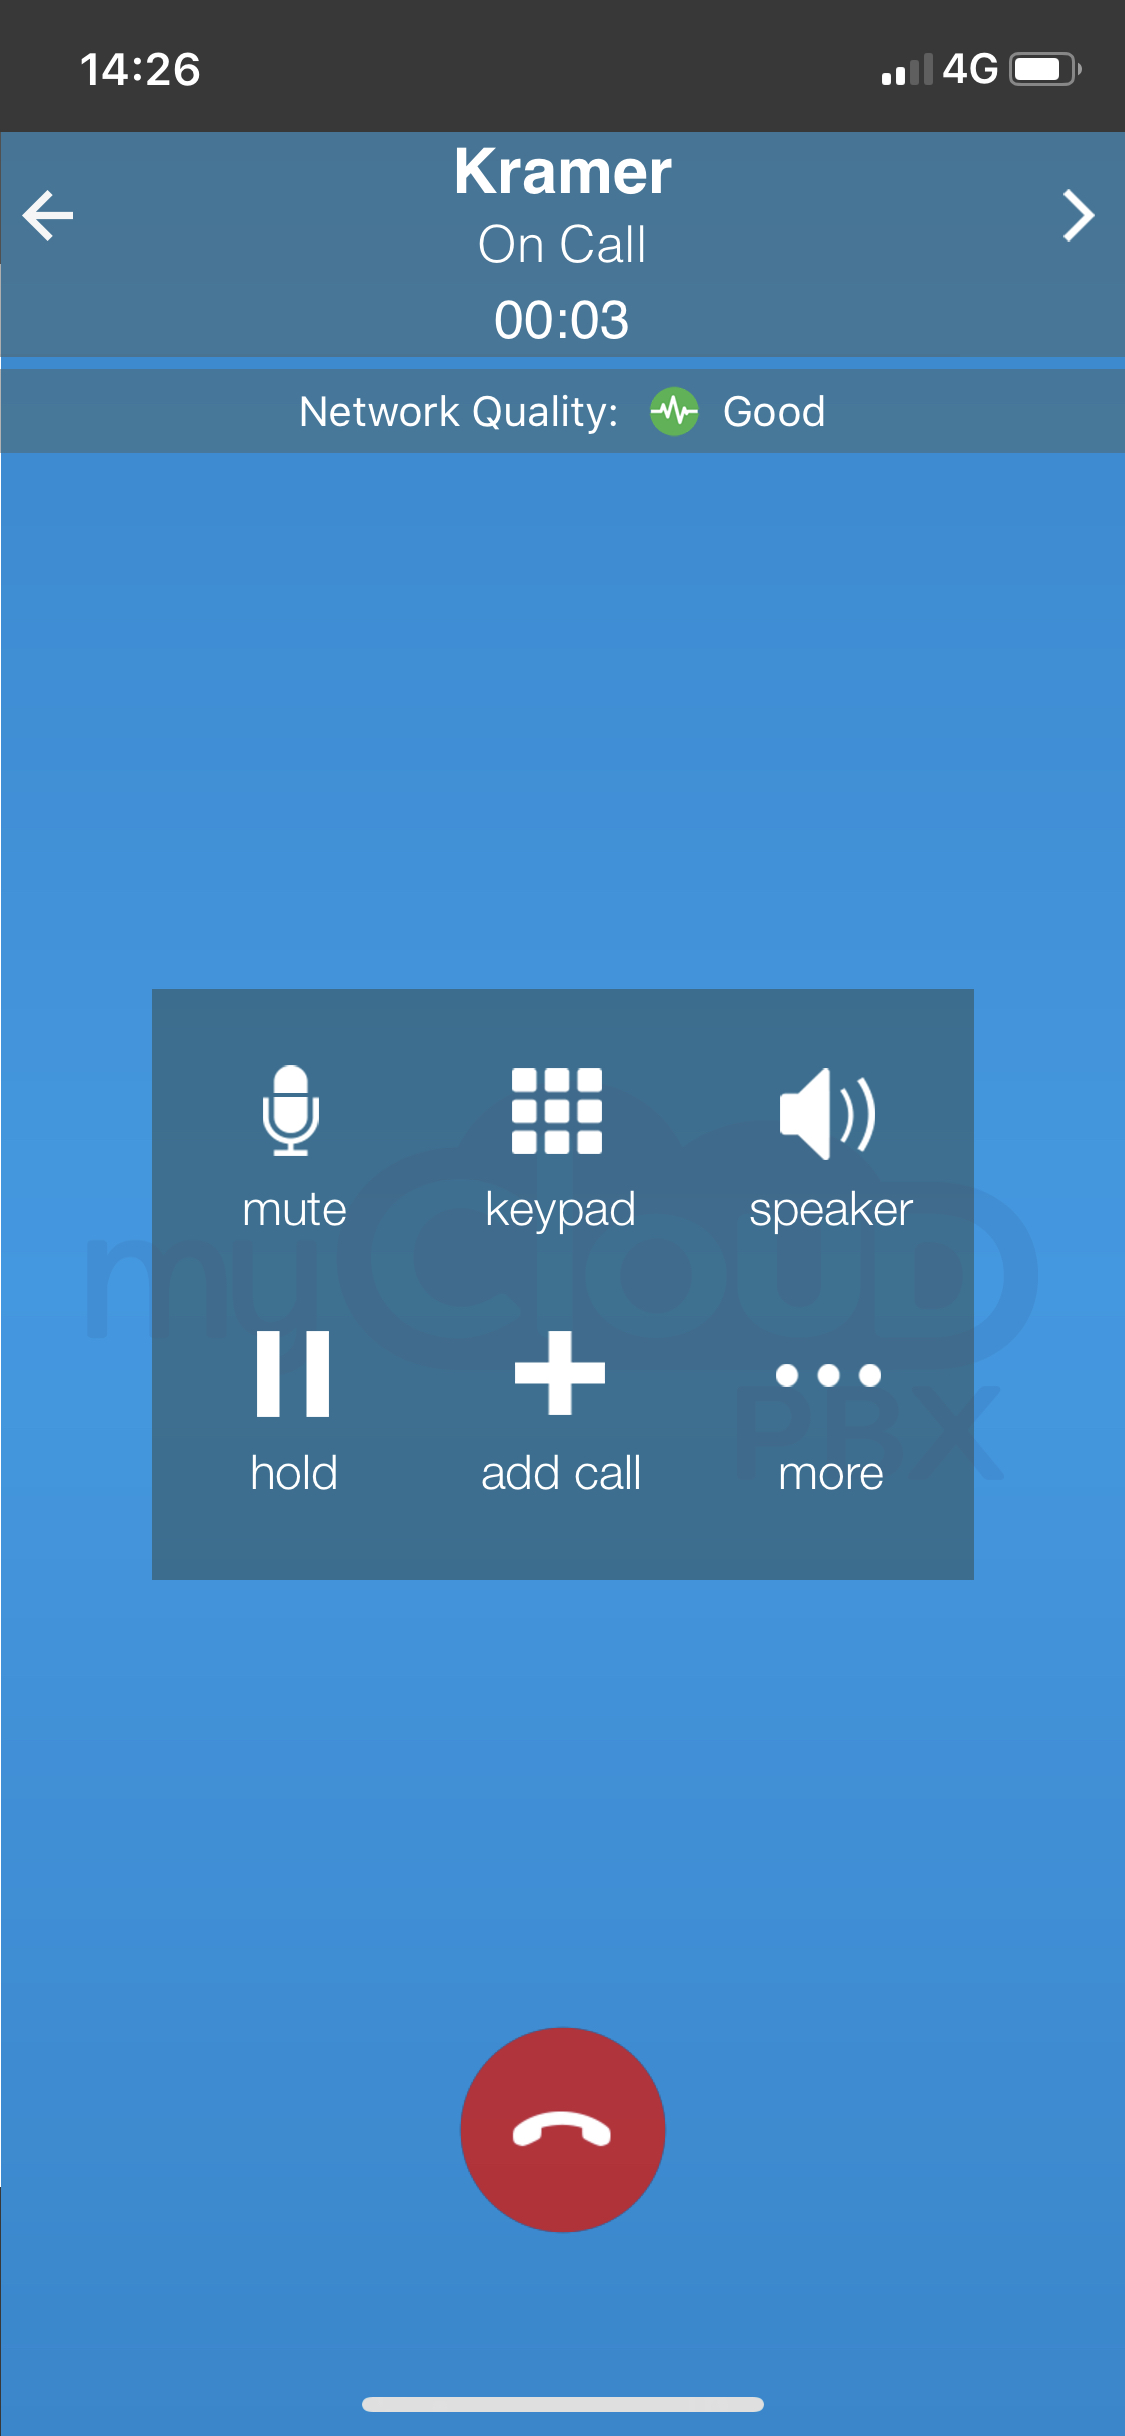
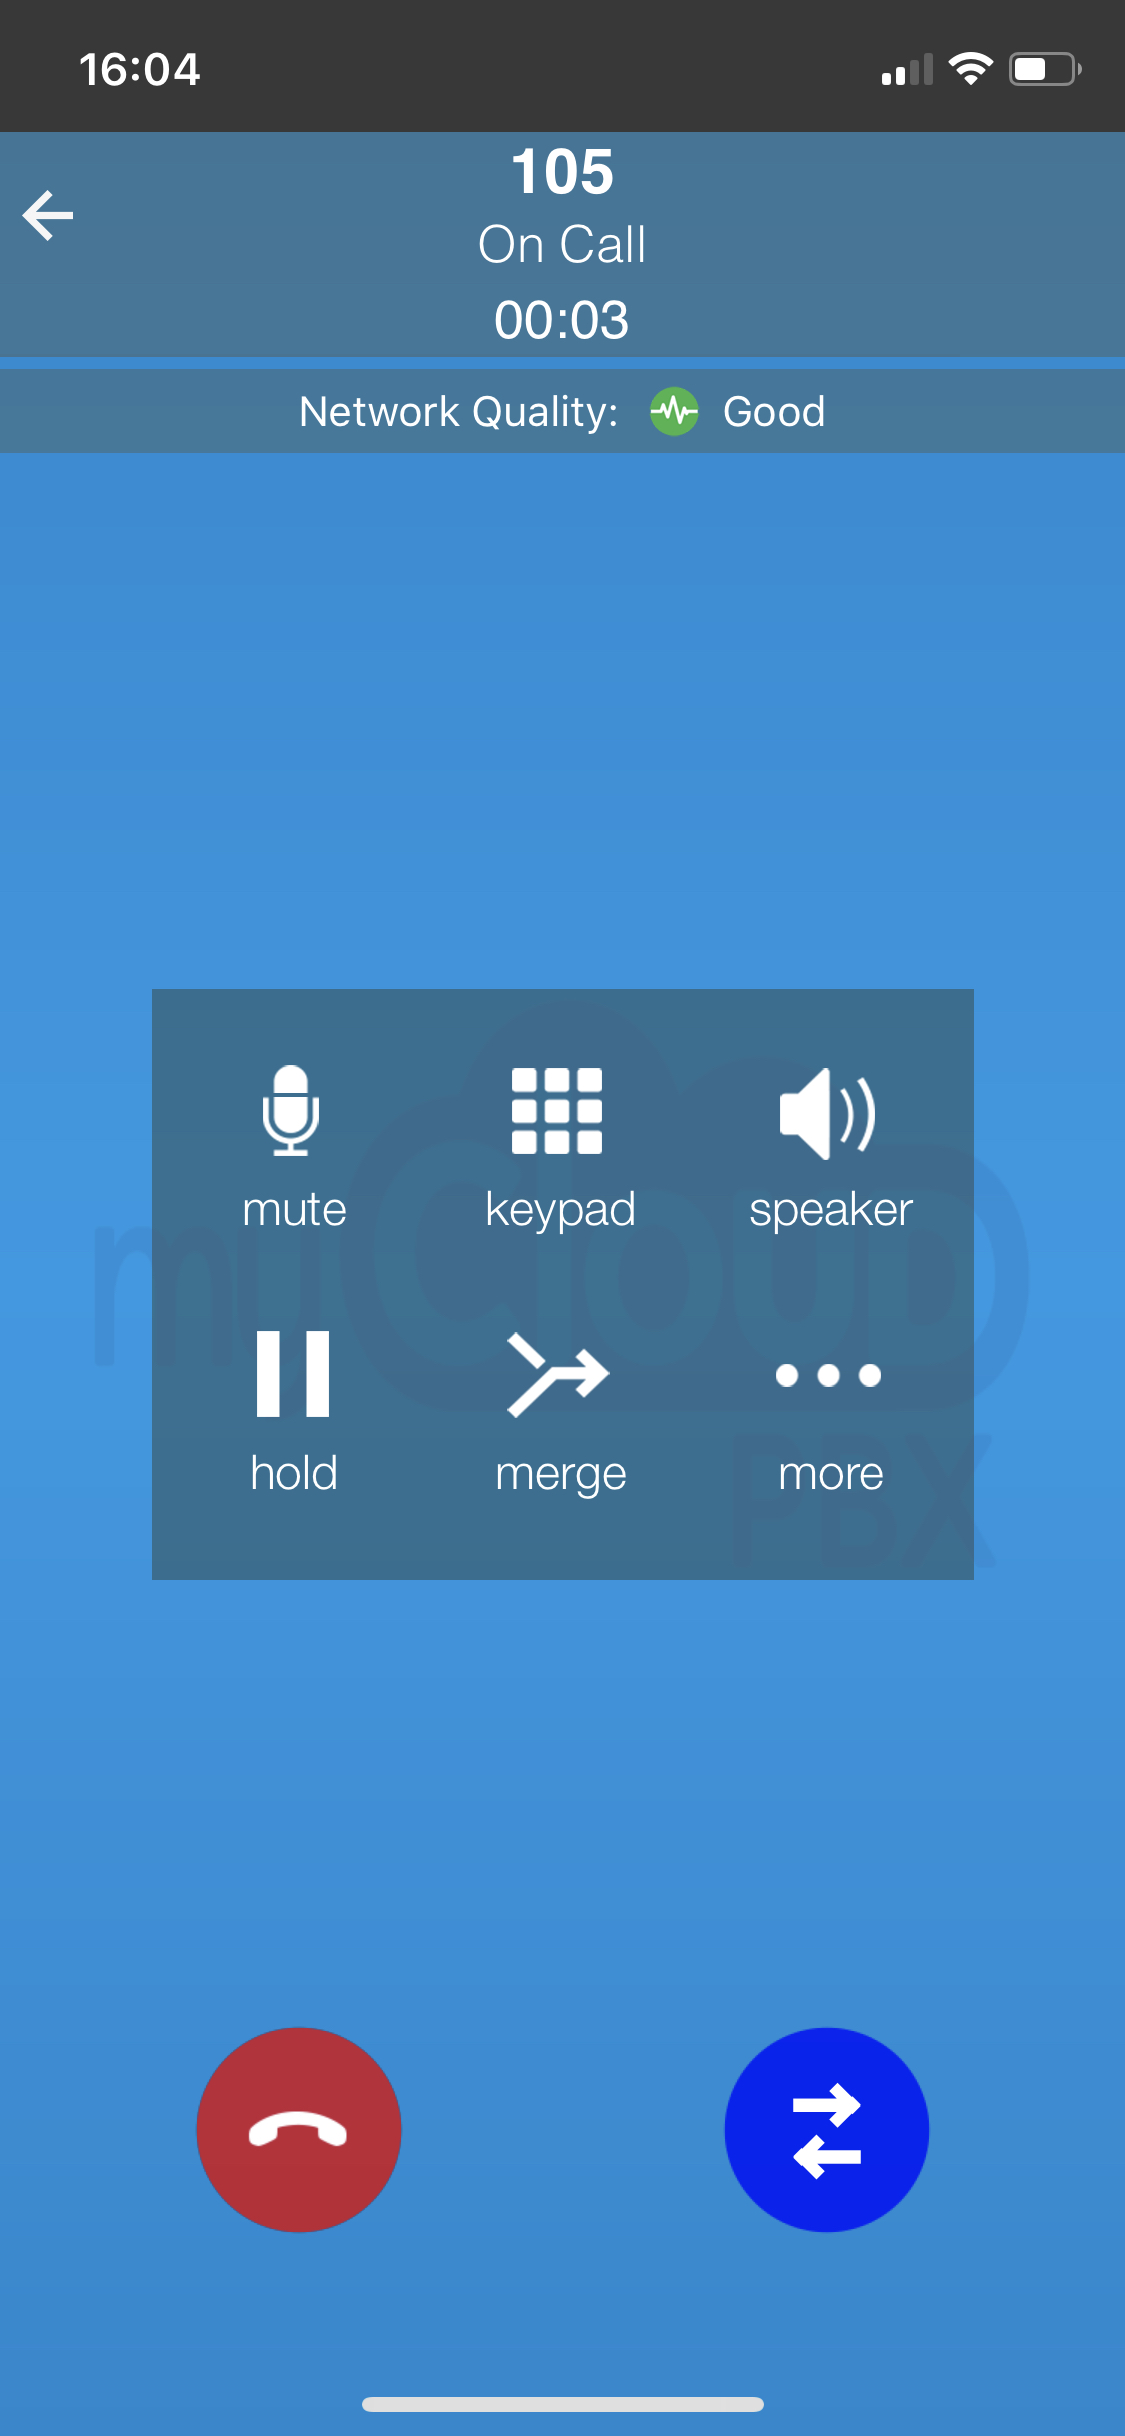
Once the call connects, you have some additional options.
- To mute your microphone 'Mute'.
- To place the other person on hold by pressing 'Hold'.
- To enable speakerphone, press 'Speaker'.
- To hangup the call, press

- To input numbers while on a call press, 'Keypad'.
# Accessing Voicemail
To access Voicemail, press or dial 777.
Press the 'Keypad Icon' to access the keypad, then enter your PIN when prompted.
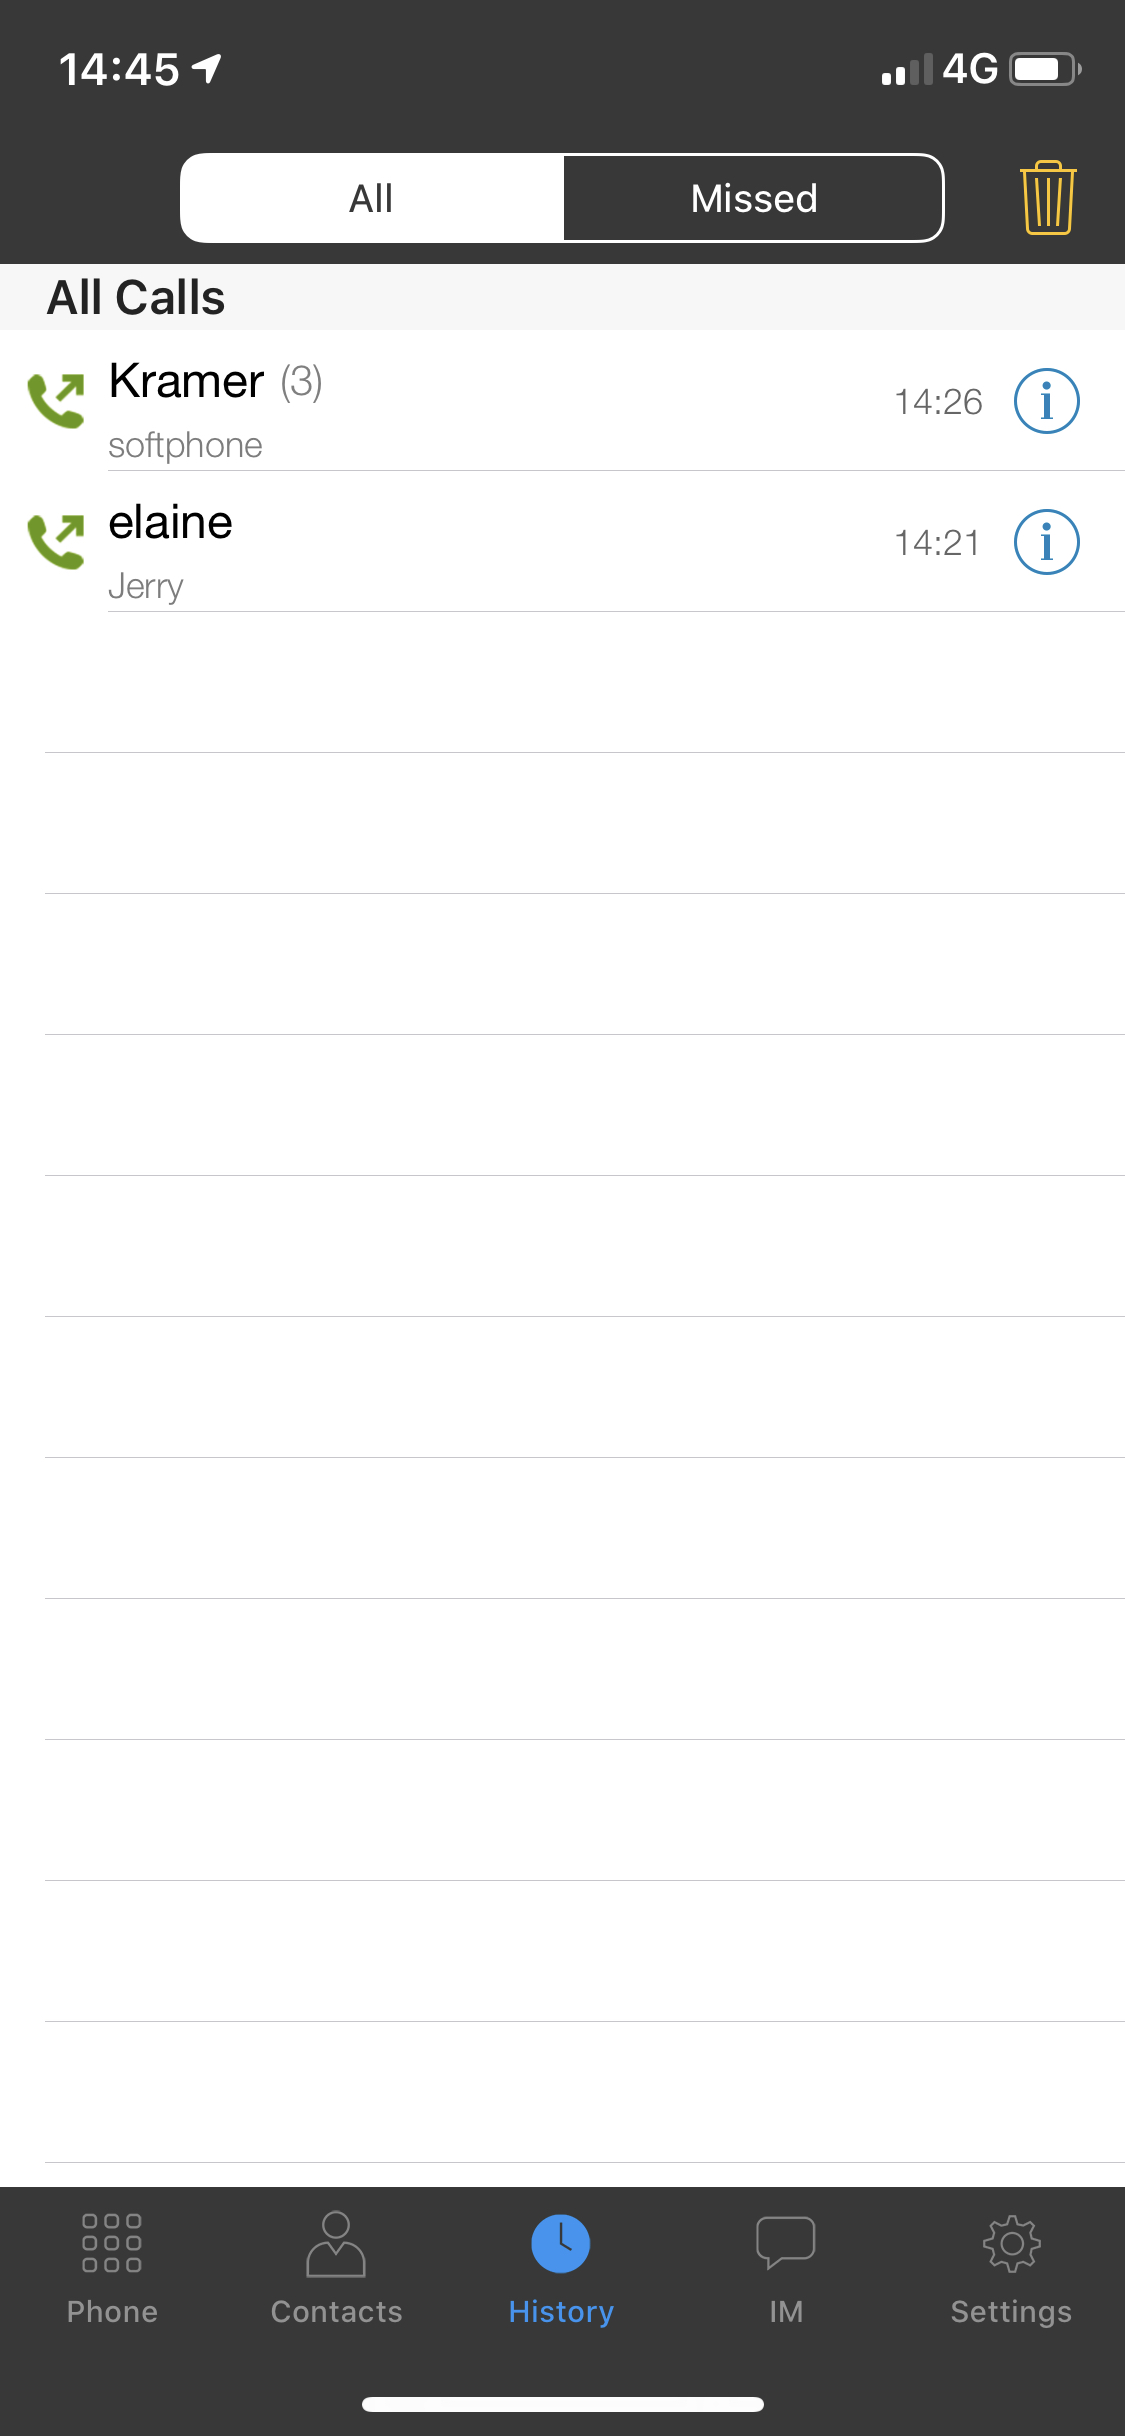
# View Call History
To view your call history, press the button at the bottom of the myCloudPBX Softphones homescreen labelled 'History'.
# Adding Contacts
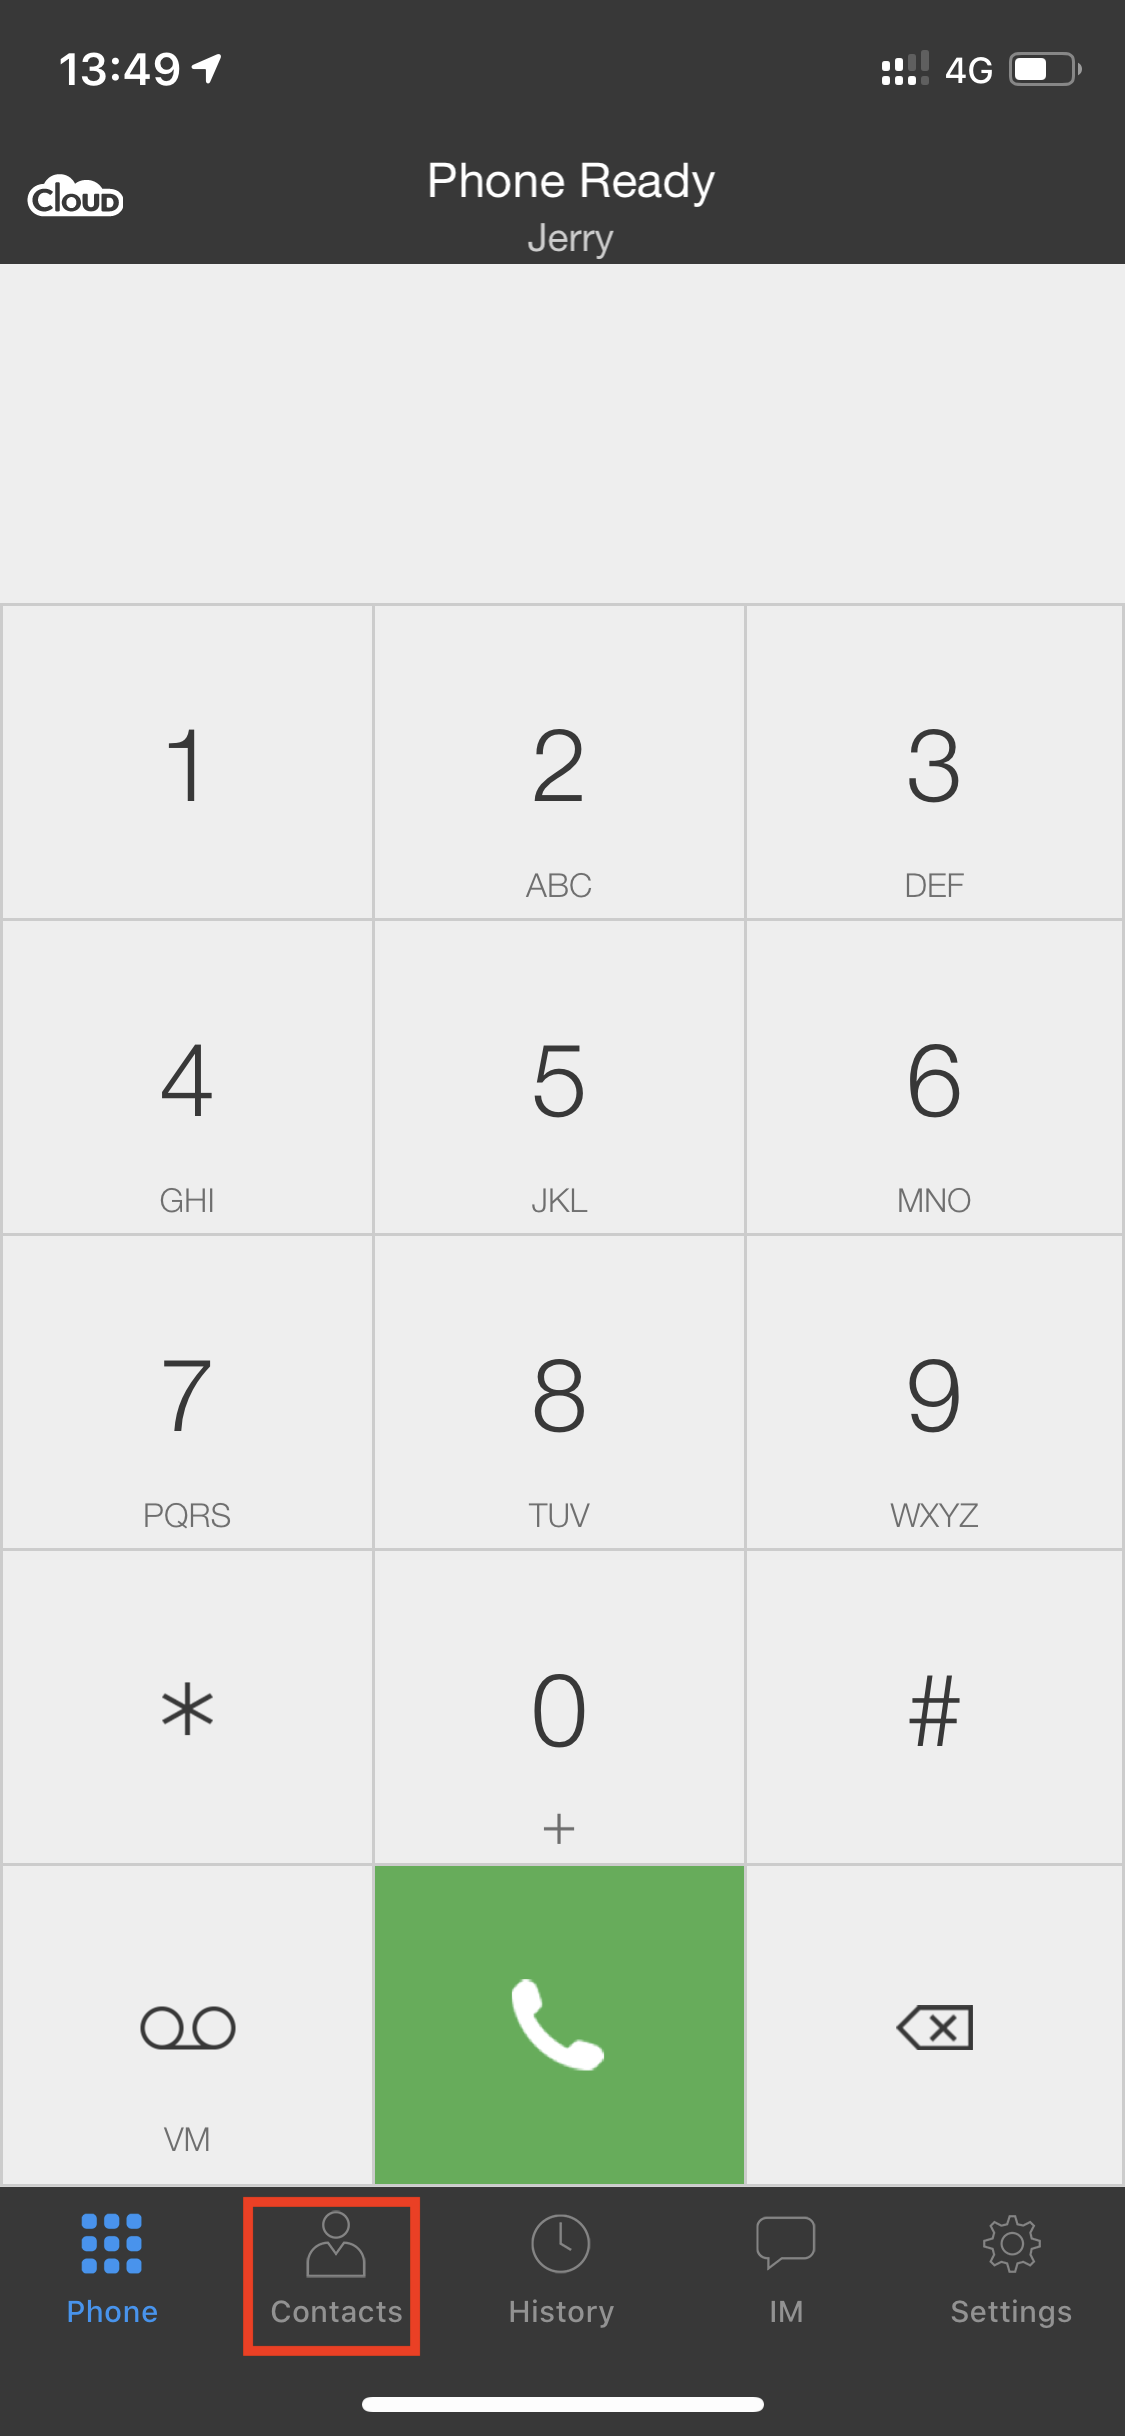
From the main screen of the Softphone, press 'Contacts'.
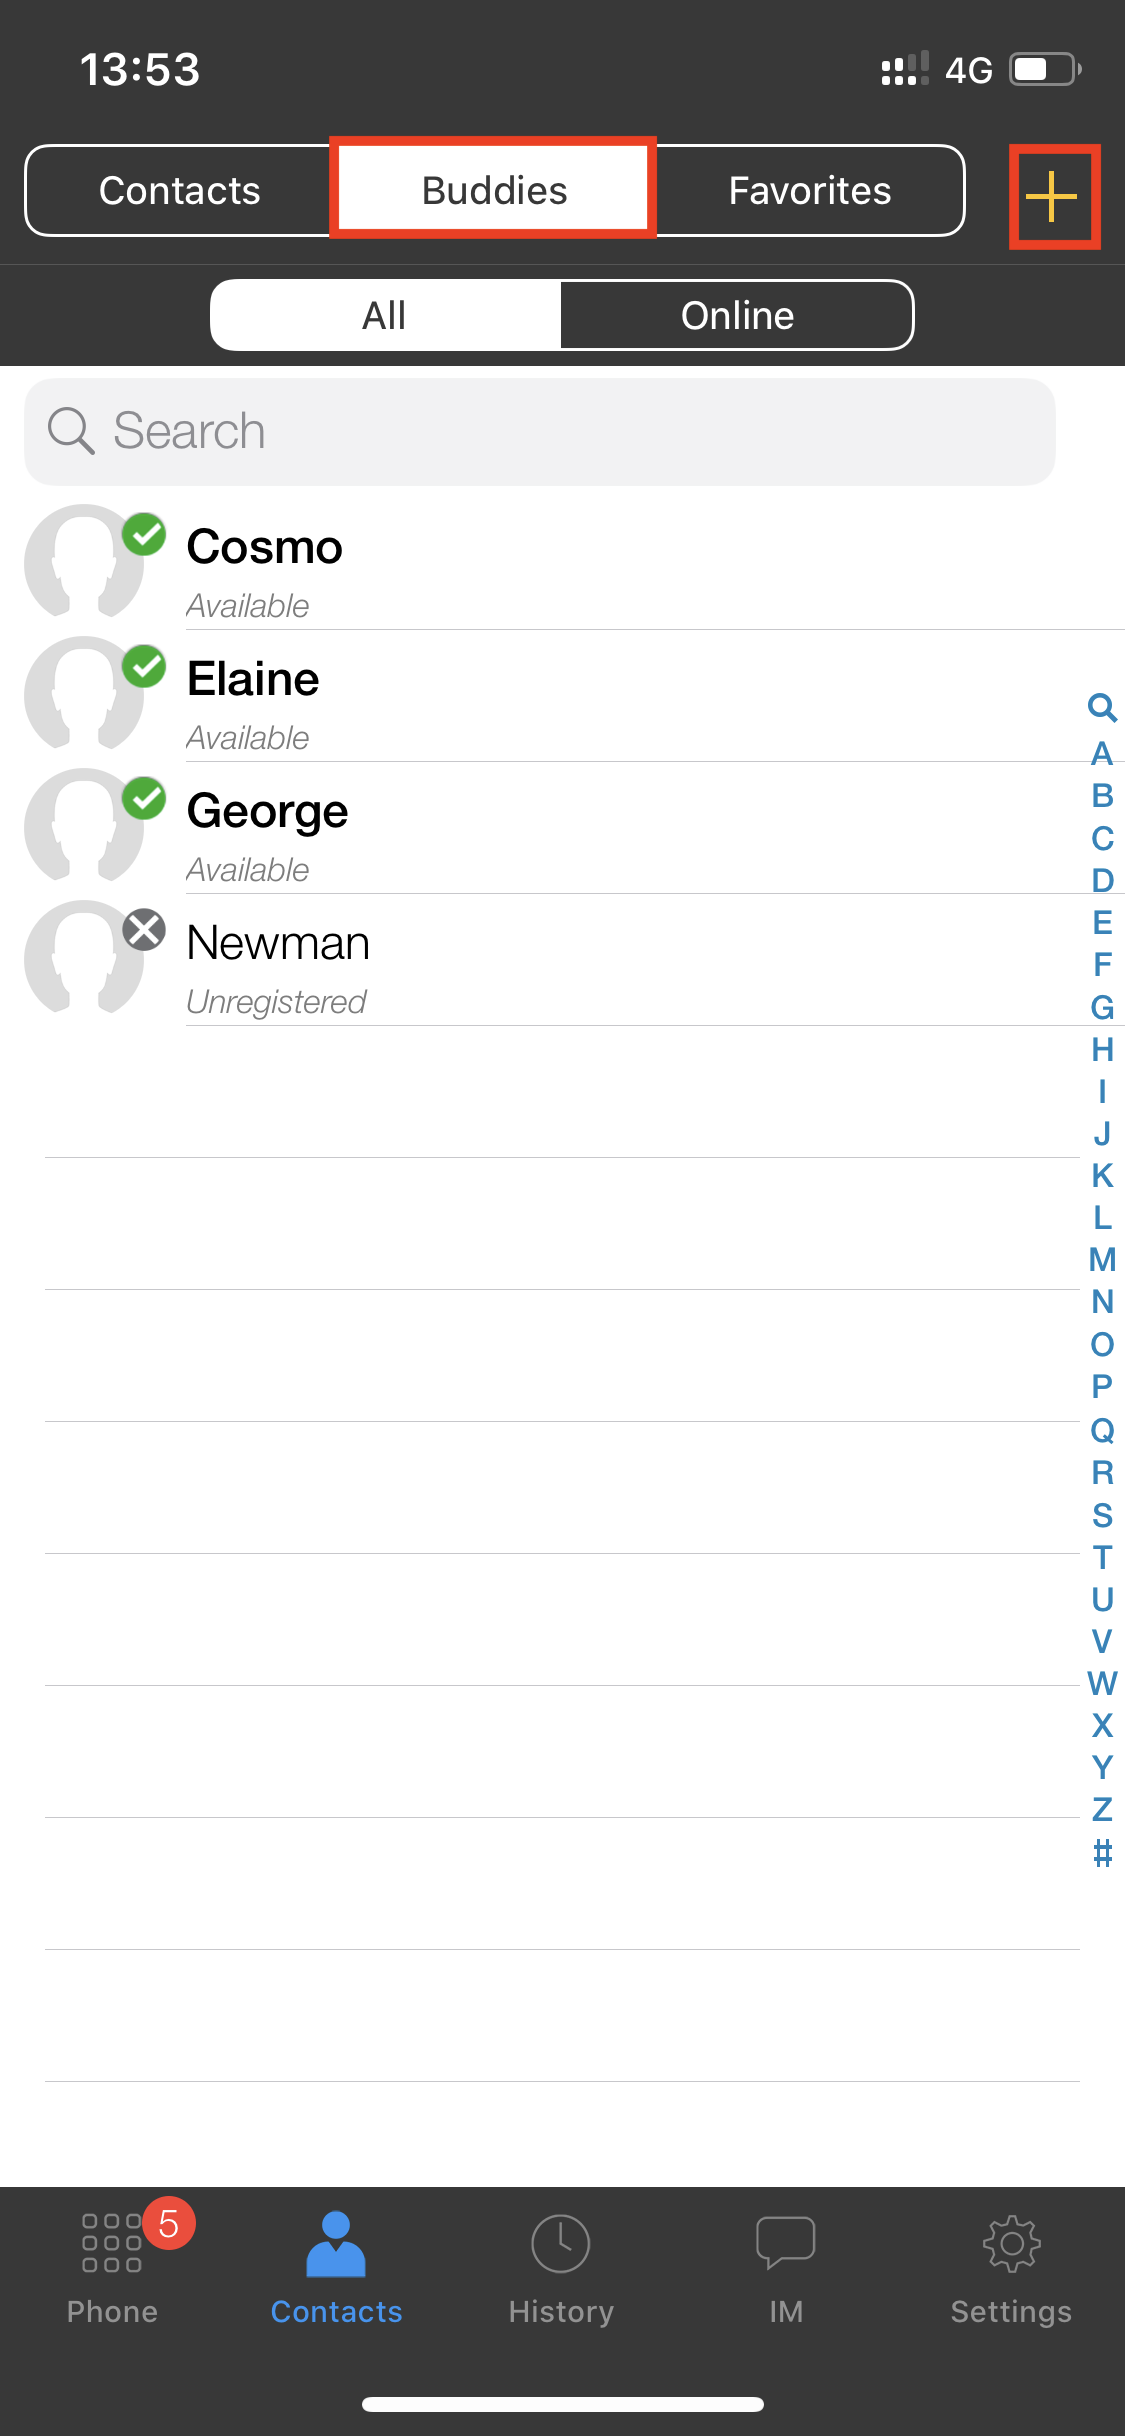
From the top of the screen, select 'Buddies', then press the '+' button to add a new contact.
Enter in the relevant information about the contact.
Scroll down to the section labelled 'softphone'. Enter the username for the person you wish to monitor.
TIP
This will be the same as their username for the myCloudPBX Softphone
Select the 'IM URI' option
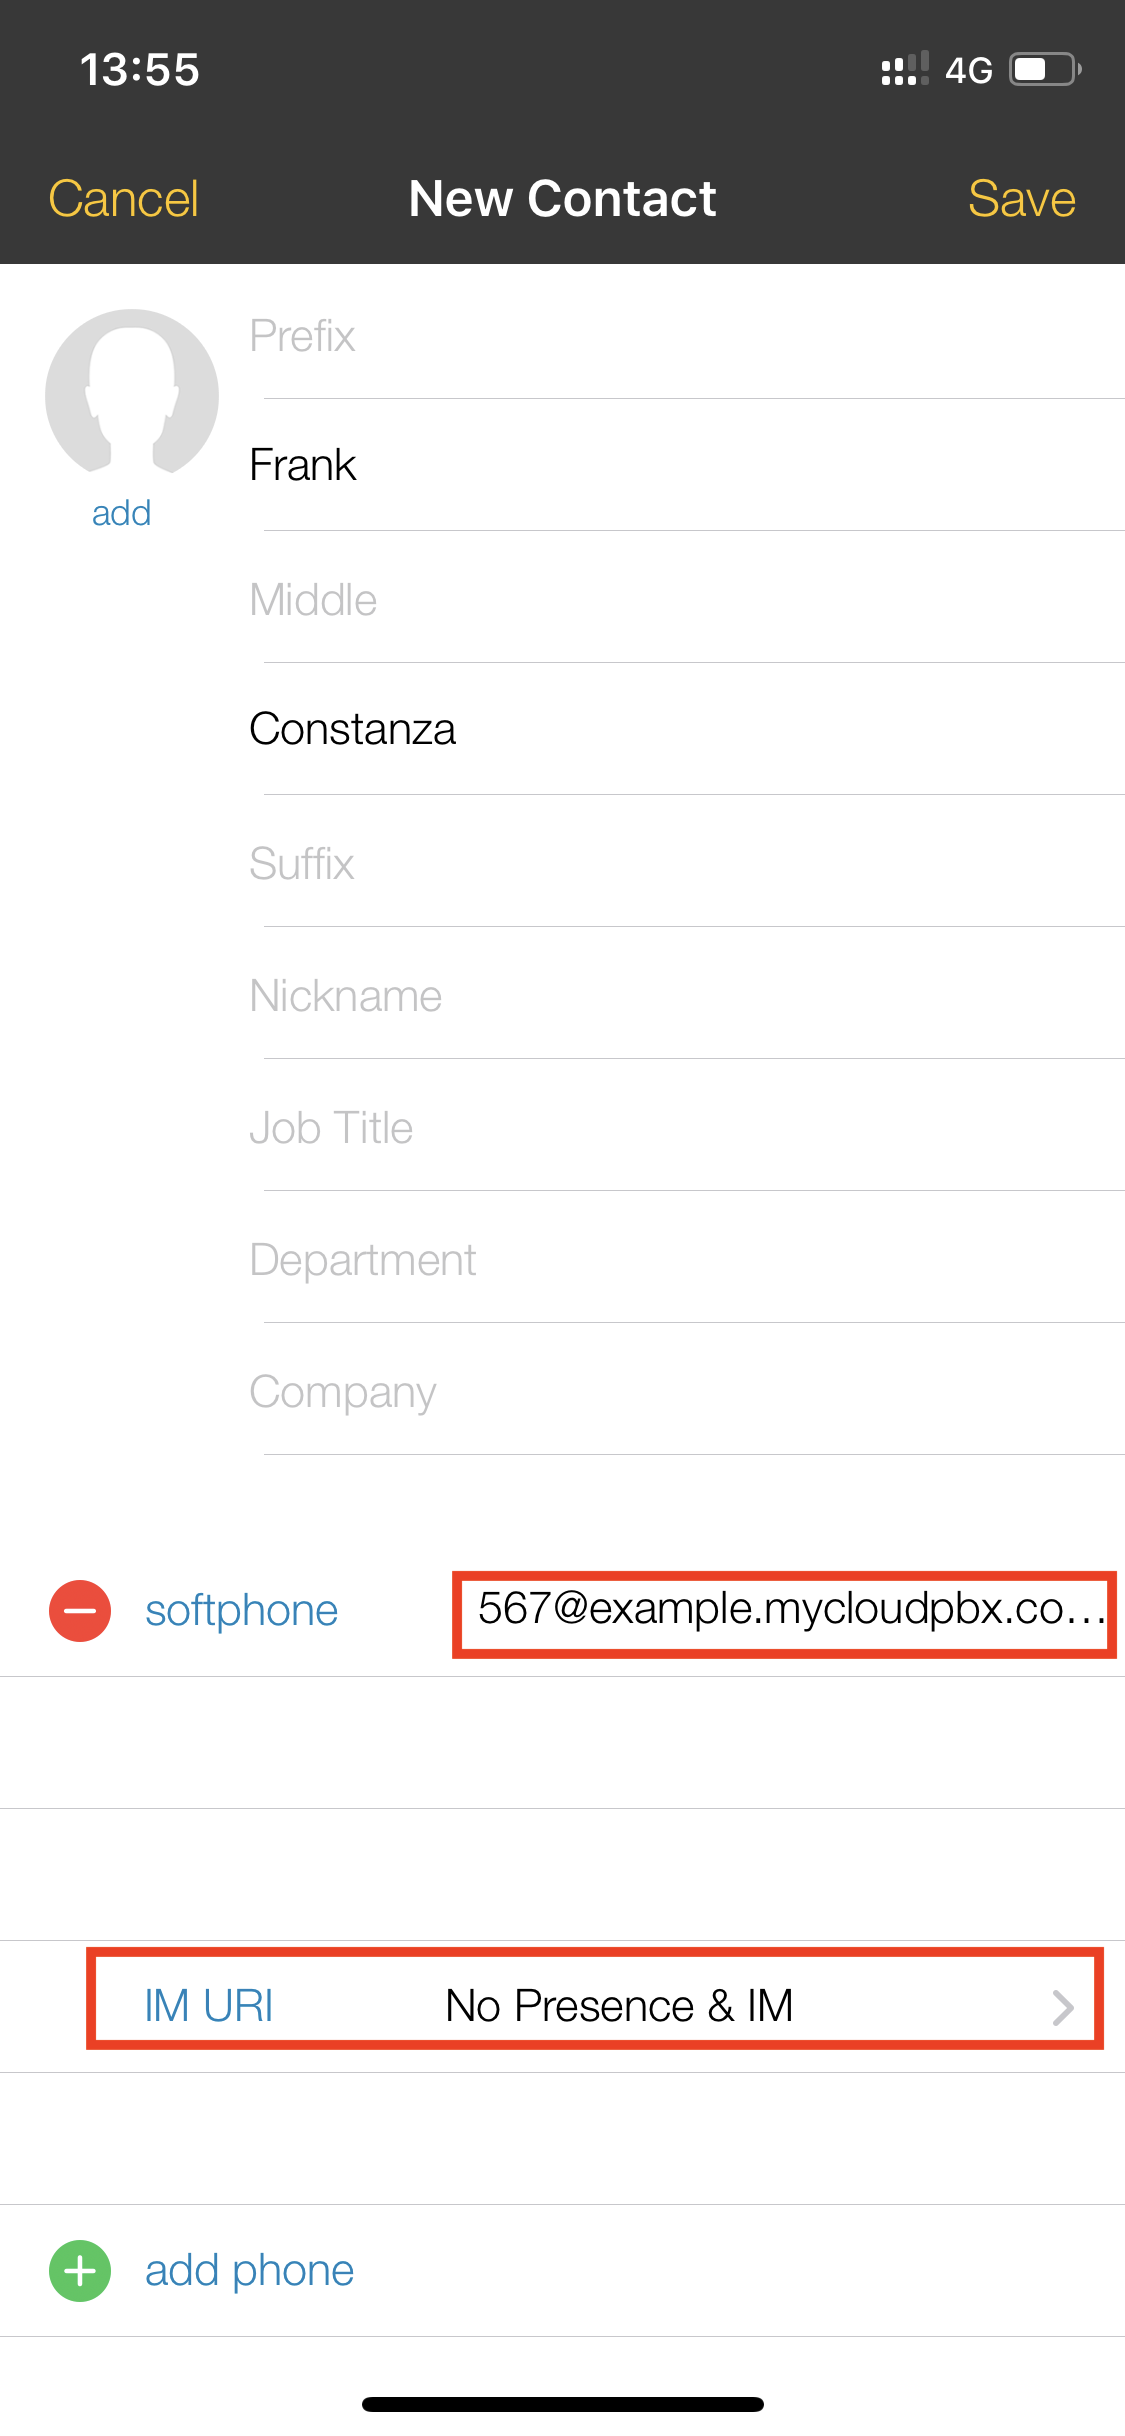
Ensure that the user you wish to monitor is selected, then press 'Done'.
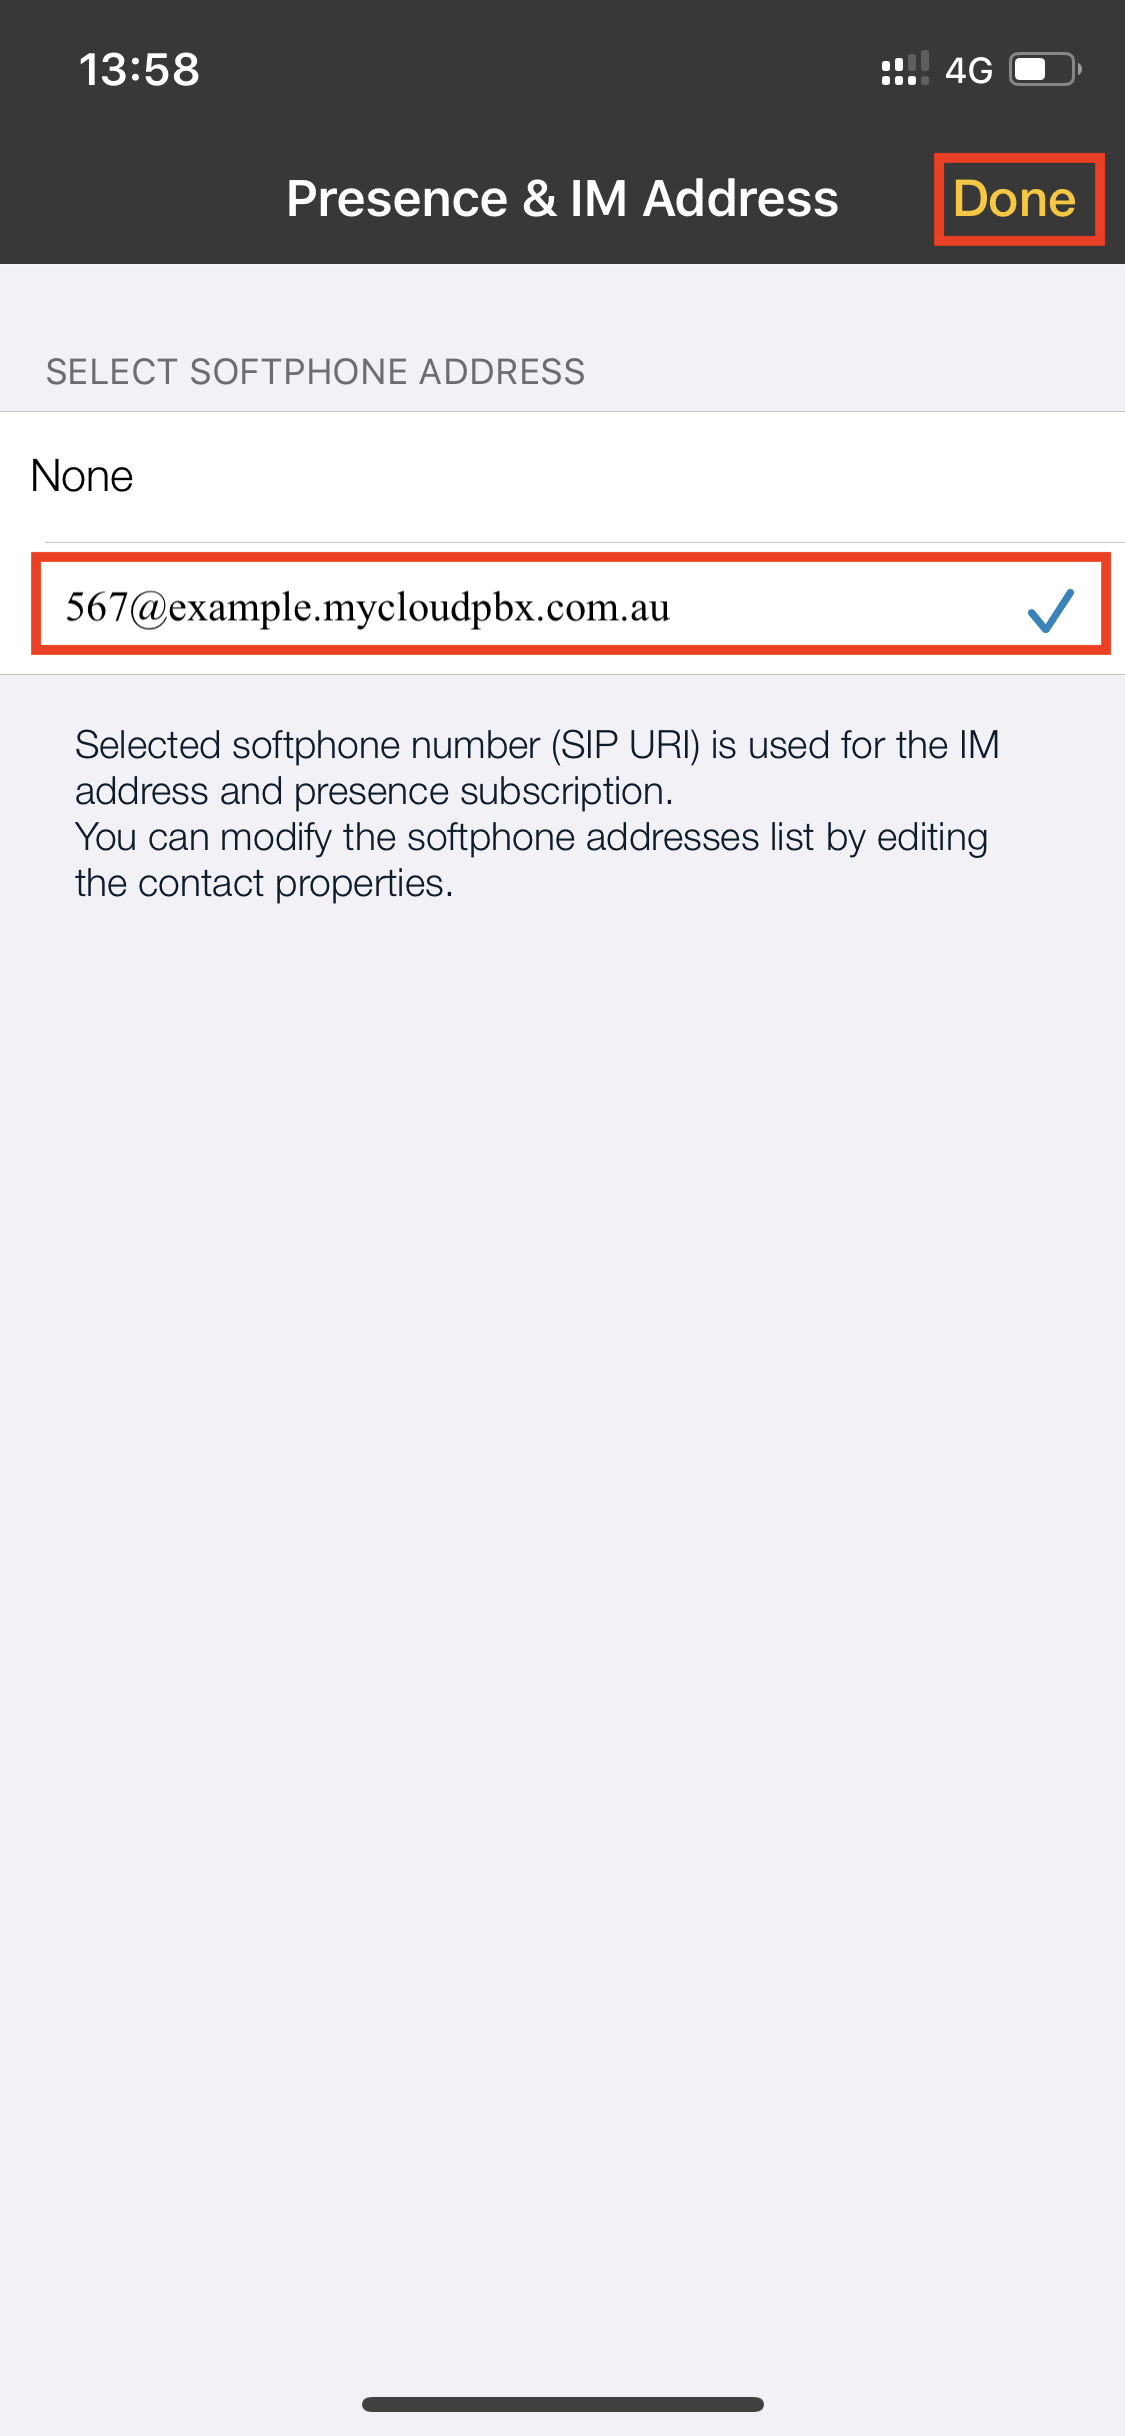
Finally, you can now see the current on-call status of all the users you have added.

# Blind Transfer a Call
Description: When you 'Blind Transfer' a call the call will immediately ring on the intended persons phone and will no longer be on yours.
While on the active phone call press  (More) and the press the 'Transfer' option as shown below.
Enter the number you wish to transfer the call to and press ![]() (Xfer) to complete the transfer.
(Xfer) to complete the transfer.
You have now successfully transferred the call.
# Attended Transfer a Call
Description: An 'Attended Transfer' allows you to 'introduce' the caller to the callee before handing the call over. This is the preferred method of transferring calls.
While on an active call, press

Using the touchscreen enter the number you wish to dial and press
Once the phone is answered you will be able to announce the caller to the callee before handing the call over.
While on the active phone call press (More) and choose the 'Transfer' option.
You have now successfully transferred the call.
# Conference Calls
Description: The myCloudPBX Softphone allows you to merge two callers together into a 3-way conference call.
While on an active call, press
Using the touchscreen enter the number you wish to dial and press
To merge the calls together press ![]()
The calls are now conferenced together.
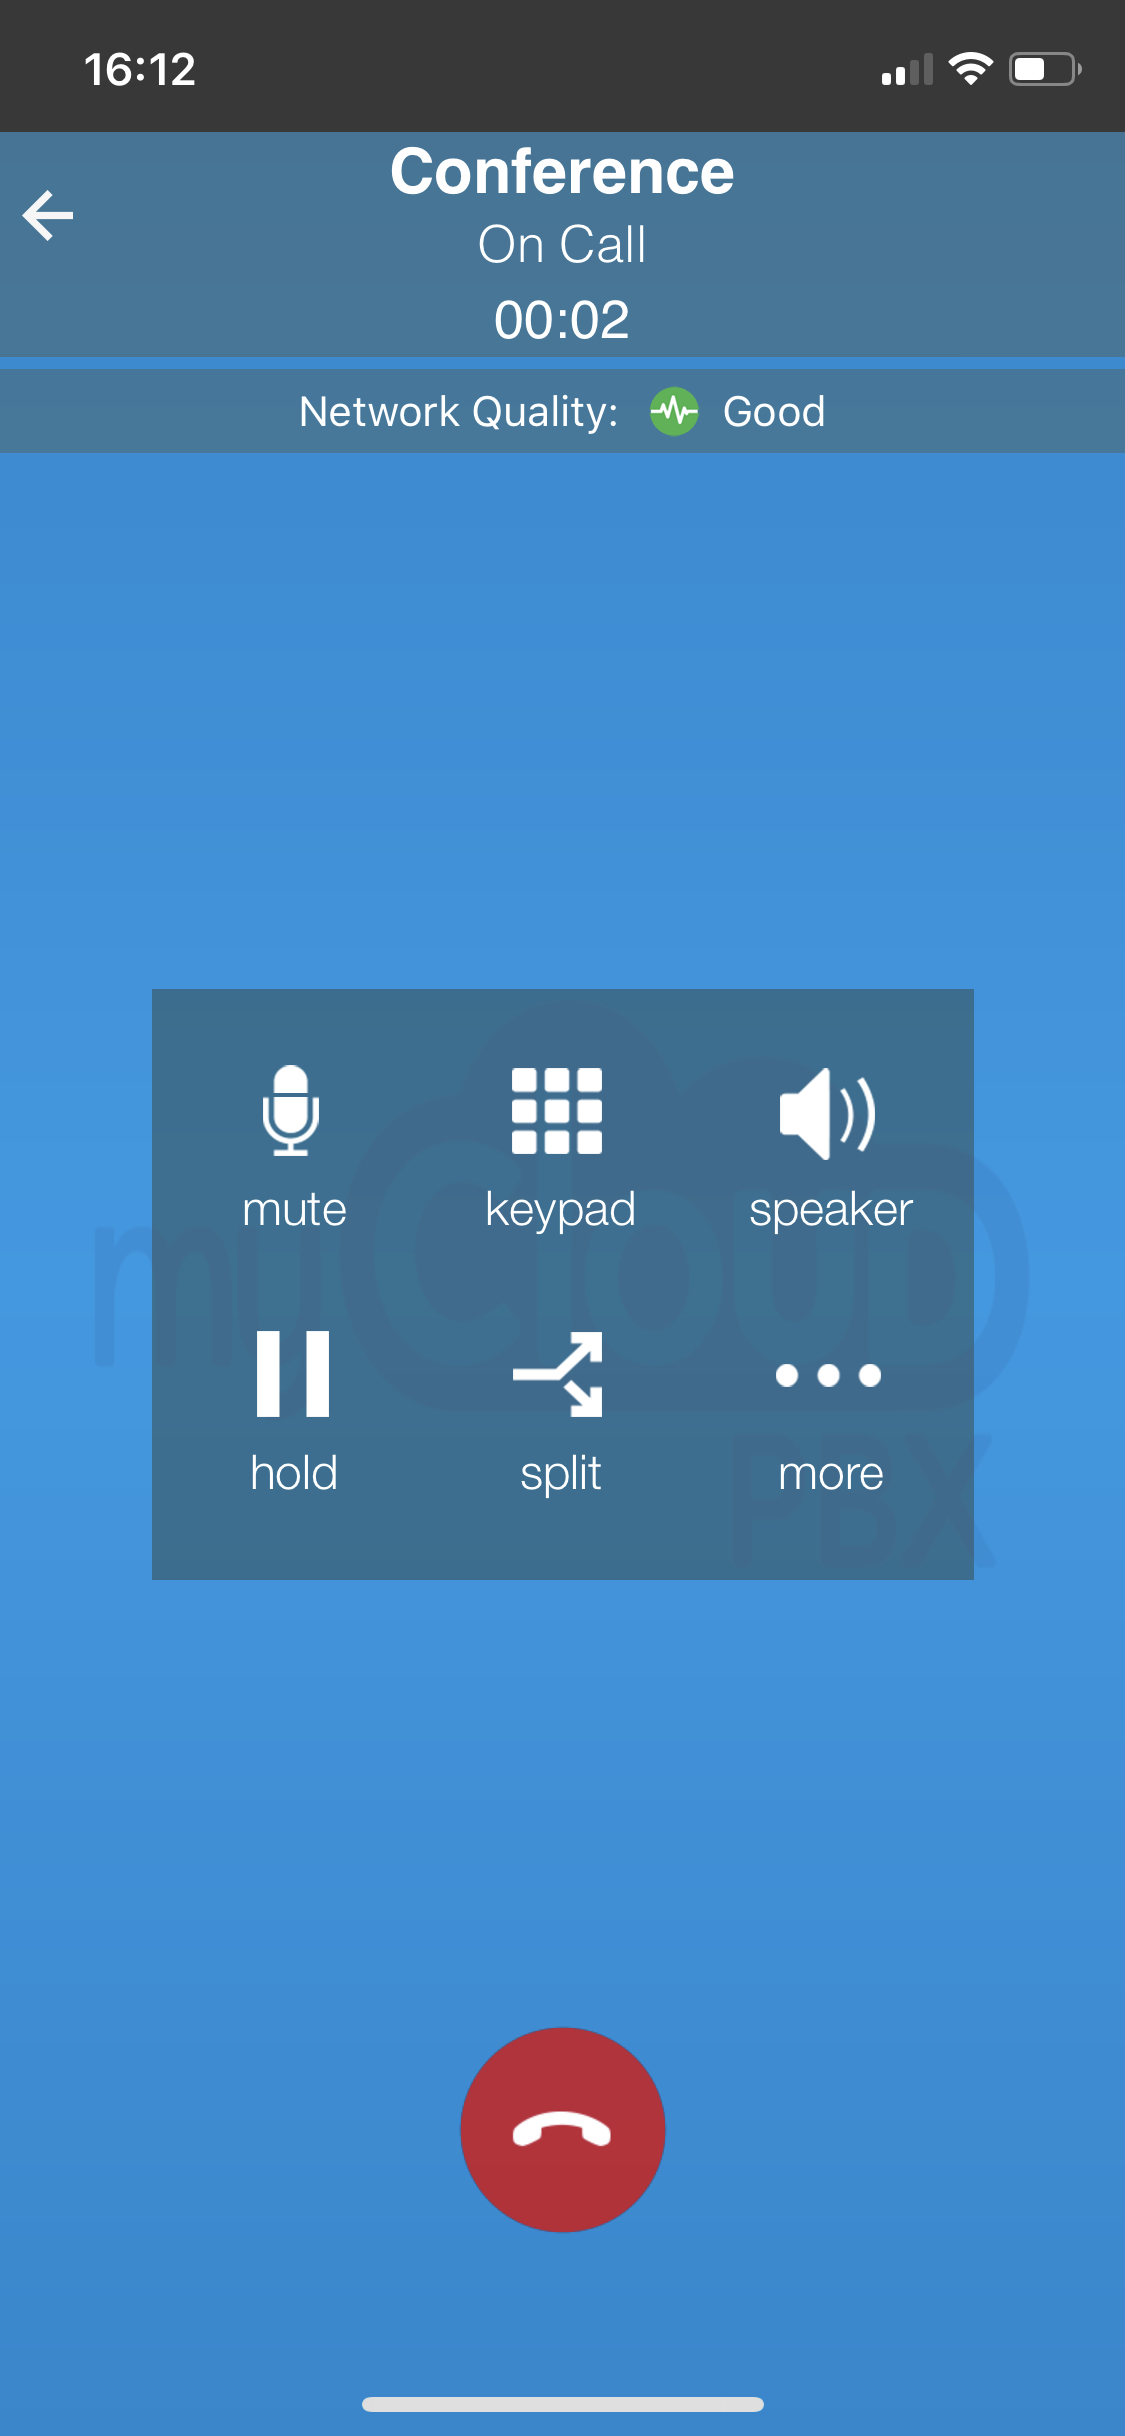
To un-merge the calls again, press
# OSX Guides
# Installation
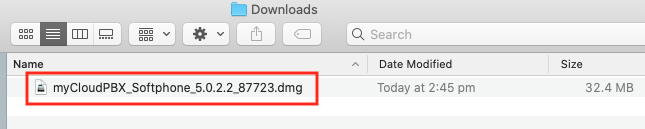
Step 1. From the Portal under your user settings or in your activation email, click the 'Download from Mac App Store' button to download the OSX installer.
Double click on the downloaded file to begin the installation.
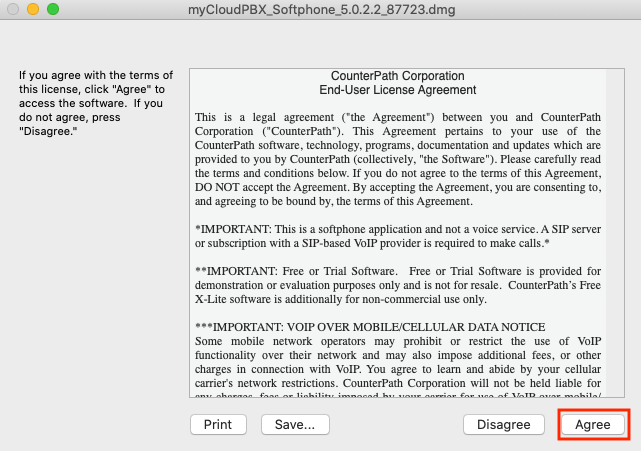
Click 'Agree' when ready to proceed with the installation.
It may take some time for the next window to show. Please be patient.
Drag the 'myCloudPBX Softphone' icon onto the 'Applications' folder.
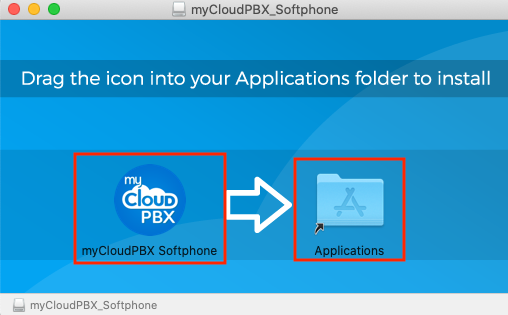
Allow some time for the application to copy across.

Once the copy has completed you will find the application in the 'Launchpad' with all of your other applications.
Open the Softphone.
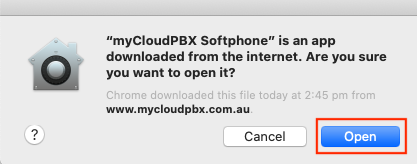
When prompted, click 'Open'
On the following screen, enter your username and password.
Click 'Sign In'

You are now signed in and ready to make and receive calls.
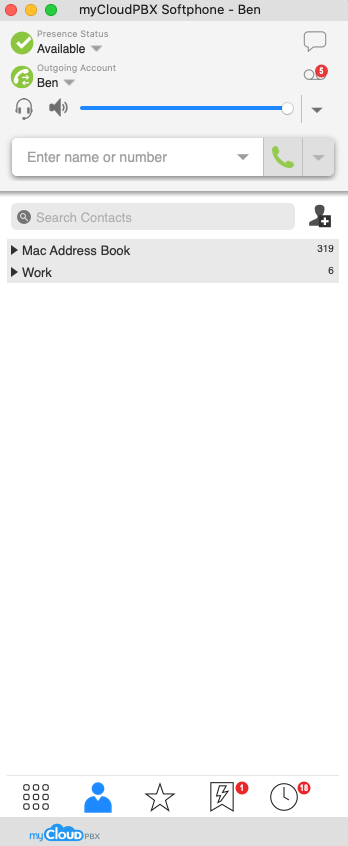
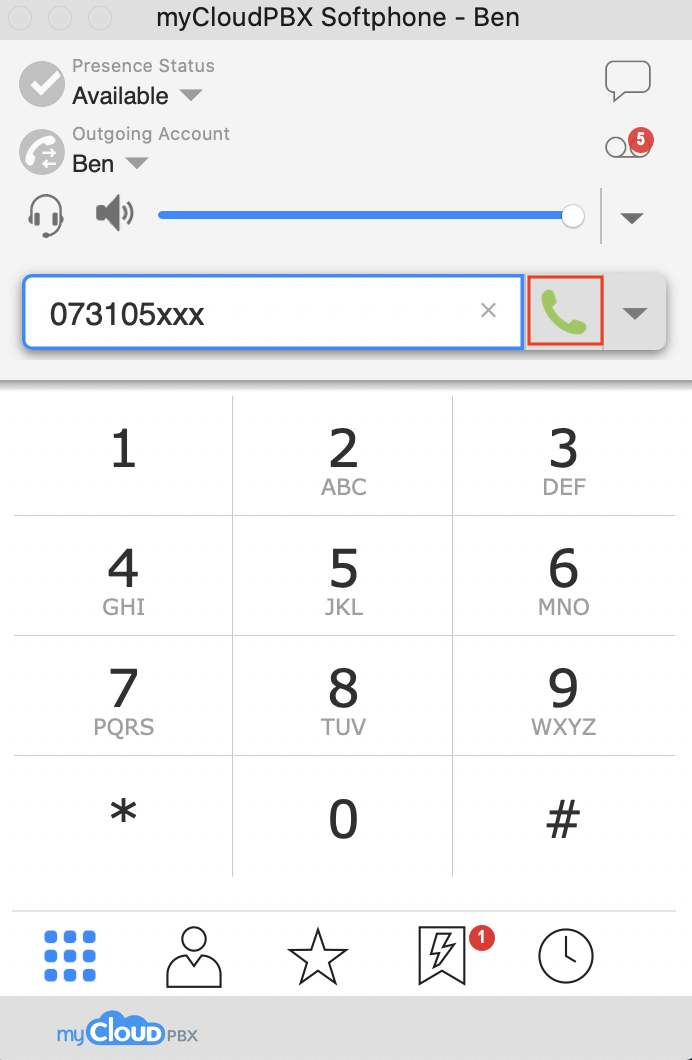
# Making a Call
You will need a MyCloudPBX Softphone account in order to follow this guide, if you do not already have one you will need to contact your administrator.
Open the myCloudPBX app and login using your username and password.
Type the number you wish to call or use the on-screen keyboard and then click ![]()
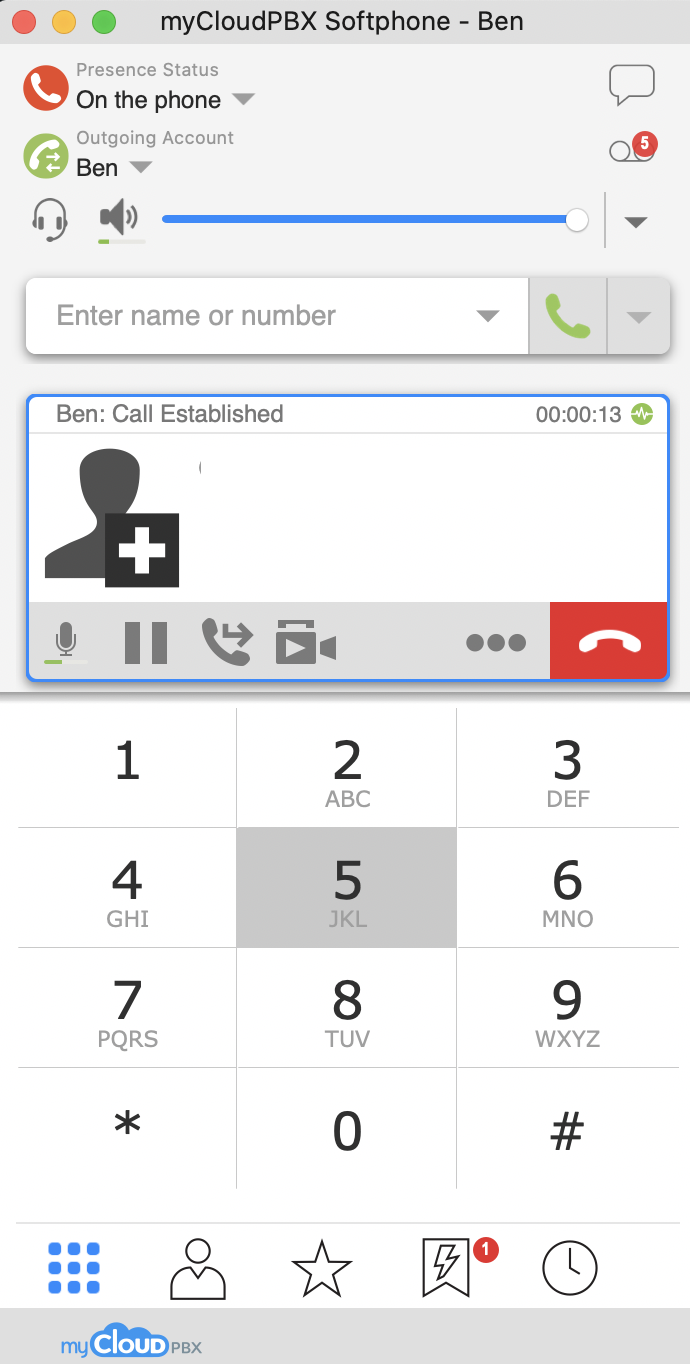
To end the call, click ![]()
To place the caller on hold, click ![]() .
.
Press ![]() again to resume the call.
again to resume the call.
# Accessing Voicemail
To access Voicemail, press ![]() or dial 777.
or dial 777.
Use the on-screen keyboard to type in your voicemail PIN when prompted
# Troubleshooting
# Device Activation Limit Reached
Each myCloudPBX Softphone license can be used on a total of 2 devices.
The 'Device Activation Limit Reached' message will be displayed if you have exceeded the limit of 2 devices.
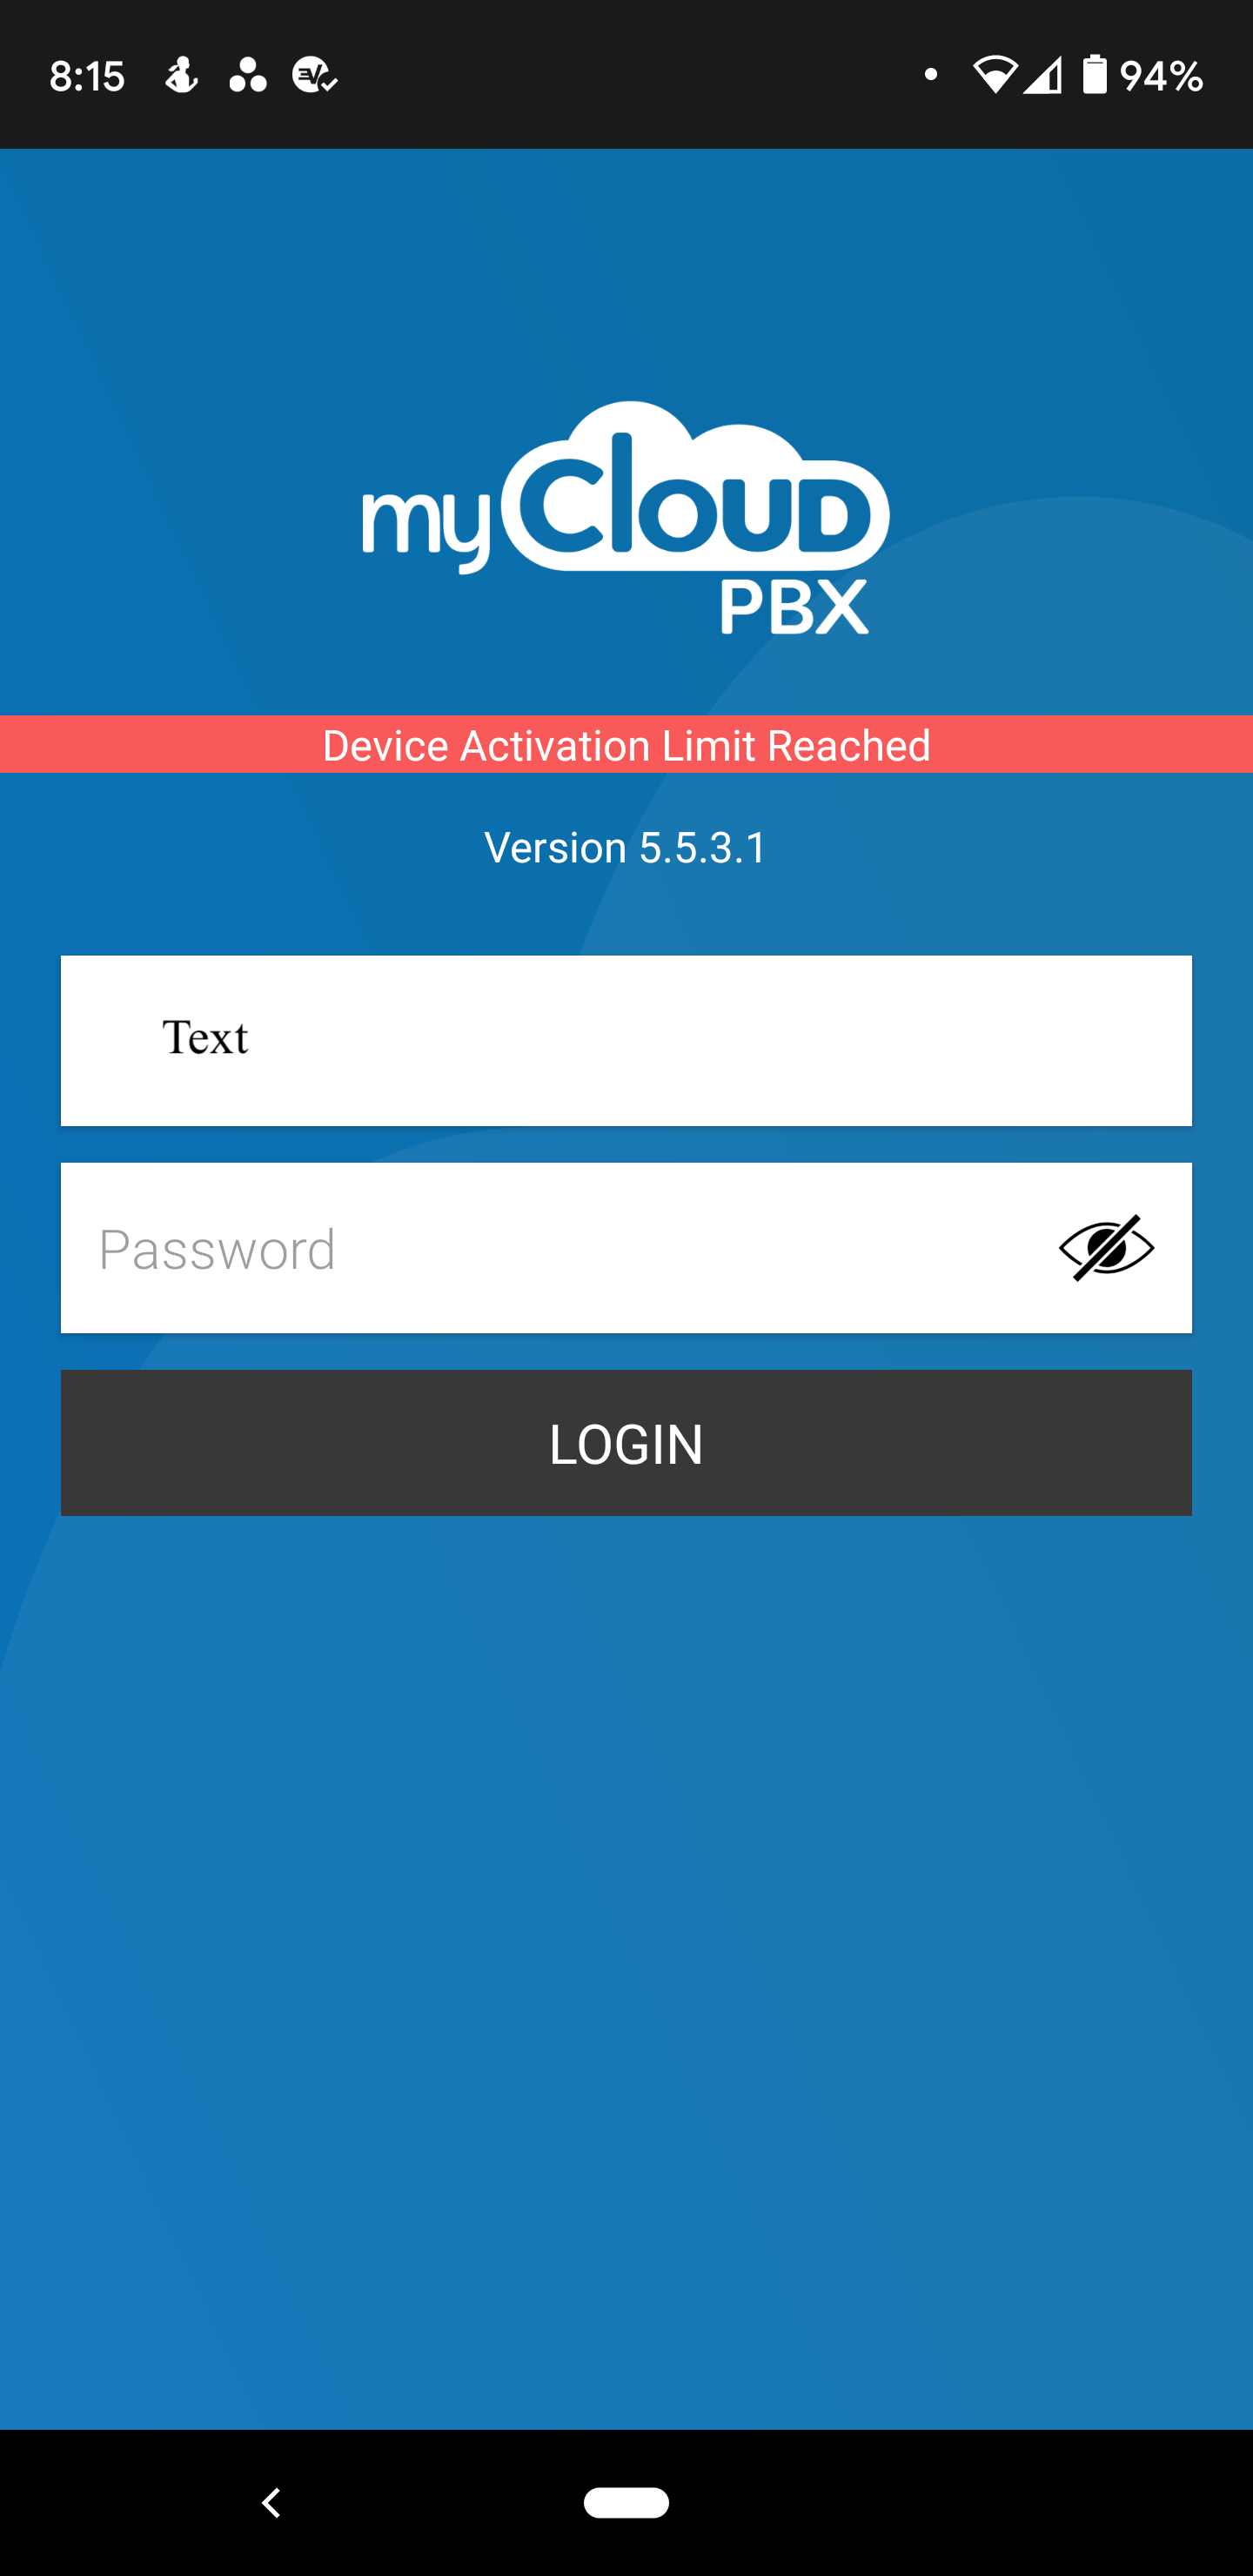
You can clear the licenses (allowing you to register two new devices) from within the PBX Admin Portal. If you do not have access to the portal, please contact your administrator.
From the myCloudPBX homepage, click 'Offices & Users'. 
Select the extension you wish to modify from the list. (You may have to expand the 'Offices' to find the correct extension.
On the right hand side of the screen you will see the 'myCloudPBX' configuration settings.
To reset the licenses, click 'Reset License'.
Scroll down to the bottom of the page and click 'Save and Close'.
# Forgot Username / Password
If you have forgotten your username or password, you can locate this from within the PBX Admin Portal.
If you do not have access to the portal, please contact your administrator.
From the myCloudPBX homepage, click 'Offices & Users'.
Select the extension you need the login details for, from the list. (You may have to expand the 'Offices' to find the correct extension.
TIP
The password for the extension is listed on the left hand side of the screen.
On the right hand side of the screen you will see the 'myCloudPBX' configuration settings.
To obtain the username, click 'Send Email'.
This will send a copy of the username, along with the installation links to the email address nominated.